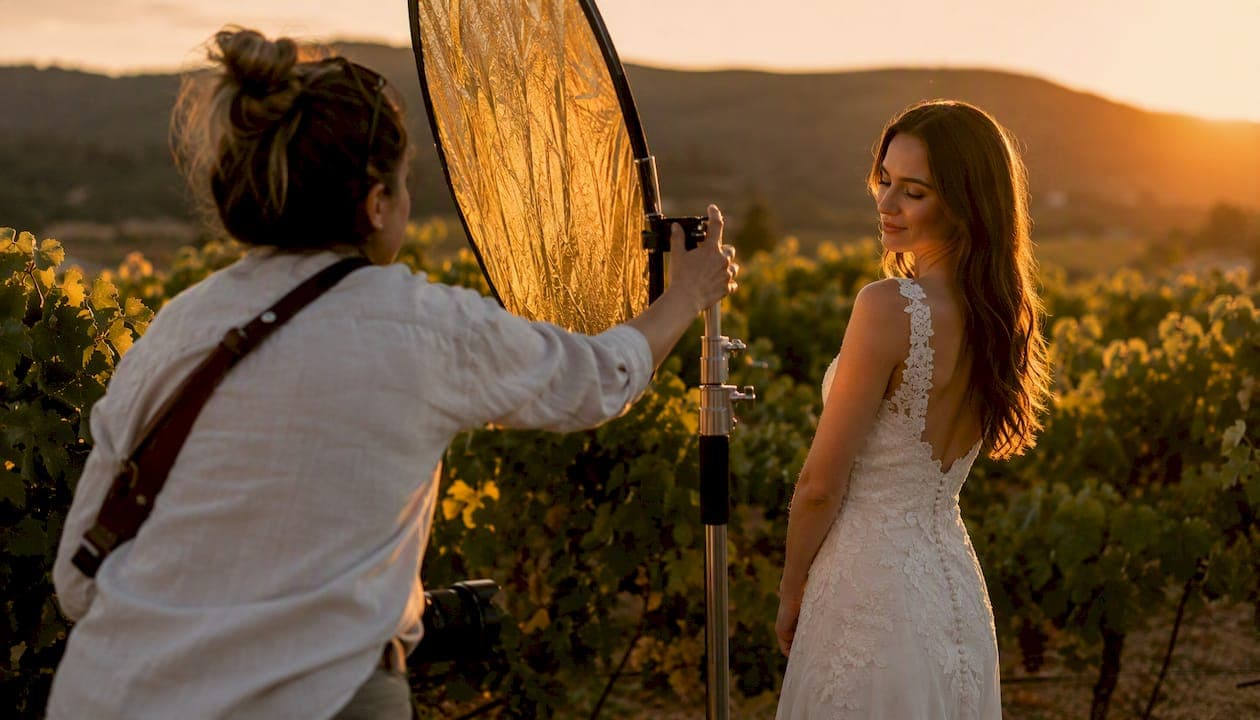
Master golden hour portraits by planning the sun position in advance, arriving 30–40 minutes early, locking your white balance, and running a simple backlit-plus-fill workflow during the peak 15–20 minutes before sunset. That single habit separates photographers who get the shot from those who spend the window adjusting settings.
Quick-start checklist:
- Arrive 30–40 minutes before sunset to scout and set up
- Lock manual white balance to a fixed value, avoiding Auto White Balance
- Shoot in RAW format for better post-processing flexibility
- Set aperture to an appropriate value for single subjects and groups
- When shooting backlit, expose for the face and add a reflector or low-power fill flash
- Choose silhouette when you want shape and mood; choose backlit with fill when you want detail and glow
Key Takeaways
Mastering golden hour portraits comes down to one discipline: prepare everything before the light peaks so you can focus entirely on the subject during the 15–20 minutes that matter most.
| Point | Details |
|---|---|
| Arrive 30–40 minutes early | Use PhotoPills or Sun Surveyor to find exact sunset time; arrive early to scout and set up before the peak window opens. |
| Lock white balance manually | Set Kelvin to 5500–6500K at the start and leave it; Auto White Balance neutralizes the warm tones you are shooting for. |
| Shoot RAW and expose for the face | RAW gives you highlight recovery headroom; spot-meter the face when backlit and add reflector or fill flash to balance. |
| Anchor frames before creative frames | Secure a tight rim-light headshot and one strong silhouette before attempting creative sequences. |
| Edit with selective masks | Use Lightroom's Select Subject and Select Sky masks to balance face and sky independently without global adjustments. |
| Larsonprophotography for booked sessions | Larsonprophotography handles sun-path planning, location scouting, and on-location workflow for golden hour portrait and engagement sessions in San Antonio. |
Table of Contents
- What is golden hour, and when should you schedule a portrait session?
- How do you choose and scout a location for golden hour portraits?
- What gear and camera settings do you need for golden hour portraits?
- How do you use front light, backlight, and silhouettes during golden hour?
- What posing and composition choices work best with golden hour light?
- How do you run a golden hour portrait session without losing the window?
- What does a RAW workflow look like for golden hour portraits?
- What are the most common golden hour portrait mistakes, and how do you fix them?
- 15 golden hour portrait shot ideas to practice
- Todd's pro workflow: how a working portrait pro runs a golden hour session
- What golden hour photography actually teaches you
- Larson Pro Photography for golden hour portrait sessions
- Tools and resources worth bookmarking
- Sources
What is golden hour, and when should you schedule a portrait session?
Golden hour is the period before sunset (or after sunrise) when the sun sits low on the horizon and produces warm, directional light with long, soft shadows. The Wikipedia entry on golden hour photography) describes the window as roughly that 45–60 minute span, but the real magic for portraits is narrower: the peak minutes just before the sun dips below the horizon. During that window, the light turns amber, contrast drops, and skin tones practically glow without any modifier.
Latitude and season matter more than most beginners expect. In summer at higher latitudes, golden hour can stretch well past an hour because the sun descends at a shallow angle. In winter, or near the equator, it can compress to 20–30 minutes. Local obstructions, a treeline to the west, a downtown skyline, a hillside, can cut the usable window even shorter by blocking the sun before it technically sets.
Scheduling rule: Use PhotoPills or Sun Surveyor to find the exact sunset minute for your date and location, then count back 40 minutes. That is your arrival time. Build your session start 10 minutes after arrival so you have time to scout, set up gear, and warm up your subject before the peak window opens.
How do you choose and scout a location for golden hour portraits?
The best golden hour locations share one trait: they give you a clear sightline to the western horizon with enough open sky to let the low sun reach your subject. Open fields, lakefronts, and beach edges work because nothing interrupts the light path. Tree lines and urban alleys work differently: they filter and bounce light, creating dappled warmth and natural fill from reflective surfaces.
Location scouting checklist:
- Check the sun angle relative to your subject position using PhotoPills or Sun Surveyor; place the red pin where your subject will stand and confirm the sun will be behind or to the side at session time
- Look for available reflected light (water, light-colored walls, sand) that can serve as natural fill
- Identify foreground elements (tall grass, wildflowers, fence lines) that add depth without competing with warm skin tones
- Choose backgrounds that contrast with orange and gold: deep green foliage, blue water, or dark urban surfaces work; bright white or yellow walls fight the palette
- Note any obstructions that will block the sun early and plan your shot sequence around them
Digital Photography School recommends scouting the location the day before when possible, and continuing to shoot five to ten minutes after sunset when the sky often produces its richest colors. That post-sunset window is worth staying for.
What gear and camera settings do you need for golden hour portraits?
Core gear
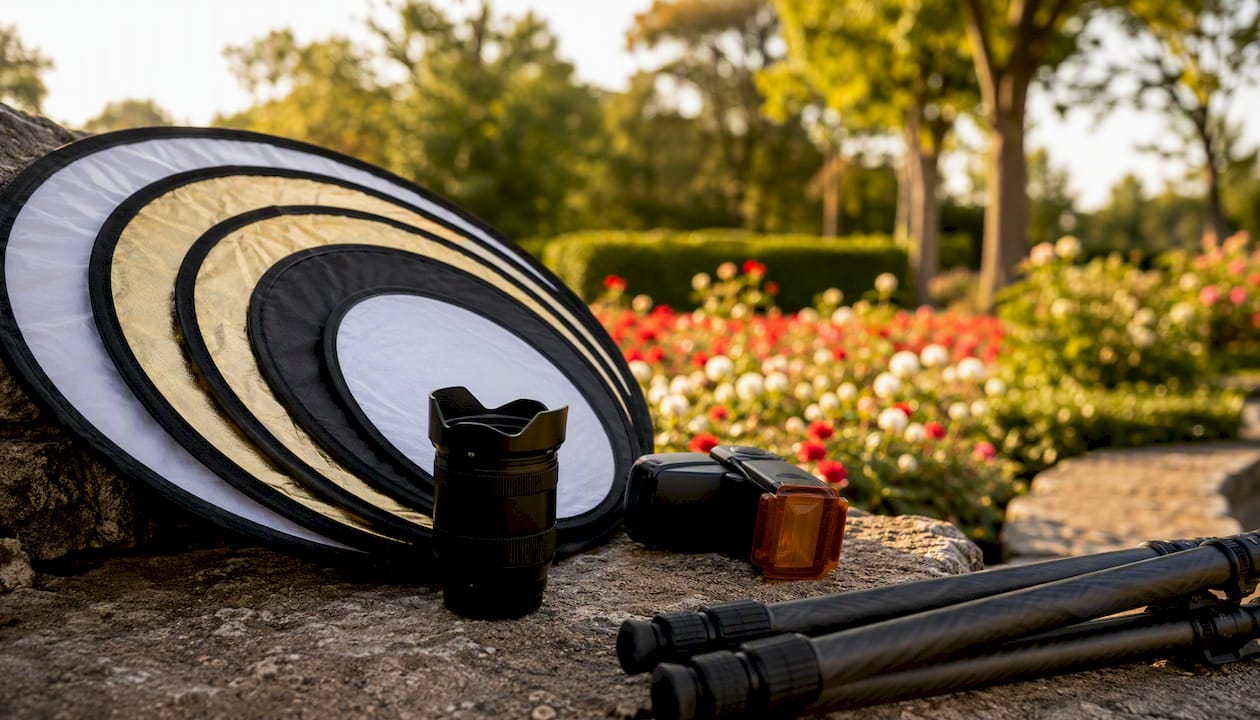
A fast prime is the single most useful piece of glass you can bring. An 85mm f/1.8 gives flattering compression and creamy background separation; a 50mm f/1.8 is more versatile for tighter locations; a 35mm works well for environmental portraits where you want to show the sky. Bring a collapsible 5-in-1 reflector (the gold side warms fill light naturally), a lens hood to control flare, and a small off-camera flash or LED panel for when the reflector alone is not enough. A tripod is optional but useful if you plan to shoot below 1/60s for creative motion blur.
Camera settings by scenario
Jack Harris provides scenario-based starting values that translate directly to the field. Use the table below as your baseline, then adjust as the light changes.
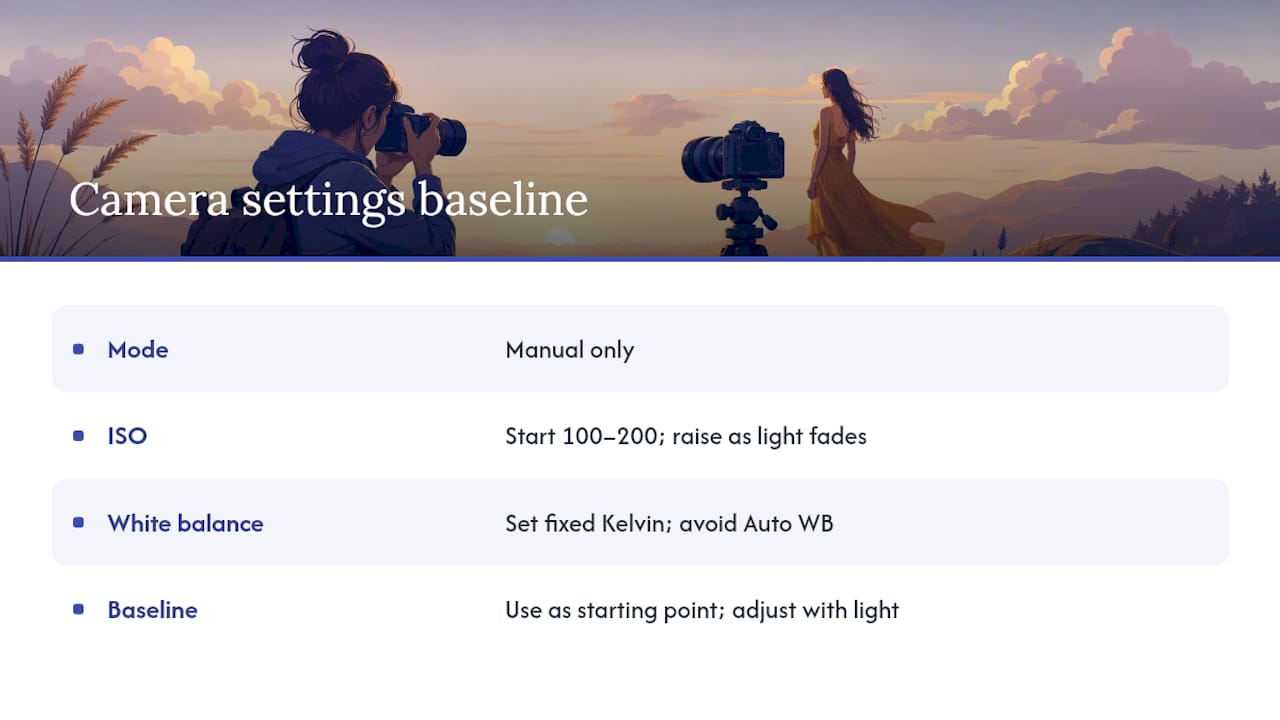
Always shoot in Manual mode. LightScout recommends starting at base ISO (100–200) early in the session and increasing gradually as the light fades, rather than letting Auto ISO make unpredictable jumps. Set white balance to a fixed Kelvin value rather than Auto White Balance, which will try to neutralize the very warmth you are chasing.
Smartphone settings
Smartphones can produce strong golden hour portraits when you use them correctly. On iPhone, enable iPhone ProRAW in the camera settings and shoot with the native Camera app or switch to Halide or ProCamera for manual control. Lock AE/AF by pressing and holding on your subject's face, then slide the exposure wheel to expose for skin. Set white balance manually in Halide or ProCamera rather than letting the phone decide. Avoid digital zoom and turn off automatic HDR, which tends to flatten the warm tones.
Pro Tip: Lock your Kelvin value at the start of the session and leave it there. As the light warms toward sunset, a fixed white balance will let that warmth accumulate in the image rather than being corrected away by Auto White Balance.
How do you use front light, backlight, and silhouettes during golden hour?
Choosing your lighting style
The decision comes down to what you want the image to feel like. Front light (sun behind the camera, hitting the subject's face) is soft and flattering, easy to expose, and forgiving for beginners. Side light adds dimension and texture, great for showing jawlines and environmental context. Backlight creates a rim or halo of warm light around the hair and shoulders, which is the signature golden hour look. Silhouettes strip the image down to shape and mood.
SLR Lounge's breakdown of portrait lighting patterns identifies loop lighting as the most reliably flattering starting point for outdoor portraits. During golden hour, you can approximate loop lighting by positioning the subject at roughly a 45-degree angle to the sun, letting the low light wrap slightly across the face. It works whether the sun is your key or your fill.
Step-by-step: classic backlit portrait
- Position the subject with the sun directly behind them, slightly off-center to avoid lens flare in the center of the frame.
- Switch to spot metering and meter off the subject's face.
- Expose for the face, accepting that the sky behind will be brighter.
- Place a gold reflector at roughly waist height in front of the subject, angled up to bounce warm fill light onto the face.
- If the reflector is not enough, add a low-power off-camera flash (start at 1/32 power) to fill shadows without overpowering the natural light.
- Check the histogram: you want the face exposure sitting in the middle third, with the sky highlights near the right edge but not clipping.
For intentional silhouettes, switch to evaluative metering, meter the sky, and let the subject go dark. The key is a clean, readable outline: separate the arms from the body, keep the profile clear, and choose a simple background with no distracting elements breaking the subject's edge.
Controlling flare
Flare is useful when it is intentional and destructive when it is not. A lens hood blocks most unwanted flare. When you want a creative sun burst or soft glow, remove the hood and angle the sun just outside the frame edge, "feathering" it in gradually. Avoid letting the sun hit the front element directly unless you are going for a heavily stylized look. Check the corners of the frame for color-shifted patches, which are a sign the flare has gone from creative to distracting.
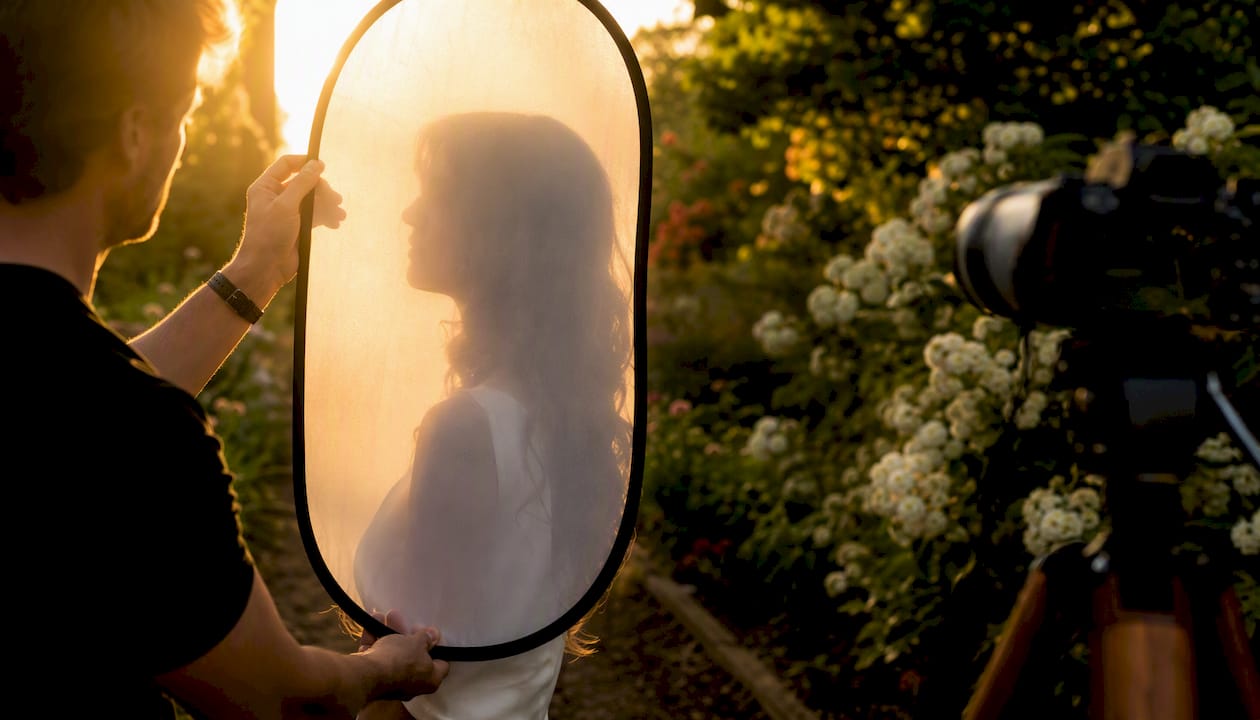
For lighting techniques in outdoor settings, a diffuser held between the sun and the subject softens harsh edge light during the earlier part of the hour when the sun is still relatively high. A gold reflector adds warmth to fill; a silver reflector adds brightness without color shift.
What posing and composition choices work best with golden hour light?
Golden hour light is directional and warm, which means posing decisions affect how the light falls on the face more than they would in flat, overcast conditions. These are the setups that consistently work:
- Gentle turn away from camera: Have the subject turn their body 45 degrees away from the sun, then look back over the near shoulder. The rim light catches the far cheek and ear, and the face receives soft fill.
- Chin tilt toward the light: A slight upward chin tilt opens the face to the low sun and prevents unflattering shadows under the brow. Works especially well for side-lit portraits.
- Walking toward the sun: For couples, have them walk slowly toward the camera with the sun behind them. Wide aperture blurs the background into warm bokeh while the rim light separates them from the scene.
- Profile silhouette: Position the subject in strict profile against the sky. Separate the near arm from the torso so the silhouette reads clearly.
- Lean and look away: Subject leans against a wall or tree, looking away from camera. The sun catches the hair and shoulder; the face is in soft shadow, which you fill with a reflector.
- Low camera angle with sky background: Drop to knee height and shoot upward. The subject is framed against the warm sky rather than a cluttered background, and rim light becomes more dramatic from this angle.
Composition dos and don'ts: Place the horizon low in the frame to show the colored sky, not high where it competes with the subject's face. Use negative space above and beside the subject to let the warm tones breathe. Keep backgrounds simple: a single-color treeline or open water reads better than a busy urban scene. Avoid placing the sun directly behind the subject's head, which creates a halo effect that reads as overexposed rather than intentional. For couple portrait posing ideas, interaction and movement frames almost always outperform static poses because they give the eye something to follow.
How do you run a golden hour portrait session without losing the window?
Session timeline
The window is short. Treat it like a countdown, not a casual stroll.
T-40 minutes: Arrive, walk the location, confirm sun angle, set up reflector and flash if using them. Brief the subject on what to expect and what you will ask them to do.
T-20 minutes: Begin warmup frames. Use this time to dial in exposure, check white balance on the subject's skin, and get the subject comfortable in front of the camera.
T-10 to T-0 (peak window): Shoot anchor frames first: tight headshot with rim light, three-quarter portrait with fill, and one strong environmental wide. These are your must-get shots.
T-0 to T+10 (post-sunset): Move to creative frames: silhouette profiles, movement shots, couple walking into the fading light. The sky often deepens in color after the sun drops.
T+10 to T+15: Capture detail and close-up frames (hands, rings, environmental textures) while the ambient light is still usable.
Shot-priority checklist
- Tight headshot with warm rim light on hair
- Three-quarter portrait with reflector fill on face
- Silhouette profile against the sky
- Environmental wide showing subject in the landscape
- Movement or interaction frame (for couples: walking, laughing, candid)
Coordinating the session logistics in advance makes the difference between a smooth 60-minute window and a chaotic scramble. Send clients a short prep note: wear solid colors or muted tones that complement warm light, avoid bright white, and arrive ready to shoot so you are not losing peak minutes to outfit adjustments.
What does a RAW workflow look like for golden hour portraits?
The goal in editing is to preserve the warmth without pushing skin tones into orange territory, and to recover any highlight or shadow detail the camera could not hold in camera.
| Step | Action | Target |
|---|---|---|
| 1. Import RAW | Open in Adobe Lightroom or Capture One | Preserve all raw data |
| 2. White balance baseline | Start with "As Shot," then fine-tune to 5500–6500K | Warm but not orange |
| 3. Recover highlights | Pull Highlights slider left; use Whites to protect sky | No blown sky |
| 4. Lift shadows | Raise Shadows slider to open face detail | Natural, not flat |
| 5. HSL adjustment | Shift Orange hue slightly toward Red; reduce Orange saturation if skin reads too warm | Natural skin tones |
| 6. Selective masking | Use Lightroom's Select Subject mask to brighten face; Select Sky mask to deepen sky | Balanced exposure |
| 7. Sharpen and denoise | Apply targeted sharpening to eyes; reduce luminance noise if ISO is high | Clean, sharp subject |
Adobe's golden hour technique resources walk through creative approaches to using this light in post, and PetaPixel recommends using Lightroom's selective masking tools to balance sky and subject independently rather than applying global adjustments that compromise one or the other.
For advanced retouching on golden hour portraits, the HSL panel is where most of the skin tone work happens. A slight hue shift in the Orange channel (toward Red) keeps skin looking natural rather than spray-tanned. Pull Orange saturation down by 5–10 points if the warmth is reading as artificial. Never push Vibrance above +20 on a golden hour portrait; the colors are already saturated and the slider will quickly make the image look processed.
What are the most common golden hour portrait mistakes, and how do you fix them?
Auto White Balance neutralizing the warmth. AWB reads the orange light as a color cast and corrects it, leaving you with flat, lifeless tones. Fix: set a manual Kelvin value (5500–6500K) before you start shooting and leave it there for the session.
Blown highlights when shooting toward the sun. Spot-metering on the face often clips the sky. Fix: bracket two to three frames (expose for the face, then underexpose by one and two stops), or expose for the highlights and lift the face in RAW post-processing. Shooting RAW gives you roughly two to three stops of recovery headroom in the highlights.
AF hunting in backlight. Low-angle backlight confuses phase-detect autofocus, especially when the sun is near the frame edge. Fix: switch to single-point AF and place the point on the near eye. If the camera continues to hunt, switch to manual focus and use focus peaking or magnified view to confirm sharpness.
Arriving too late. The peak window is 15–20 minutes. Arriving at sunset means you are setting up while the best light is already happening. Fix: treat arrival 30–40 minutes early as non-negotiable.
Pro Tip: Check the histogram after every third or fourth frame during the peak window. The LCD preview lies in bright outdoor conditions; the histogram does not. A spike hard against the right wall means blown highlights that RAW cannot fully recover.
15 golden hour portrait shot ideas to practice
- Tight backlit headshot with hair rim. Sun directly behind the subject; expose for the face. Teaches you to balance backlight and fill.
- Silhouette jump. Subject jumps against the sky; meter the sky. Practices clean silhouette edges and timing.
- Couple walking into the sun. Wide aperture, sun behind them, camera at eye level. Teaches rim light on moving subjects.
- Subject framed in a doorway. Filtered golden light through an opening. Practices using architecture as a natural diffuser.
- Low-angle rim light portrait. Camera at knee height, subject standing. Teaches how camera angle amplifies rim light drama.
- Reflector-fill close-up. Tight face shot with gold reflector fill. Practices controlling fill ratio.
- Profile silhouette against water. Subject in strict profile, water reflecting the sky behind. Teaches background selection for silhouettes.
- Lens flare portrait. Sun just outside the frame edge, no lens hood. Practices intentional flare control.
- Environmental wide with subject small in frame. Subject in lower third, sky dominant. Teaches using negative space with warm tones.
- Couple forehead-to-forehead. Intimate pose, side-lit. Practices loop lighting in natural conditions.
- Subject looking away, rim on far shoulder. Three-quarter turn, looking off-frame. Teaches rim light placement on the shoulder.
- Backlit dress or fabric movement. Subject spins or fabric catches the light. Teaches translucency effects in backlight.
- Hands or detail shot in golden light. Rings, flowers, or texture close-up. Practices macro-style framing in warm light.
- Candid laugh, side-lit. Subject laughing naturally, sun at 90 degrees. Teaches reading expressions in changing light.
- Post-sunset blue-to-orange sky portrait. Shoot five minutes after sunset when the sky gradient is richest. Teaches the value of staying past the obvious moment.
Todd's pro workflow: how a working portrait pro runs a golden hour session
Here is how a professional golden hour session actually runs, minute by minute, from a working photographer's perspective.
Preparation (day before): Check PhotoPills for exact sunset time and sun azimuth. Scout the location digitally using the sun-path overlay, then confirm on foot if possible. Text the client a prep note: solid or muted tones, no bright white, arrive five minutes before the scheduled start.
Packing list: 85mm f/1.8 (primary), 35mm f/2 (environmental), 5-in-1 reflector with assistant grip or stand, one small speedlight with a 1/4 CTO gel, extra batteries, lens hood for both lenses, and a printed shot-priority list.
| Time | Action |
|---|---|
| T-40 min | Arrive, walk location, confirm sun angle, set up reflector position |
| T-20 min | Client arrives; warmup frames, dial in exposure and WB on skin |
| T-10 min | Anchor shots: tight rim headshot, three-quarter with fill |
| T-5 min | Environmental wide, couple walking frame |
| Sunset | Silhouette sequence: profile, jump, couple |
| T+5 min | Post-sunset sky frames; detail shots |
| T+10 min | Wrap, pack, confirm with client |
Client communication tip: Tell subjects before the session that you will be moving quickly during a 10–15 minute window and that you will direct them clearly. Subjects who understand the time pressure stay focused instead of pausing to check their phones. A short briefing at the start saves five minutes of re-engagement during the peak window.
For a step-by-step session plan that shows how this workflow applies to wedding portraits specifically, the structure is nearly identical: anchor frames first, creative frames second, details last.
What golden hour photography actually teaches you
Most photographers treat golden hour as a shortcut: beautiful light that makes average images look good. That is partly true, and it is also the reason so many golden hour portraits look identical. The warm rim light, the bokeh, the orange sky. Once you have seen a thousand of them, the formula is obvious.
What the window actually teaches, when you pay attention, is how to read light on a face in real time. During those 15–20 peak minutes, the color temperature shifts, the angle drops, and the shadows lengthen, all while you are directing a subject and managing exposure. You cannot pause and think. You have to recognize when the light crosses the subject's face in a way that creates a catchlight, or when the rim light has moved from flattering to harsh because the sun dropped another two degrees.
The habit worth building is this: start every session with two anchor frames locked in before you get creative. One safe, well-lit face shot. One strong silhouette. Those two frames mean the session is never a failure, no matter what happens in the remaining minutes. Everything after them is upside.
The other thing most guides skip: protect your creative control by setting everything manually before the subject arrives. White balance, aperture, base ISO. When the light peaks, you should be adjusting one variable at a time, not scrambling through menus. The photographers who consistently get the shot are not faster; they are more prepared.
Larson Pro Photography for golden hour portrait sessions
Golden hour sessions require preparation that most photographers underestimate: sun-path research, location scouting, gear layout, and client briefing, all before the shutter fires once.
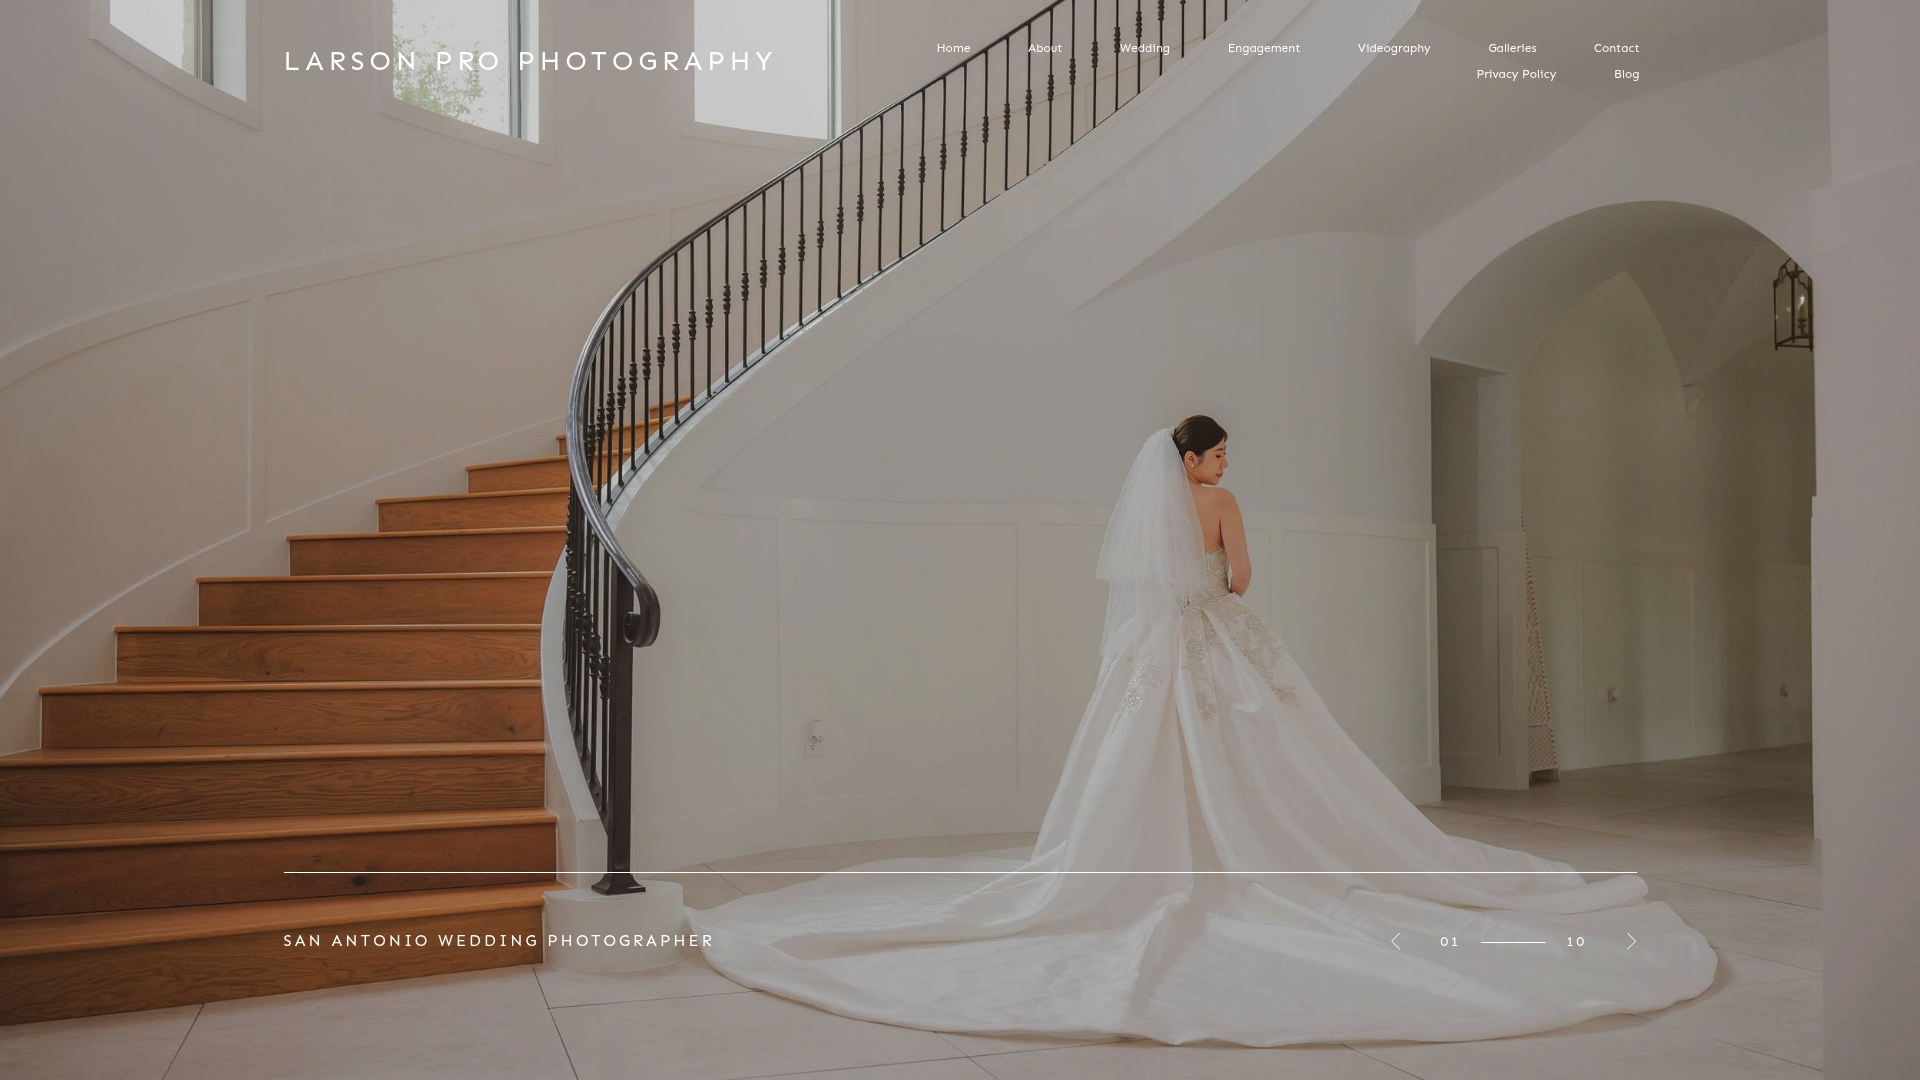
Larsonprophotography specializes in exactly this kind of session, with a portfolio built around warm-light portraiture for engagements and weddings in San Antonio. Every session includes pre-shoot planning with the client, location scouting matched to the sun's position on your specific date, and an on-location workflow that secures anchor frames before moving into creative backlit and silhouette sequences. Hiring a pro means the 15-minute peak window produces finished images rather than learning experiences. Browse the engagement portrait portfolio to see golden hour work in practice, or visit the client booking page to check availability for your date.
Tools and resources worth bookmarking
- PhotoPills: Sun-path planning app with AR overlay; use it to place the red pin at your subject's position and visualize the exact sun angle at session time.
- Sun Surveyor: iOS and Android app for sun and moon tracking; shows golden hour windows and lets you preview sun position at any future date and time.
- timeanddate.com: Free web tool for exact sunrise, sunset, and golden hour times by city; useful for quick scheduling without a paid app.
- Halide (iOS): Manual camera app for iPhone with RAW capture, focus peaking, and manual white balance; the best option for golden hour smartphone portraits.
- ProCamera (iOS): Alternative manual camera app with histogram display and manual Kelvin control; useful when you want a live histogram during the session.
- Adobe Lightroom: Primary editing platform for RAW golden hour portraits; Select Subject and Select Sky masks make sky-to-subject balancing fast and non-destructive.
- iPhone ProRAW: Apple's RAW format for iPhone 12 Pro and later; enable it in Camera settings under Formats for maximum editing latitude in golden hour conditions.
- LightScout: Planning and technique resource covering camera settings, RAW workflow, and smartphone golden hour tips in one place.
Sources
- Golden Hour Photography: The Definitive Guide | PhotoPills
- Golden Hour Photography: Complete Guide & Tips | LightScout
- Camera Settings for Golden Hour Portraits: Aperture, ISO and White Balance Explained - Jack Harris Photo
- 11 pro tips to instantly elevate your golden hour photography | PetaPixel
- Common key light patterns - SLR Lounge