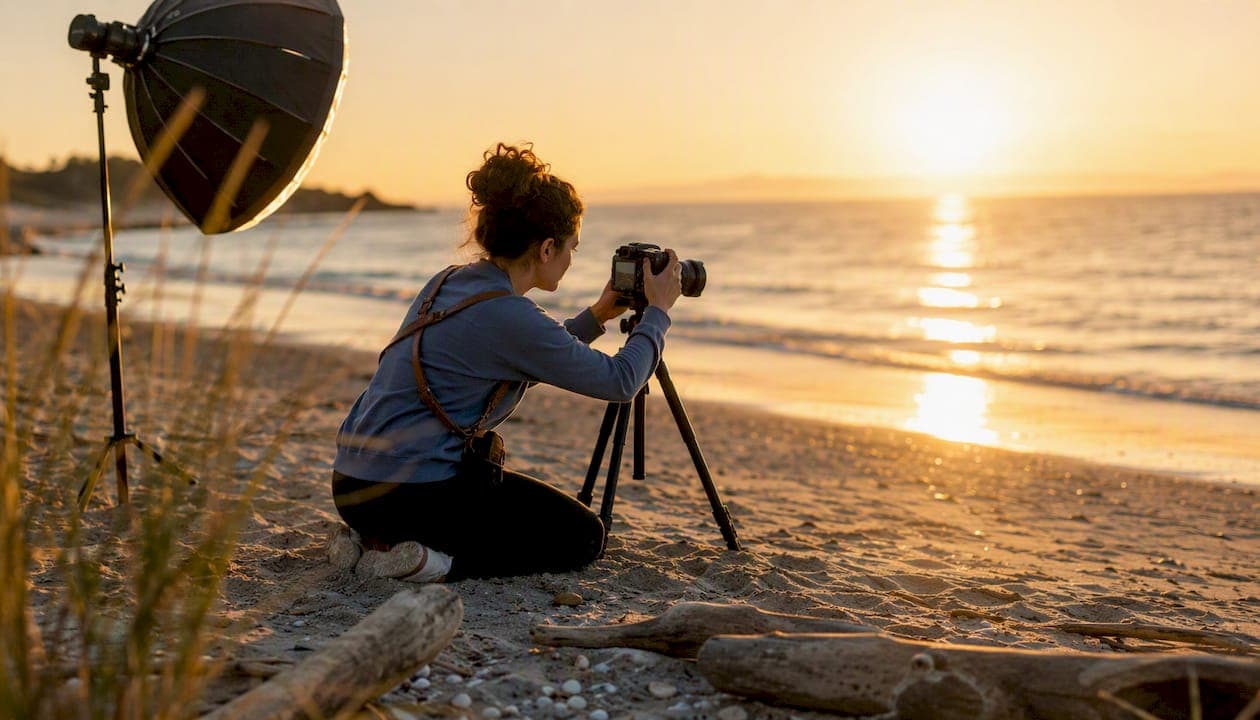
Atmospheric lighting shapes the mood, emotion, and storytelling in engagement portraits by controlling four things: direction, color temperature, contrast, and layering. Get those right, and a simple field at sunset becomes a cinematic love story. 57% of photographers prefer natural light for engagement sessions, and the reason isn't nostalgia — it's that ambient light carries warmth, movement, and authenticity that flash alone rarely replicates. Larsonprophotography builds every engagement session around these principles, planning the time of day, location, and light layering before a single shutter fires.
For couples: expect images that feel warm, intimate, and emotionally true when your photographer prioritizes atmospheric light.
For photographers: the priority is establishing your ambient exposure first, then layering accent and mood light around it — not the other way around.
The core levers, in order of impact:
- Direction (front, side, back) — controls intimacy, drama, and subject separation
- Color temperature — warm tones in the typical range for romantic lighting read as romantic; cool tones add tension or edge
- Contrast and shadow — low contrast feels gentle; high contrast drives drama
- Layering — ambient sets the base, accent shapes the subject, mood light adds depth and color
Stat: Natural light is the top choice among engagement photographers, with 57% citing it as their preferred approach for capturing authentic connection.
Table of Contents
- How does ambient light compare to flash for engagement portraits?
- How does lighting direction, contrast, and color temperature shape emotion?
- What camera settings and techniques work best for atmospheric engagement portraits?
- Which lighting approach fits your engagement session scenario?
- What should couples confirm before their engagement session?
- Why do professionals layer ambient, accent, and mood light?
- Key Takeaways
- Why atmospheric light is the most underrated planning decision in engagement work
- Larsonprophotography brings cinematic lighting to your engagement session
- Further reading and gear references
How does ambient light compare to flash for engagement portraits?
Ambient and atmospheric light are soft, directional, and time-sensitive. They shift in color and intensity as the sun moves, which is exactly what makes them compelling. A golden-hour backlight at 6:45 PM looks nothing like the same location at noon. That variability is a feature, not a bug — it gives each session a specific emotional signature.
Flash offers control. It freezes motion, punches through shade, and lets you shoot at any hour. The trade-off is that aggressive flash can flatten the atmospheric quality that makes engagement portraits feel alive. The hybrid approach — using off-camera flash as fill or rim light while preserving the ambient base — is where most experienced photographers land.
| Approach | Strengths | Limitations | Best for |
|---|---|---|---|
| Ambient only | Authentic mood, warm color, natural feel | Weather-dependent, narrow time window | Golden hour, overcast parks, candlelit interiors |
| Hybrid (fill flash) | Balanced exposure, subject separation, flexible | Requires more gear, setup time | Backlit portraits, mixed-light venues |
| Flash-forward | Full control, any time of day | Can feel commercial, loses atmosphere | Urban editorial, dramatic silhouettes |
Common session scenarios:
- Golden-hour beach: Ambient only. The warm side light and ocean haze do the work. Flash competes with the mood.
- Indoor reception with string lights: Ambient base with a small gelled accent light to separate the couple from the background.
- Urban rooftop at blue hour: Hybrid. The city glow provides color and context; a subtle off-camera flash keeps faces readable without killing the skyline.
How does lighting direction, contrast, and color temperature shape emotion?
Lighting is central to emotional connection in portrait photography — direction and quality guide how a viewer perceives the subject before they consciously register anything else.
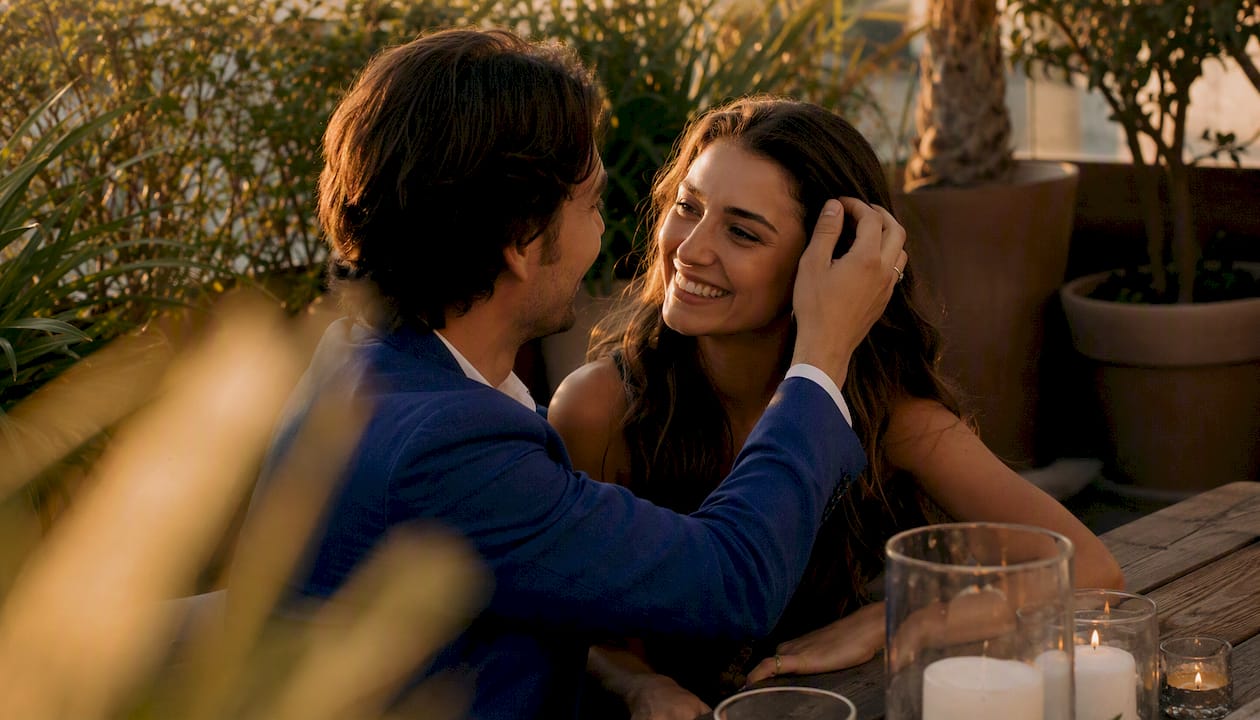
Direction is the most immediate variable. Front lighting is even and readable but can feel flat. Side lighting carves dimension into faces and creates a sense of depth. Backlighting — the signature of golden-hour engagement work — wraps the couple in a warm halo, separating them from the background and creating a sense of romance that's hard to manufacture any other way.
Contrast and shadow map directly to emotional register. High contrast (deep shadows, bright highlights) reads as dramatic and cinematic. Low contrast, where shadows are soft and transitions are gradual, feels intimate and gentle. For most engagement portraits, you want the latter: soft shadows that flatter skin and keep the focus on expression, not structure.
Color temperature carries emotional weight most couples don't consciously notice but always feel. Warm tones in the 2,700–3,000K range — sunset light, tungsten practicals, candlelight — read as romantic, safe, and intimate. Cooler tones (4,000K and above) feel sharper and more contemporary. A few quick scene examples:
- Backlit field at sunset: warm, airy, timeless — the classic engagement look
- Tungsten-lit reception hall: amber and cozy, almost cinematic in its warmth
- Overcast forest midday: cool, even, and moody — works beautifully with darker wardrobe
Pro Tip: To increase perceived intimacy, place your main light source slightly behind and to the side of the couple, then use a reflector or bounce card to lift shadows on their faces just enough to keep detail. The result is a face that's lit but not flat — shadow still shapes the image, it just doesn't dominate.
What camera settings and techniques work best for atmospheric engagement portraits?
Mastering natural light attributes first — quality, color, direction, luminosity — before reaching for complex gear is the foundation of consistent atmospheric work. Here's what that looks like in practice.
Starter camera settings by situation
| Situation | Aperture | Shutter Speed | ISO | White Balance |
|---|---|---|---|---|
| Golden hour backlight | f/1.8–f/2.2 | 1/500s or faster | — | — |
| Overcast / open shade | f/1.8–f/2.0 | 1/500s or faster | — | — |
| Reception candlelight | f/1.8–f/2.0 | 1/60–1/80s | 800–3200 | 2,700–3,200K |
These ranges align with practical settings used for wedding portrait work in similar lighting conditions. Treat them as starting points, not absolutes — meter for the face, not the sky.
Setup 1: Ambient-only golden hour
- Arrive at least 90 minutes before sunset to scout and let the couple settle in.
- Position the couple with the sun behind them at roughly a 45-degree angle.
- Set aperture wide (f/1.8–f/2.2), shutter at 1/500s or faster to freeze movement.
- Spot-meter on the face. The background will blow out slightly — that's the look.
- Use a collapsible reflector (silver or white) at a low angle to bounce light back onto faces.
- Shoot in bursts during the last 20 minutes of golden hour when color peaks.
Setup 2: Hybrid fill-flash backlit portrait
- Establish ambient exposure first: meter the background, not the subject.
- Underexpose the ambient by 1/3 to 2/3 stop for richer color in the sky.
- Add an off-camera speedlight at 1/4 to 1/8 power, positioned at 45 degrees to the couple's front.
- Use a small softbox or shoot-through umbrella to keep the flash soft.
- Check the flash-to-ambient ratio: the flash should lift, not overpower.
Setup 3: Low-light reception with gelled accent
- Set camera to f/1.8–f/2.0, ISO 1600–3200, shutter at 1/60–1/80s.
- Place a small speedlight off to the side with a CTO (orange) gel to match the warm ambient.
- Bounce the flash off a nearby wall or ceiling if possible — direct flash kills the mood.
- Keep flash power low (1/16 to 1/32) so the practical lights (candles, strings) remain visible.
- Shoot tethered or review frequently: reception light changes fast as candles burn down.
Modifier quick reference: A 5-in-1 reflector handles most outdoor work. For flash, a small Rogue FlashBender or MagMod sphere softens the output without adding bulk. Dimmable LED panels (like those from Lume Cube) work well for indoor accent work when flash would be disruptive.
Pro Tip: To get that natural-looking flash result, underexpose your ambient by 1/2 stop, then bring the flash up just enough to match. The eye reads it as natural light. Push the flash brighter than the ambient and it immediately reads as artificial.
Which lighting approach fits your engagement session scenario?
Matching the right approach to the right location saves time and produces better images. Here's how to think through five common scenarios.
Beach at golden hour calls for ambient-only. The warm side light, ocean haze, and reflective sand act as natural fill. Arrive early to check tide timing and sun angle — the window is narrow, often 20–30 minutes. Composition tip: position the couple so the water line creates a leading line behind them.
Wooded park at midday is the hardest scenario. Dappled light through tree canopy creates uneven patches that are unflattering and hard to correct in post. Move the couple to open shade at the edge of the tree line, where light is even. Overcast days are actually ideal here — the sky acts as a giant natural softbox, giving even illumination from any direction. A reflector adds just enough lift to keep faces from going flat.
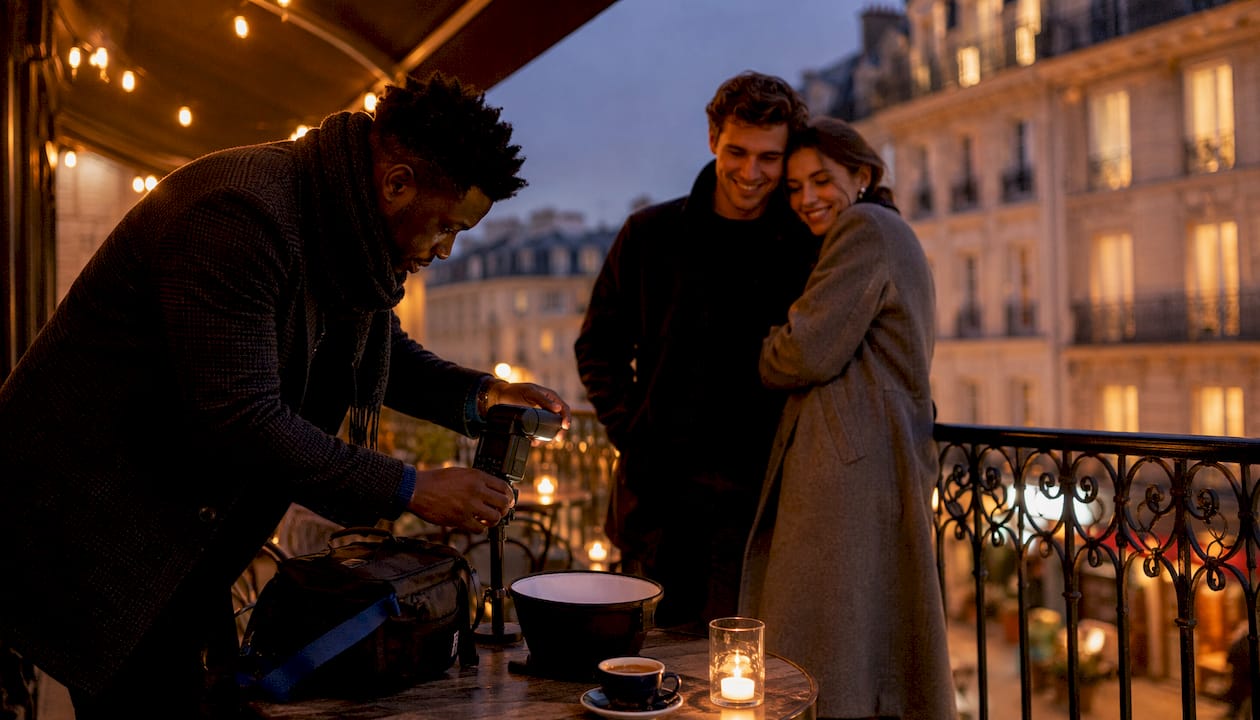
Urban rooftop at blue hour is made for the hybrid approach. The city lights provide color and ambient fill; a small off-camera flash keeps the couple sharp against the bright background. Rooftop access often has a hard cutoff time, so confirm logistics in advance and plan to shoot fast.
Indoor café with warm practicals works best ambient-only or with a bounced, gelled flash. Lean into the tungsten warmth — set white balance manually around 2,800–3,200K so the amber tones read as intentional, not as a color cast. Position the couple near a window if one exists; the mixed light (warm interior, cooler window) creates natural depth.
Evening reception with string lights is a mood-first scenario. String lights and Edison bulbs create beautiful bokeh in the background but don't throw enough light to expose a face cleanly at ISO 800. A gelled speedlight at low power, bounced off a wall, solves this without destroying the atmosphere. Check outdoor lighting setups for hybrid strategies that translate directly to this kind of mixed-light environment.
Practical reminders: Arrive early enough to run test shots before the couple is in frame. Build in buffer time for outfit changes — a wardrobe swap can cost 10–15 minutes of golden-hour light. Confirm location access, parking, and any permit requirements before the session day.
What should couples confirm before their engagement session?
A short pre-session conversation about lighting preferences makes a measurable difference in the final images. Here's what to lock in before you show up.
Before the session, confirm:
- Preferred mood: bright and airy vs. moody and cinematic
- Location type and any backup options for weather
- Time of day (and whether golden hour is a priority)
- Wardrobe contrast — light clothing against dark backgrounds reads differently than the reverse
- Whether the photographer uses flash and what that looks like in sample images
Questions to ask your photographer:
- Do you have sample images from golden-hour sessions in similar locations?
- How do you handle low-light or overcast conditions?
- Will you use flash, and if so, how do you keep it from looking artificial?
- Can we plan the session timeline around the light?
Shot list to request:
- Backlit close-up (faces in soft rim light, background glowing)
- Candid golden-hour walk (movement, natural expressions)
- Candlelit or string-light close portrait (indoor or evening)
- Silhouette at sunset (couple kissing or embracing against the sky)
Logistics note: Arriving well before sunset gives you time to settle in, do test shots, and hit peak golden-hour light without rushing. Wear shoes you can actually walk in — location changes mid-session are common, and heels on a beach or cobblestones slow everything down.
Why do professionals layer ambient, accent, and mood light?
The three-zone approach is the difference between a portrait that documents and one that tells a story. Layering ambient, accent, and mood light — rather than lighting uniformly — is how photographers create depth and emotional control in a single frame. You can explore how this connects to visual narrative in photography more broadly, but the photographic logic is straightforward.
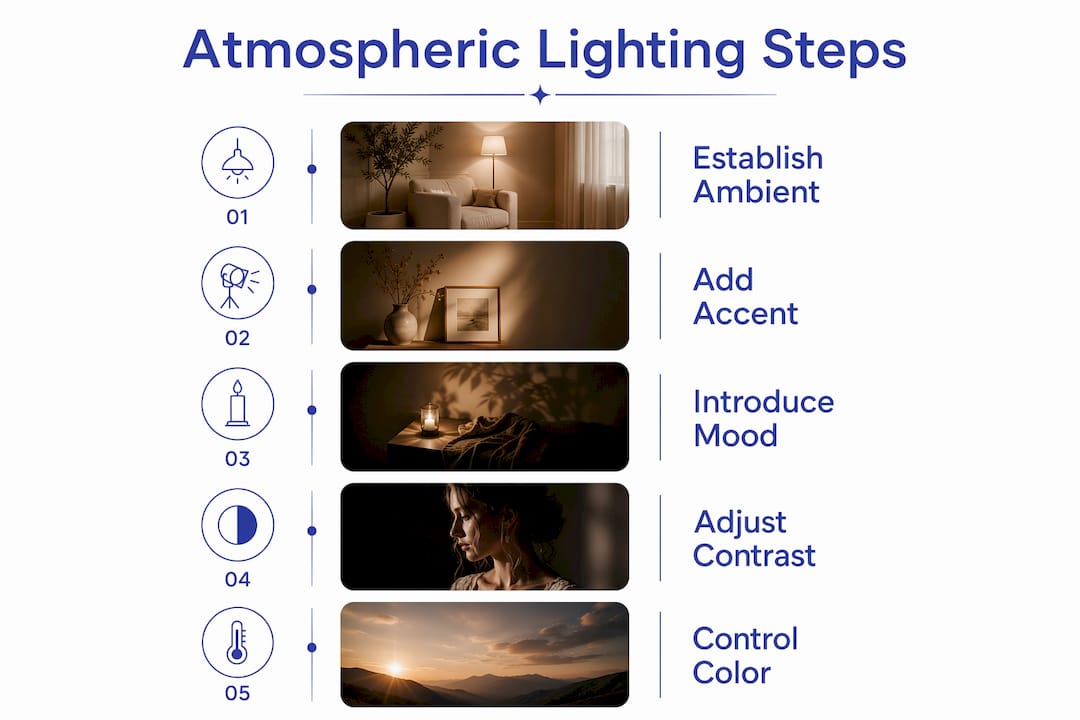
Zone 1 — Ambient: the base illumination. This is what establishes the scene's context and overall color temperature. In engagement work, it's usually the sky, the venue's practical lights, or a combination. You expose for this first.
Zone 2 — Accent: subject emphasis. A rim light, hair light, or subtle off-camera flash that separates the couple from the background and draws the eye. Without accent light, subjects can merge into the scene — technically exposed but visually flat.
Zone 3 — Mood: color and contrast shaping. A gelled light, a colored LED panel, or even a strategically placed reflector that adds a specific emotional tone. This is the layer most photographers skip, and it's the one that makes an image feel cinematic rather than documentary.
Order of operations: establish ambient exposure, add accent to shape focus, introduce mood light last. Reversing this order leads to images that look artificially lit even when the intent was atmospheric.
A practical example: a couple in a reception hall with warm string lights overhead (ambient). A small off-camera flash with a CTO gel at low power from camera-left creates rim separation on their shoulders (accent). A second small LED panel with a subtle amber wash on the background wall deepens the warmth and creates tonal separation between the couple and the space (mood). The result moves from "nice snapshot" to something that feels like a film still.
Pro Tip: You don't need three separate lights to run three zones. A dimmable LED panel as ambient, a small speedlight with a gel as accent, and a reflector angled to add warmth to the background can cover all three zones with gear that fits in a camera bag.
Key Takeaways
Atmospheric lighting in engagement portraits works because it controls direction, color temperature, contrast, and layering — and getting all four right is what separates a technically correct image from one that genuinely moves people.
| Point | Details |
|---|---|
| Ambient light first | Establish your ambient exposure before adding any flash or accent light. |
| Golden hour is the prime window | Arrive 90 minutes before sunset; peak light lasts roughly 20–30 minutes. |
| Three-zone layering creates depth | Ambient sets context, accent separates subjects, mood light adds emotional color. |
| Color temperature carries emotion | Warm tones (2,700–3,000K) read as romantic; cooler tones add edge or tension. |
| Larsonprophotography | Plans every engagement session around golden-hour timing, hybrid lighting, and three-zone layering for cinematic results. |
Why atmospheric light is the most underrated planning decision in engagement work
Most couples spend weeks choosing a location and an hour choosing outfits. They spend almost no time thinking about light. That's backwards. The location sets the stage, but the light determines whether the images feel like art or like documentation.
The conventional wisdom is that golden hour is just "pretty light." It's more than that. The low angle of the sun at golden hour creates side and back lighting naturally — the same quality of light a photographer would spend significant time and gear replicating in a studio. The color shift toward warm amber tones flatters every skin tone without post-processing. The soft shadows reduce the need for complex fill setups. Golden hour is, in effect, a free three-zone lighting setup that happens once a day.
What photographers underestimate is how much the couple's comfort affects the light. A couple who is relaxed and laughing will catch light differently than one who is stiff and self-conscious. The best atmospheric lighting technique in the world doesn't compensate for a couple who feels like they're being photographed rather than spending time together. The lighting plan matters. So does the 20 minutes of conversation before the first frame.
The gap between what atmospheric lighting promises and what it actually delivers usually comes down to timing and preparation. A session that starts at golden hour instead of arriving at golden hour is a session that loses its best 20 minutes to setup and nerves. Plan the light, then plan everything else around it.
Larsonprophotography brings cinematic lighting to your engagement session
Couples who want images that feel like a film still — warm, layered, emotionally specific — need a photographer who plans the light before planning the location. Larsonprophotography's engagement sessions are built around exactly that: golden-hour timing, three-zone lighting logic, and a consultative process that starts with your mood preferences, not a shot list.
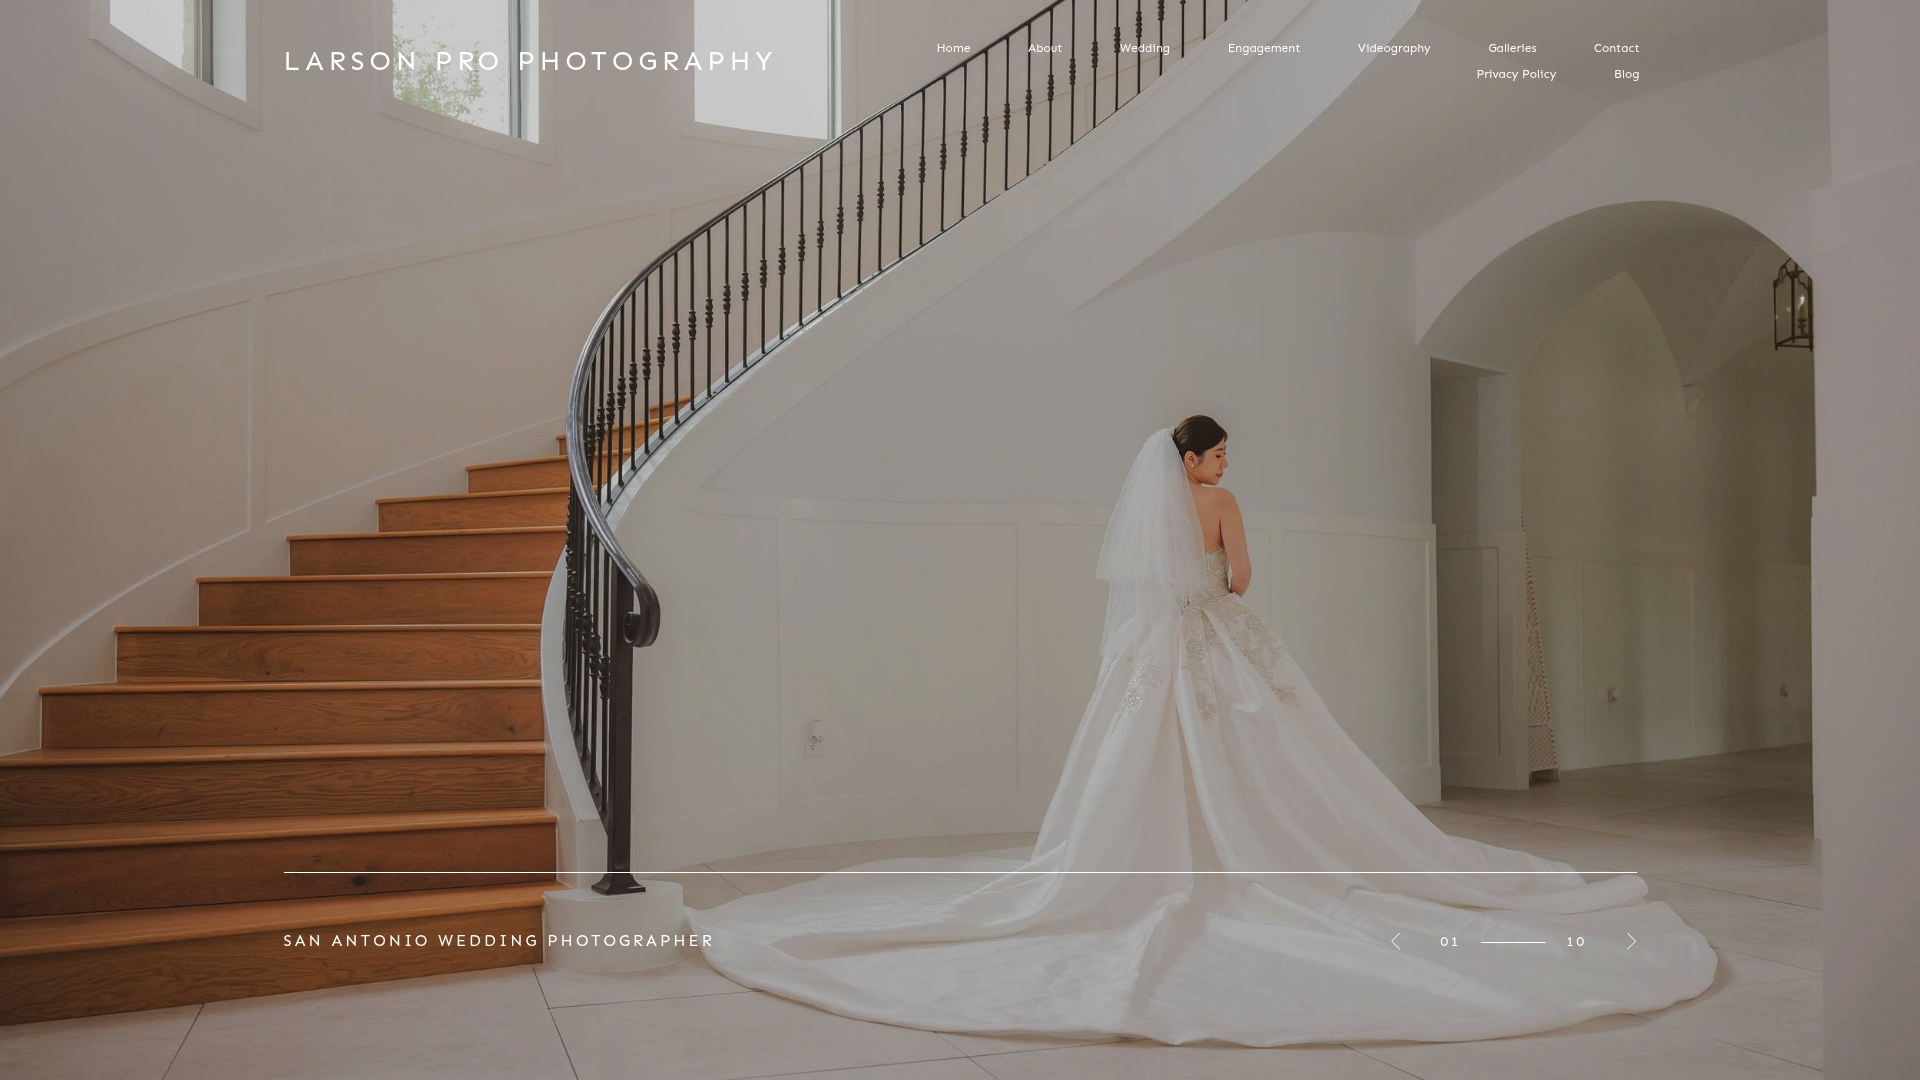
Every session includes a pre-shoot consultation to align on lighting approach, location, and timeline. Whether you want bright and airy or moody and cinematic, the session is planned around the light that achieves it — not adjusted after the fact in editing. View the client gallery to see how different lighting approaches translate to finished portraits, then reach out to check availability for your date.
Further reading and gear references
| Type | Resource | What it covers |
|---|---|---|
| Reading | Lighting as a narrative device | Larsonprophotography's foundational guide to lighting in photography |
| Reading | Portrait lighting setups | Adobe's guide to direction, quality, and emotional impact of light |
| Reading | Atmospheric lighting factors | Studio De Schutter on layering ambient, accent, and mood light |
| Reading | Outdoor lighting techniques | Hybrid flash strategies for outdoor engagement and wedding work |
| Gear | 5-in-1 collapsible reflector | Handles most outdoor fill and bounce needs; fits in a camera bag |
| Gear | Rogue FlashBender or MagMod sphere | Softens speedlight output for natural-looking fill flash |
| Gear | Lume Cube dimmable LED panel | Compact accent and mood light for indoor and low-light sessions |