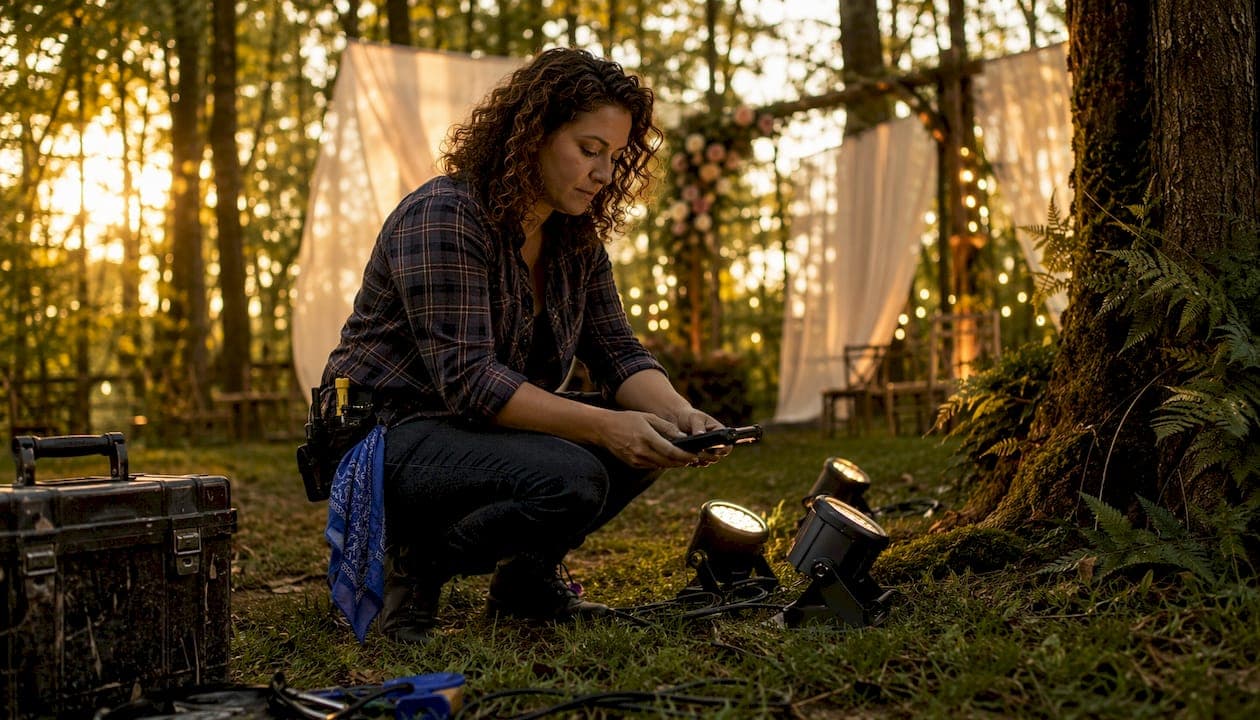
The foundation of great outdoor wedding photography comes down to three moves: layer your light sources, keep everything warm-toned (2700K–3000K), and never let your flash fight the ambient light. Get those three right and the rest is refinement.
Here is what that looks like in practice:
- Layer overhead, floor-level, and one dramatic focal element. A string light canopy overhead, lanterns or candles at table level, and a single uplighted tree or archway. That combination photographs beautifully and avoids the flat, shadowless look that plagues over-lit receptions.
- Stick to warm-white LEDs. Warm-white bulbs in the 2700K–3000K range preserve cinematic skin tones. Cool-white reads as fluorescent in photos.
- Balance flash with ambient light. During golden hour and twilight, dial your flash down and let the natural warmth carry the exposure. Overpowering ambient light with flash strips the scene of its mood.
- Zone your venue. Ceremony, reception, dance floor, and pathways each need a distinct lighting strategy, not one uniform setup.
- Plan for weather. Use waterproof, dimmable fixtures throughout. A setup that cannot adapt to a cloudy sky or unexpected drizzle will cost you shots.
Table of Contents
- What equipment do you actually need for outdoor wedding lighting?
- How should you hang string lights for the best photographic effect?
- What does a professional lighting workflow look like for outdoor weddings?
- How do you create a genuinely romantic lighting atmosphere outdoors?
- Key Takeaways
What equipment do you actually need for outdoor wedding lighting?
Gear selection matters more outdoors than indoors because you are fighting weather, distance, and unpredictable power access. Professional outdoor wedding lighting requires waterproof, dimmable, warm-toned LED fixtures zoned strategically for layered lighting and architectural highlighting. Here is what belongs in your kit:
- Outdoor-rated warm-white string lights and Edison bulb strands. These are the workhorses. Warm-white only; skip the color-changing sets entirely.
- Dimmable LED fixtures and flameless LED tapers. Dimmability is non-negotiable. Flameless tapers solve the open-flame problem at venues with fire restrictions.
- Lanterns and hurricane globes. Place them along aisles, at table centers, and on pathways. They add texture and depth that overhead lights alone cannot.
- GFCI outdoor power strips and heavy-duty extension cords. GFCI protection prevents breaker trips and protects against moisture. Never use indoor-rated strips outside.
- Remote control or timer switches. These let you shift ambiance from ceremony to reception without touching a single fixture mid-event.
- Reflectors and diffusers. A 5-in-1 reflector redirects golden-hour light into shadowed faces during portraits. A diffuser softens harsh midday sun for ceremony coverage.
- Backup batteries and a generator option. Cordless lamps die mid-reception. Budget a small generator if your venue has limited power access.
Pro Tip: Remote-controlled dimmable LEDs are worth every dollar. Being able to drop the reception lighting from 100% to 30% with one tap changes the entire mood of the room without anyone noticing the transition.
How should you hang string lights for the best photographic effect?
The single biggest amateur mistake is running string lights in straight parallel rows. A single strand across a dance floor reads as functional, not intentional. Crisscrossing string lights in an X-pattern at 9–10 feet height creates an intimate ceiling effect that transforms large outdoor spaces.
- Use the X-pattern or crisscross canopy arrangement. Hang strands diagonally across the space rather than parallel. The overlapping angles create a ceiling that feels custom rather than strung-up.
- Hang at a height that creates an intimate ceiling effect without guests needing to duck. Lower than that and guests duck; higher and the lights read as a stripe across the sky rather than a ceiling over the room.
- Layer overhead strings with floor-level light. String lights alone leave faces in shadow at dinner. Add candles, hurricane lanterns, or cordless table lamps underneath.
- Check venue restrictions before booking the install. Historic venues often prohibit drilling into trees or masonry. Confirm attachment points early.
- Drop fairy lights inside lanterns. Bare paper lanterns go dark and gray after sunset. A small battery-powered fairy light cluster inside each one makes them actually glow.
- Plan your power load. Calculate total wattage before the event and confirm your circuit can handle it. Spread the load across multiple circuits when possible.
Pro Tip: Mixing bulb sizes adds depth. Pair standard Edison bistro bulbs overhead with delicate fairy light curtains at the head table. The contrast between the two scales photographs with far more visual interest than a single uniform strand type.
What does a professional lighting workflow look like for outdoor weddings?
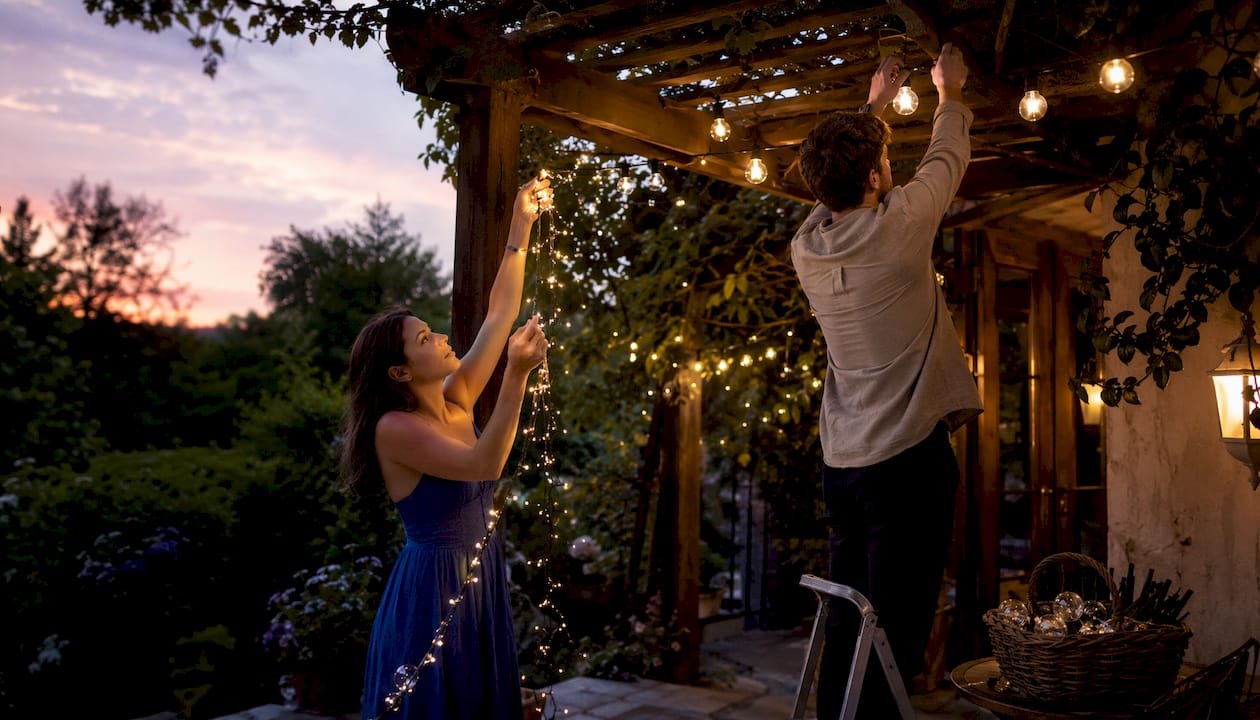
Arriving the day of and improvising is how you lose shots. A comprehensive test run 1–2 hours before the event is the minimum standard. A real workflow looks like this:
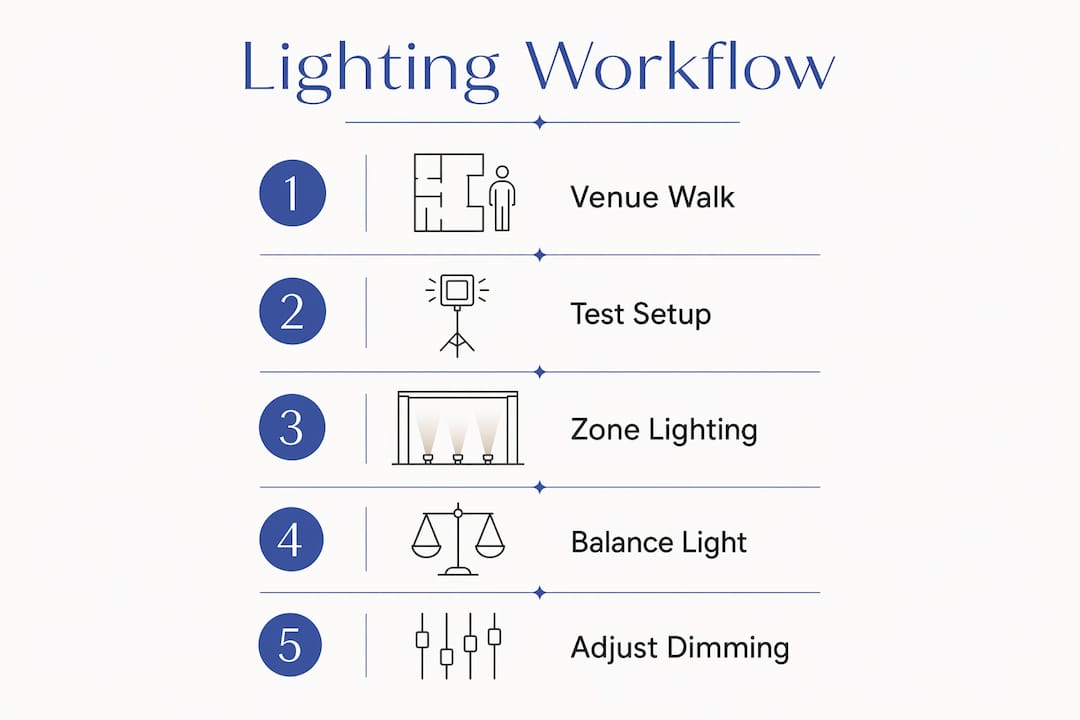
| Stage | Action | Timing |
|---|---|---|
| Venue walk-through | Map power sources, anchor points, and natural light angles | 1–2 weeks before |
| Equipment prep | Test all fixtures, charge cordless units, pack backups | Night before |
| Setup and zone lighting | Install ceremony, reception, dance floor, and pathway lighting | 1–2 hours before |
| Test run | Fire everything up, check exposure at each zone, adjust dimmers | 1–2 hours before |
| Golden hour shoot | Reduce flash, shoot with ambient warmth as primary light | Ceremony/portraits |
| Twilight transition | Bring up reception lighting, confirm dimmer levels at ~30% | Post-ceremony |
| Dynamic adjustments | Adapt to cloud cover, wind, or unexpected power issues | Throughout event |
Segment the venue into distinct zones from the start. Ceremony spaces need soft, directional light that flatters faces without blinding guests. Reception tables need layered warmth. The dance floor needs slightly brighter, more focused overhead light to draw people in. Pathways need enough light to be safe without disrupting the ambient mood.
Balancing flash and ambient light during golden hour and twilight is where outdoor wedding photography either sings or falls flat. Use your flash as fill, not as the primary source. Expose for the ambient light first, then add just enough flash to lift the shadows on faces. For a deeper look at wedding lighting setup workflow, Larsonprophotography covers the full technical sequence for photographers.
How do you create a genuinely romantic lighting atmosphere outdoors?
Romantic outdoor lighting is not about adding more light. It is about controlling the quality and warmth of what you have.
- Use only warm-white sources (2700K–3000K). Avoid cool-white or color-changing lights entirely. Warm-white costs the same and photographs completely differently.
- Layer overhead light with floor-level glow. Overhead string lights plus candles or lanterns at table level fills in the shadows that make faces look dim in photos.
- Pick one dramatic element and commit to it. A single uplighted oak tree, a chandelier over the dance floor, or a fairy light curtain behind the head table. One focal point reads as intentional. Three compete with each other.
- Use uplighting for architectural and natural features. Warm amber or champagne uplighting along tent edges, hedge lines, or stone walls adds dimension and defines the space after dark.
- Replace real candles with high-end flameless LED tapers. Moving-flame LED tapers photograph nearly identically to real candles and eliminate the fire-marshal problem at outdoor venues.
- Bring dimmers down to approximately 30%. Full-brightness Edison chandeliers blow out the dinner scene. At 30%, the room reads as candlelit in photos and in person.
Combining chandeliers, string lights, uplighting, and accent lighting creates the balanced, layered environments that define the best outdoor reception photography. The couples who get the most striking after-dark shots almost always use two or three of these elements together rather than relying on a single source.
Key Takeaways
Layered warm-white lighting at 2700K–3000K, zoned by venue area and balanced against natural ambient light, produces the most photogenic and romantically atmospheric outdoor wedding results.
| Point | Details |
|---|---|
| Layer three light types | Combine overhead anchors, floor-level glow, and one dramatic focal element for depth and warmth. |
| Use warm-white only | Bulbs rated 2700K–3000K preserve skin tones and photograph far better than cool-white or color-changing LEDs. |
| Hang string lights in X-patterns | Crisscross canopy arrangements at 9–10 feet create an intimate ceiling effect rather than a utilitarian stripe. |
| Dim to approximately 30% | Bringing dimmers down from full brightness produces the candlelit quality that defines romantic reception photography. |
| Test run 1–2 hours before | A full power and exposure check before guests arrive prevents mid-event failures and lost shots. |