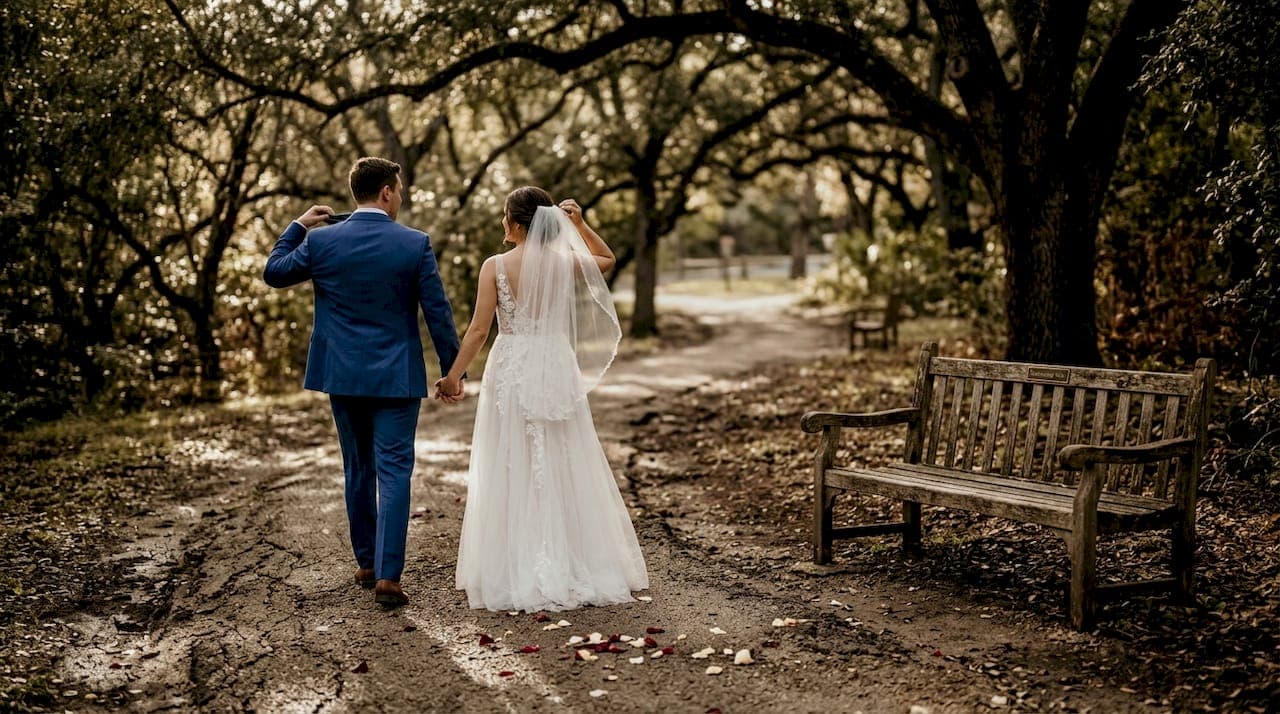
Your wedding portraits will be on your walls for decades, yet most couples spend more time picking a cake flavor than planning how those photos will actually unfold. The anxiety is real: What if the lighting is wrong? What if your family goes rogue during group shots? What if the "just be yourselves" advice leaves you stiff and staring blankly at the camera? This guide breaks the entire portrait session into clear, manageable steps built specifically for San Antonio couples who want stunning results without the stress. Follow along and you will know exactly what to expect, prepare, and do on your wedding day.
Table of Contents
- What you need before portrait sessions
- Step-by-step guide for couples' portraits
- How to master bridal portraits using window light
- Group portraits: Keeping the logistics in check
- Common mistakes and troubleshooting tips
- What really matters for unforgettable wedding portraits
- Enhance your wedding portraits experience with local experts
- Frequently asked questions
Key Takeaways
| Point | Details |
|---|---|
| Start with session prep | Arriving early and planning for detail shots sets up a seamless portrait day. |
| Direct poses intentionally | Using body angles and cues makes couples look natural and relaxed. |
| Master lighting options | Control window light for bridal portraits to add flattering shadows and dimension. |
| Streamline group portraits | Begin with the largest group and subtract members to save time and reduce chaos. |
| Embrace genuine moments | Focus more on emotional connection than on achieving perfect poses in your portraits. |
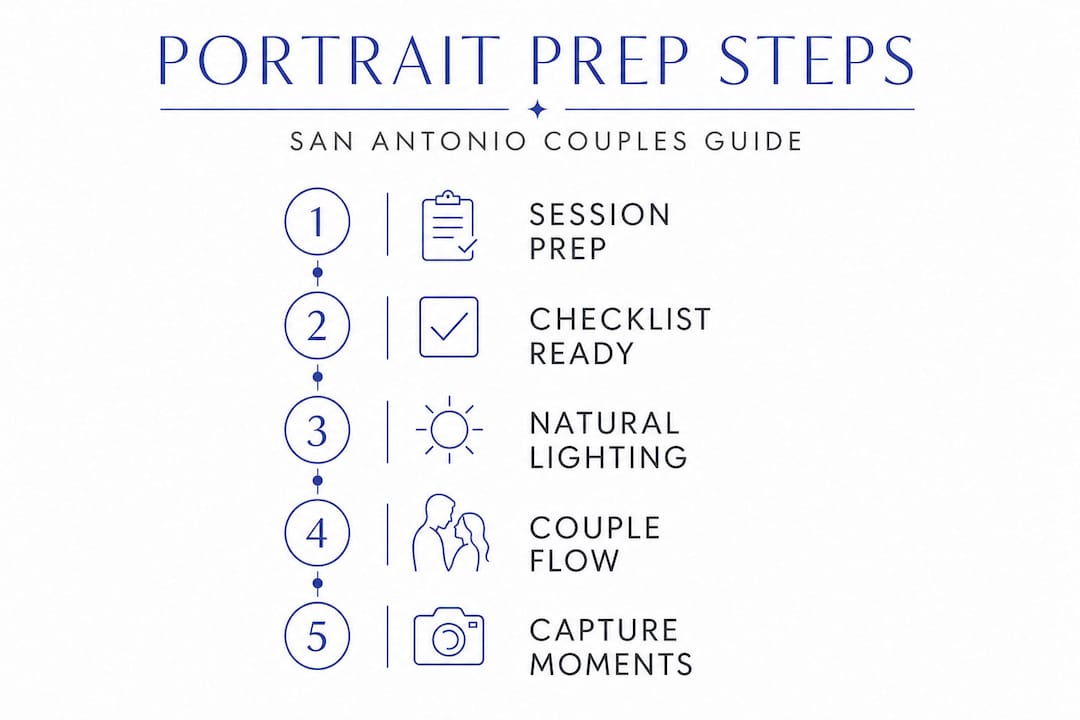
What you need before portrait sessions
Now that you understand what makes wedding portraits challenging, let's begin with everything you need to set up the perfect session.
Before a single shutter click happens, preparation is doing the heavy lifting. Think of it like staging a performance: the audience only sees the final act, but hours of setup made it possible. Your photographer needs the right gear, you need the right people nearby, and your venue needs to be scouted well before the wedding day.
Here is a quick checklist of must-have items and roles to confirm before your session:
- Primary camera body plus a backup (your photographer's responsibility, but ask to confirm)
- Two or more lenses covering at least 35mm and 85mm focal lengths for variety
- Off-camera flash or reflector for shaded outdoor spaces
- Shot list printed and shared with your photographer, coordinator, and family point-of-contact
- One designated family wrangler (not the bride, groom, or photographer) to gather groups
- Timeline with buffer time built in for each portrait segment
- Venue walkthrough completed so your photographer already knows where the best light falls
A strong wedding photography checklist covers all these bases and helps you avoid last-minute scrambling.
When it comes to session flow, the order of events matters more than most couples realize. A bridal portrait workflow works best when it captures details first while hair and makeup are freshest, then builds toward dress and pose portraits using the best available light. Starting with detail shots (rings, shoes, invitations) buys your photographer time while you finish getting ready, and it means the emotional, high-energy portraits happen when you look and feel your absolute best.
Here is a comparison of two common session approaches:
| Approach | Pros | Cons |
|---|---|---|
| Details first, portraits last | Fresh hair/makeup for posed shots; calm, logical flow | Requires more total time |
| Portraits first, details last | Gets "big" shots done early | Hair/makeup not at peak; lighting may worsen |
| No set order | Feels spontaneous | Easily chaotic; shots get missed |
The details-first method wins almost every time for San Antonio weddings, especially if your ceremony is in the afternoon when the Texas heat starts affecting hair and everyone's patience.
For a broader look at how moments connect throughout the day, the guide on capturing wedding moments is worth reading before your session.
Step-by-step guide for couples' portraits
With your prep complete, it is time to focus on the couple. Here is how to capture those intimate, memorable portraits step by step.

Couples portraits are where the magic really lives. These are the images you will frame, share, and look back on when everything else about the wedding day has blurred together. The difference between portraits that feel genuine and ones that feel like a school photo comes down to one thing: intentional direction. Research-backed couples posing methods show that directing intentionally using body angles, cues, and action produces far more authentic results than simply placing couples and clicking.
Here is a six-step process for couples' portraits:
- Start with movement. Ask the couple to walk toward you slowly while talking to each other. This breaks the "pose" mindset immediately.
- Establish a base position. Have one partner turn slightly at a 45-degree angle to the camera. This slims the body and adds natural depth.
- Add connection points. Hands touching, foreheads together, or one partner resting their head on the other's shoulder creates instant warmth.
- Introduce an action cue. "Whisper something that made you laugh on your first date." Genuine reactions follow genuine prompts.
- Adjust the angle. Shooting slightly above the subjects flatters most face shapes. Drop to eye level for intimacy. Never shoot upward at seated or leaning subjects.
- Review and redirect. Show the couple one image on the camera screen. They relax when they see it working, and the next set of frames gets even better.
Pro Tip: San Antonio offers incredible portrait backdrops from the River Walk to the Pearl District to the Spanish colonial architecture of Mission Concepción. Bring a short location list to your photographer so they can plan the best angles and timing for each spot.
For deeper guidance on posing techniques, the couple portrait photography tips blog post covers flattering poses for a wide range of body types and personalities. And if you want to understand the vocabulary your photographer uses during the session, brushing up on wedding photography terms before the day will help you respond faster and feel less confused.
| Directing Method | Result | Best Use Case |
|---|---|---|
| Action-based cues | Natural laughs and genuine glances | Outdoor and candid-style portraits |
| Structural direction | Clean, editorial images | Indoor, formal, and venue-focused shots |
| Minimal instruction | Raw, emotional moments | First look and vow exchange |
To understand how to get photos that feel true to who you are as a couple, the post on natural wedding photos offers practical insight you can share directly with your photographer.
How to master bridal portraits using window light
Once the couple portraits are underway, it is time to focus on solo shots and highlight the bride. Window light is one of the most powerful, accessible tools in portrait photography, and learning how to use it makes a visible difference in the final images.
The key principle is simple: window angle placement controls shadow and dimension. Two variations are most commonly used:
- 45-degree lighting: The subject stands at a 45-degree angle to the window. Light wraps around the face, creating a gentle shadow on the far cheek. This is flattering for nearly every face shape and skin tone because it adds dimension without drama.
- Rim lighting: The subject stands with the window directly to their side or slightly behind them. Light traces the silhouette, creating a luminous, editorial feel. This works beautifully for veils, lace details, and dramatic dress shots.
Additional tips for making window light work at San Antonio venues:
- Morning sessions (before 10 a.m.) produce softer, cooler light. Ideal for venues with east-facing windows.
- Afternoon sessions (after 3 p.m.) give you warmer, golden tones that photograph beautifully on a range of skin tones.
- Sheer curtains diffuse harsh midday light without blocking it entirely. Ask your venue coordinator if these are available.
- Avoid mixed light sources. Turning off overhead fluorescent lights while shooting with window light prevents color casts that can make skin look unnatural in editing.
- Use a white foam board as a reflector to bounce light back into shadow areas if your photographer does not have a dedicated reflector on hand.
Pro Tip: If your getting-ready room has a north-facing window, that is a natural photography goldmine. North light is consistent, soft, and never harsh regardless of the time of day.
Lighting control is often more impactful than posing in shaping how flattering a bridal portrait feels, especially across different skin tones and face shapes. A well-lit average pose will almost always outperform a technically perfect pose with flat or unflattering light.
For a look at how lighting trends are evolving in wedding photography, check out the latest wedding photography trends to see where the industry is heading.
Group portraits: Keeping the logistics in check
After singles and couples, it is crucial to handle group portraits smoothly. This segment of the day is where timelines fall apart most often, but a clear system prevents the chaos.
The single most effective technique for group portraits is the subtraction method. Start with the largest group and systematically remove people for smaller configurations. This approach is dramatically faster than building groups by addition, because it means people are dismissed and free to enjoy the reception rather than standing around waiting to be added in.
Here is a practical numbered workflow for group portraits:
- Shoot the full wedding party plus both families together as your opening frame.
- Remove the groom's family and photograph the bride with her family and bridal party.
- Swap: remove the bride's family and shoot the groom with his family and groomsmen.
- Dismiss all family and photograph the wedding party alone.
- Separate bridesmaids and groomsmen for individual party shots.
- End with just the couple for a natural, relaxed transition back to intimate portraits.
"For large group portraits, use a systematic approach, starting with the largest group and subtracting people, to keep logistics under control." Aftershoot's group portrait workflow
Designate one trusted, assertive family member as your "family wrangler." This person's only job is to gather the right people for each configuration and keep everyone from drifting toward the bar. Your photographer will thank you, and your timeline will stay intact.
The must-have wedding shots guide is a great resource for building your shot list, and if you are wondering how group dynamics differ between engagement sessions and wedding day shoots, the engagement vs wedding shoots post breaks it down clearly.
Common mistakes and troubleshooting tips
To ensure your step-by-step efforts pay off, watch for these common mistakes and learn fast fixes if things start to unravel.
Even the best-planned sessions hit bumps. Knowing what to watch for, and what to do when something goes sideways, saves you from losing shots that cannot be recreated.
Common lighting mistakes and fixes:
- Mistake: Shooting in harsh midday sun, which creates unflattering shadows under eyes and noses.
- Fix: Move to open shade or find a north-facing interior space until the light softens.
- Mistake: Positioning subjects with the sun directly behind the photographer, causing squinting.
- Fix: Backlight the subjects instead and use fill flash or a reflector to illuminate faces.
- Mistake: Relying entirely on overhead indoor lighting with no directional source.
- Fix: Find a window, even a small one, and use it as your primary light source.
Common posing pitfalls and fixes:
- Couples standing straight and parallel to the camera look stiff. Angle one person toward the other.
- Arms hanging straight at the sides read as uncomfortable. Bend elbows slightly or add hand-to-hand contact.
- Forced smiles appear in almost every "say cheese" moment. Replace verbal cues with action prompts.
Pro Tip: If your portrait session is running late due to ceremony overruns (extremely common in San Antonio's summer weddings), prioritize your couples' portraits and immediate family shots first. Larger group shots can often be done at cocktail hour with creative but quick setups.
Remember that lighting control matters more than getting the pose technically perfect. Shifting window angles or stepping into shade fixes more problems faster than any posing adjustment. If you are planning a destination or multi-location session, the destination wedding photography guide covers additional troubleshooting for complex logistics.
What really matters for unforgettable wedding portraits
Here is the perspective that most step-by-step guides leave out: the couples who walk away with their absolute favorite portraits are almost never the ones who executed every pose perfectly. They are the ones who stopped trying to perform and started just being with each other.
After photographing weddings across San Antonio, from outdoor ceremonies at Brackenridge Park to ballroom receptions downtown, the pattern is consistent. The photos that make couples cry when they see them are almost never the technically precise, perfectly lit, everyone-looking-at-the-camera frames. They are the moment right after a posed shot when the bride laughs at something the groom whispered. They are the nervous hand-hold before the first look. They are the exhale at the end of a long day.
This does not mean preparation and technique are irrelevant. It means they exist to create the conditions where genuine moments can happen. A well-planned session flow removes the chaos that kills authenticity. Good window lighting means you are not distracted by squinting. A skilled photographer directing with action cues means you stop thinking about your hands.
The couples who trust the process and stay emotionally present in the moments between the poses, those are the ones who get the portraits that last. We always tell our couples: the goal is not to look like you are in love. The goal is to actually be in love for an hour while someone photographs it.
If you want to explore what that feels like before your wedding day, an engagement session is the perfect rehearsal. Read more about how capturing genuine love works in practice before your portrait session.
Enhance your wedding portraits experience with local experts
If you are ready for portraits that capture your love story step by step, let trusted San Antonio photographers bring your vision to life.
Working with a photographer who knows San Antonio's venues, light patterns, and best outdoor locations changes everything. You skip the guesswork and get a team that has already solved the problems you have not thought of yet.
At Larson Pro Photography, we specialize in guiding San Antonio couples through exactly this kind of intentional, stress-free portrait experience. From getting-ready details to final reception dances, our approach covers every step. Browse our San Antonio wedding photography services to see how we work, explore our engagement photo specialists page for pre-wedding session options, or visit the client gallery to see real San Antonio couples' portraits come to life. Let's make your portraits something you will never stop looking at.
Frequently asked questions
How early should couples start wedding portrait sessions?
Starting the session early captures detail shots while hair and makeup are freshest, which sets up the best conditions for posed portraits later. A session flow that begins with details keeps the timeline logical and reduces chaos as the day gets busier.
What is the easiest way to organize large group wedding portraits?
Begin with the largest possible group and remove people systematically for each smaller configuration. This subtraction-based approach is faster and far less confusing than building groups person by person.
How should couples pose for authentic, natural wedding portraits?
Genuine-looking portraits come from action-based directing, not rigid posing instructions. Intentional direction using body angles and real-moment cues produces relaxed, natural expressions that feel true to the couple.
Why is lighting crucial for bridal portraits?
Lighting determines how shadows fall on the face, which directly affects how flattering and dimensional a portrait feels. Window angle placement gives photographers precise control over shadow and dimension across all skin tones and face shapes.