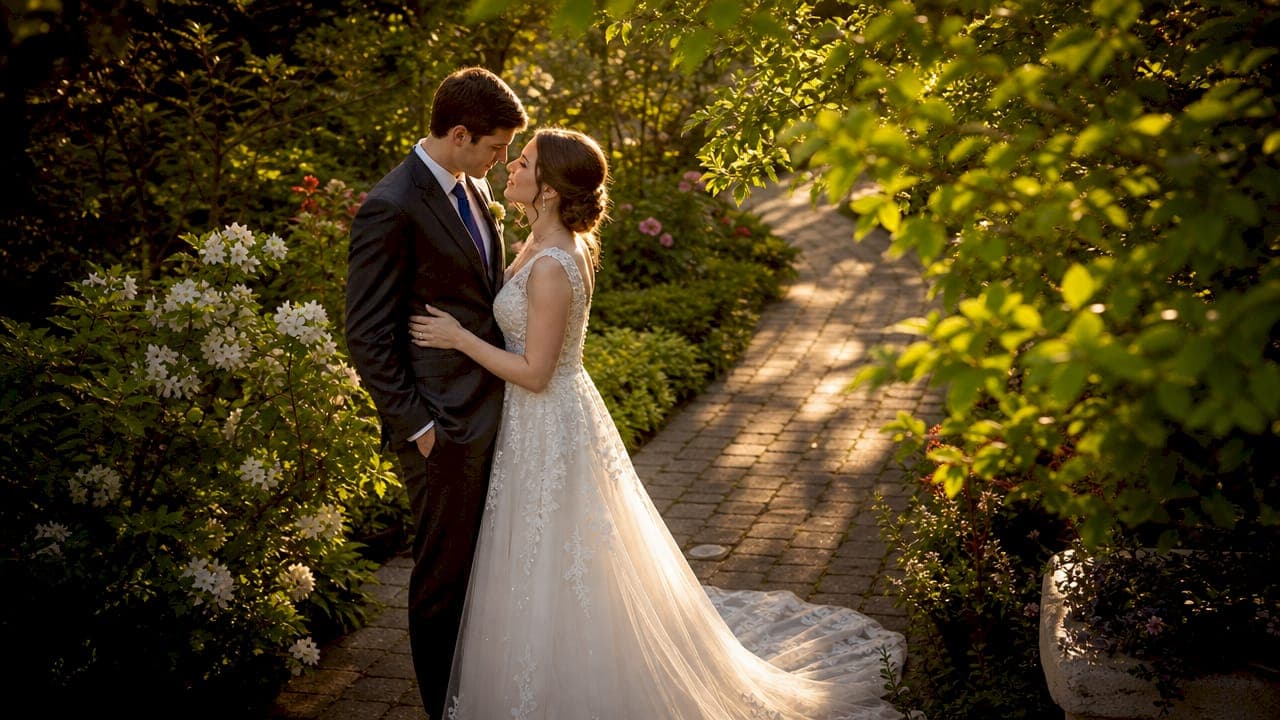
The best light for wedding portraits is natural golden hour light, defined as the warm, low-angle sunlight in the final hour before sunset. Professional wedding photographers consistently rank this window above all other lighting conditions because it flatters skin tones, softens shadows, and produces a cinematic warmth that artificial light struggles to replicate. Larsonprophotography builds entire portrait schedules around this principle. Whether you are an engaged couple planning your timeline or a photographer refining your technique, understanding how light behaves throughout the day is the single most important skill you can develop.
1. What makes golden hour the best light for wedding portraits?
Golden hour is the photography industry's term for the period roughly 30–60 minutes before sunset. The sun sits low on the horizon during this window, which means light travels through more atmosphere before reaching your subjects. That extra distance scatters harsh blue wavelengths and leaves behind warm amber and orange tones that make skin glow naturally.
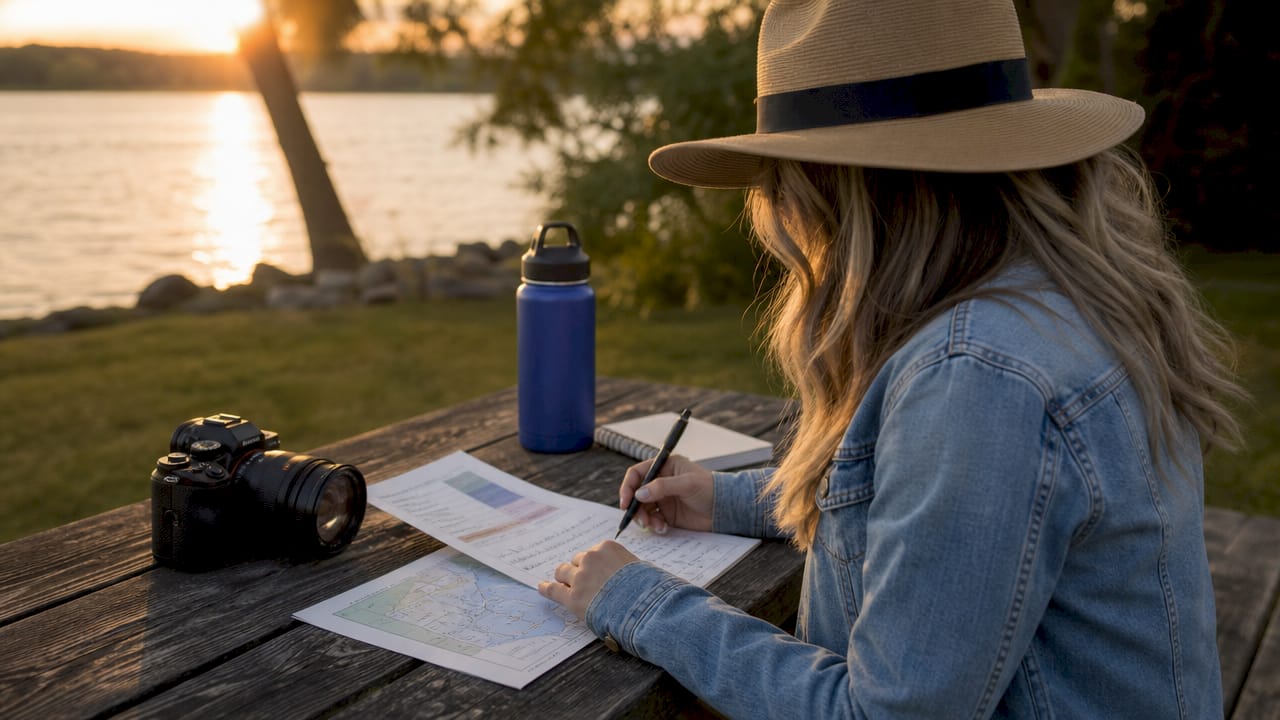
The practical result is portraits with soft, directional shadows and a romantic mood that no studio strobe can fully imitate. Shadows fall at a flattering angle rather than straight down, which eliminates the raccoon-eye effect common in midday portraits.
Golden hour sessions typically last 10–30 minutes, and that window shifts significantly by season. In winter, it may arrive as early as 4:30 PM. In summer, it can stretch to 8:15 PM. Knowing your wedding date and location lets you lock in the exact window months in advance.
- Warm, amber tones flatter every skin tone without heavy editing
- Low-angle light creates depth and dimension in portraits
- Soft shadows reduce the need for reflectors or fill flash
- The short window creates urgency that keeps couples focused and natural
Pro Tip: Check a free sunset calculator for your wedding date and venue city. Lock in the golden hour window before you finalize your reception timeline, not after.
2. How to use natural light throughout the rest of the wedding day
Golden hour is not the only usable natural light. Morning light, roughly one hour after sunrise, shares many of the same qualities: warm tones, low angle, and soft shadows. Couples who schedule getting-ready portraits or first-look sessions in the morning often get results that rival golden hour.
Midday sun is the least forgiving lighting condition in wedding photography. Overhead sunlight creates harsh shadows under the eyes, nose, and chin. Skin can look washed out or blotchy, and subjects squint. Open shade under trees, building overhangs, or covered walkways solves most of these problems by blocking direct sun while keeping ambient light soft and even.
Overcast days are genuinely underrated. Cloud cover acts as a giant natural diffuser, spreading light evenly across the scene. Colors stay true, shadows disappear, and couples can look in any direction without squinting. The tradeoff is a cooler, moodier tone that suits some wedding aesthetics perfectly.
Indoor window light is another strong option for ceremony and getting-ready portraits. A large north-facing window produces soft, consistent light that works beautifully for detail shots and intimate portraits.
- Morning light: warm and directional, best for first looks and getting-ready shots
- Midday sun: use open shade, tree cover, or shaded courtyards to avoid harsh shadows
- Overcast: embrace the even, diffused light for clean, editorial portraits
- Window light: position subjects at a 45-degree angle to the window for natural dimension
Pro Tip: When scouting your venue, walk the grounds at the same time of day your portraits are scheduled. Note where shade falls and which walls or trees block direct sun. That 10-minute walk saves you from scrambling on the wedding day.
3. When and how to use artificial lighting for wedding portraits
Natural light disappears after sunset, and most wedding receptions run well into the evening. Professional flash lighting becomes necessary for quality images in these conditions. Without it, images shot at high ISO settings produce visible grain and muddy colors.
The two main approaches are on-camera bounce flash and off-camera flash. Bounce flash redirects light off a ceiling or wall, which softens it and reduces the flat, deer-in-headlights look of direct on-camera flash. Off-camera flash gives photographers full control over light direction, allowing them to replicate the side-lit quality of natural light even in a dark ballroom.
Balancing flash power with ambient light is the core skill in reception photography. A starting point used by many professional photographers is 1/200 shutter speed, f/2.8 aperture, and ISO 320. This combination retains the warm glow of reception lighting while adding enough flash to expose subjects cleanly. Adjusting flash power up or down from there lets photographers match the mood of the room.
Direct flash used intentionally creates a fashion-forward, editorial look that is increasingly popular for night portraits and dance floor shots. The strong subject-to-background separation gives images a graphic, high-contrast quality that stands apart from the soft romanticism of golden hour work.
- Bounce flash: softer, more natural look, ideal for candid reception coverage
- Off-camera flash: directional control, best for formal portraits in dark venues
- Direct flash: crisp, editorial style, strong for night portraits and creative shots
- LED panels: continuous light option useful for video and creative portrait setups
Stat callout: Suggested flash settings for balanced reception portraits include 1/200 shutter speed, f/2.8 aperture, and ISO 320. These settings preserve ambient warmth while adding clean subject exposure.
4. Lighting conditions compared: which works best for each wedding moment
Different lighting conditions suit different parts of the wedding day. The table below maps each condition to its strengths, weaknesses, and best use cases.
| Lighting condition | Warmth | Shadow harshness | Best use case |
|---|---|---|---|
| Golden hour | High | Very low | Couple portraits, romantic editorial shots |
| Morning light | Medium-high | Low | First looks, getting-ready, detail shots |
| Midday sun | Low | High | Avoid for portraits; use open shade instead |
| Overcast | Low | None | Clean ceremony coverage, editorial portraits |
| Indoor window | Medium | Low | Getting-ready, detail, intimate portraits |
| Bounce flash | Neutral | Low | Reception candids, indoor formals |
| Direct flash | Neutral | Medium | Night portraits, dance floor, editorial |
No single lighting condition covers every moment of a wedding day. The photographers who produce consistently strong galleries are the ones who move fluidly between these conditions rather than relying on one approach.
Pro Tip: Mixing natural and artificial light in the same frame creates depth. Try positioning a couple near a window at dusk and adding a low-power off-camera flash from the side. The result is a portrait that feels both natural and polished.
5. How to collaborate with your photographer and venue to get the best portraits
Lighting planning starts months before the wedding day. Effective collaboration between couples, photographers, and venues is the single most reliable way to protect your portrait lighting. A photographer who knows the sunset time and venue layout can build a timeline that puts you in the right place at the right moment.
Couples should discuss golden hour timing with their photographer during the planning phase, not the week before the wedding. Sunset times shift by several minutes each week, so locking in the date-specific window early lets the entire vendor team align around it.
Venue coordinators are an underused resource for lighting planning. Many venues have specific spots where natural light pools beautifully at certain times of day. Asking the coordinator about these locations during a site visit gives your photographer a ready-made shot list of high-quality backdrops.
Candlelight is one of the most overlooked reception lighting elements. It adds genuine intimacy to table shots and first-dance portraits. Requesting candles at key tables or on the dance floor perimeter costs little and pays off significantly in the final gallery.
- Share your venue's floor plan and outdoor layout with your photographer before the wedding
- Confirm sunset time for your wedding date and build portrait timing around it
- Ask your venue coordinator which outdoor spots receive the best late-afternoon light
- Request candles or warm-toned uplighting at the reception for richer ambient light
- Schedule portrait timing strategically to avoid conflicts with dinner service or speeches
Sneaking away for just 5–10 minutes during the reception is one of the most effective ways to capture golden hour portraits without disrupting the pre-ceremony schedule. Most guests will not notice a brief absence, and the resulting images are worth every second.
Key takeaways
The best light for wedding portraits combines golden hour timing, open shade management, and intentional artificial lighting to produce flattering, memorable images across every part of the wedding day.
| Point | Details |
|---|---|
| Golden hour is the top priority | Schedule couple portraits in the 10–30 minutes before sunset for the warmest, most flattering light. |
| Open shade saves midday portraits | Move subjects under trees or building overhangs to eliminate harsh shadows and squinting. |
| Flash technique matters at receptions | Bounce or off-camera flash preserves ambient warmth while exposing subjects cleanly. |
| Collaboration protects your timeline | Discuss sunset times and venue lighting with your photographer months before the wedding. |
| Candlelight adds reception depth | Request candles at key tables to create intimate, warm ambient light for evening portraits. |
What I have learned about wedding portrait lighting after years behind the lens
The couples who get the most out of their wedding portraits are the ones who trust the process and stay flexible. I have shot weddings where golden hour was blocked by clouds, where the venue had no usable shade, and where the reception room was lit like a parking garage. Every one of those weddings still produced images the couples love. The reason is adaptability.
Light shapes every moment of the wedding day, but a skilled photographer reads each condition and adjusts. Movement, framing, and angle can turn inconvenient light into something beautiful. I have used a single candle as the primary light source for a portrait that ended up being one of a couple's favorites.
My honest advice to couples is this: do not obsess over perfect conditions. Obsess over choosing a photographer who has shot in every condition and knows how to work with what is there. Ask to see galleries from winter weddings, midday ceremonies, and dark reception halls. That range tells you more than a single golden hour portfolio ever could.
Golden hour portraits are worth fighting for on the timeline. I always recommend the 5–10 minute reception escape because it produces images with a quality that is genuinely hard to replicate any other way. But the rest of the day matters too. Every lighting condition has a technique, and every technique has a result worth being proud of.
— Todd
Larsonprophotography: portrait lighting built into every wedding plan
Lighting is not an afterthought at Larsonprophotography. Every wedding package includes a detailed timeline consultation that accounts for golden hour, venue-specific lighting conditions, and reception flash coverage. The goal is to put you in the right light at every stage of your day, not just during the portrait session.
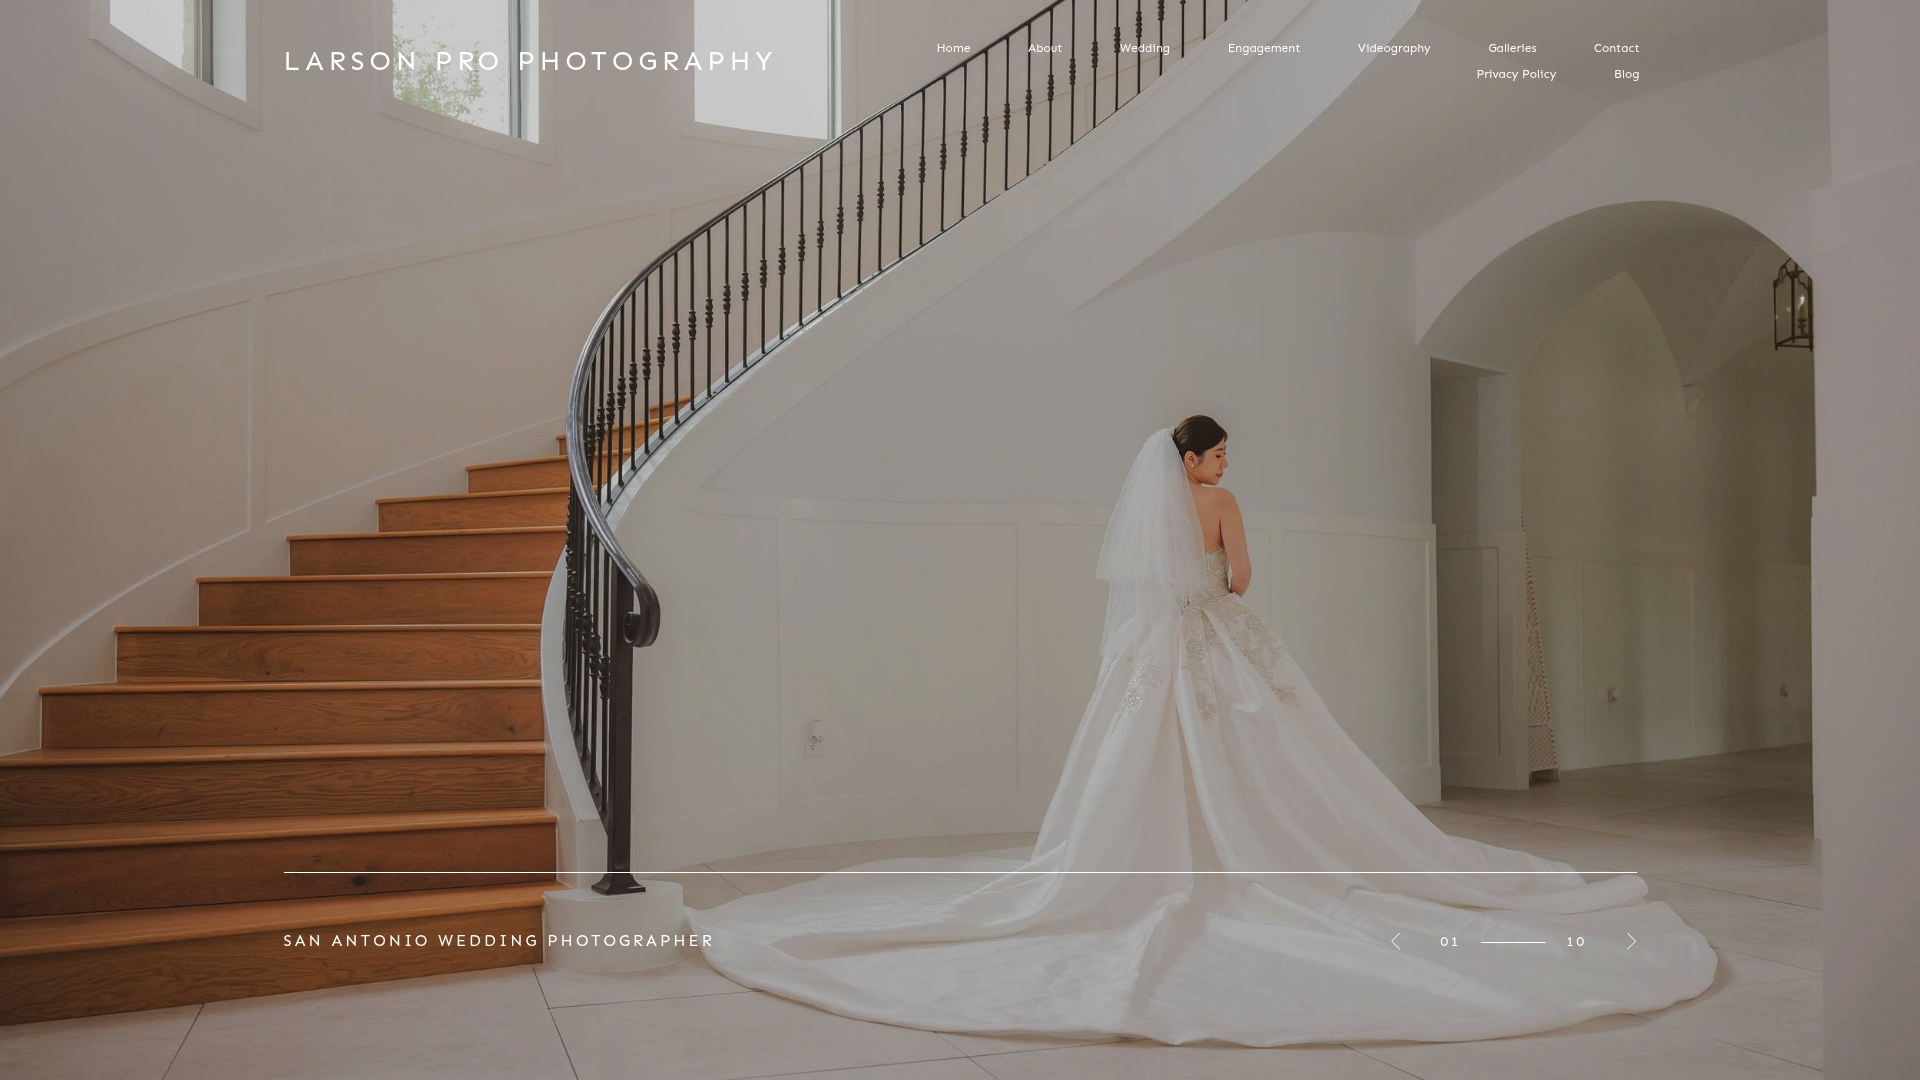
Larsonprophotography serves couples across San Antonio and surrounding areas, with a portfolio that spans outdoor ceremonies, candlelit receptions, and everything in between. Browse the client portfolio to see how different lighting conditions translate into finished wedding galleries. If you are also planning an engagement session, the engagement photography page shows how Larsonprophotography uses natural light to create portraits you will want to frame. Reach out to start building a timeline that protects your best light.
FAQ
What is the best time of day for wedding portraits?
The best time for wedding portraits is golden hour, the 10–30 minutes before sunset, when warm, low-angle light flatters skin tones and creates soft, cinematic images. The exact window shifts by season, so confirm the sunset time for your wedding date early in the planning process.
Can you get great wedding portraits on an overcast day?
Overcast days produce even, diffused light with no harsh shadows, making them genuinely good conditions for clean, editorial-style portraits. The cooler tones suit many wedding aesthetics and eliminate the squinting problem common in direct sunlight.
How do photographers handle dark reception venues?
Professional photographers use bounce flash or off-camera flash to balance ambient reception light with clean subject exposure. A common starting point is 1/200 shutter speed, f/2.8 aperture, and ISO 320, adjusted based on the room's ambient warmth.
How do I fit golden hour portraits into a busy wedding timeline?
Slip away from the reception for 5–10 minutes during the early evening. Most guests will not notice, and this approach avoids rushing the pre-ceremony schedule while still capturing the best light of the day.
What questions should I ask my photographer about lighting?
Ask to see galleries from weddings shot in multiple lighting conditions, including midday, overcast, and dark receptions. Also ask how they handle changing light and whether they include a timeline consultation focused on golden hour and venue-specific conditions.