
Client proofing is the structured review step where a photographer shares a curated set of unedited or lightly edited images for the client to select and approve before final editing begins. It sits between culling and post-production, and it is not the same as final delivery. Proofs are working images; the final delivery is the polished, fully edited set the client keeps. Keeping those two stages separate is what prevents wasted editing hours and scope disputes.
Three things to do right now:
- Export a medium-resolution proof set from your culled images and upload them to a password-protected gallery.
- Share the gallery link with a short note naming who should approve, how many images to select, and when the deadline is.
- Ask for a specific action, not general feedback: "Please mark your top favorites by the specified deadline."
Key Takeaways
Client proofing is the structured selection step between culling and editing that protects photographer time, gives clients real creative input, and creates a documented approval record that defines scope.
| Point | Details |
|---|---|
| Define the required client action | Tell clients exactly how many images to select, using which tool, and by what deadline. |
| Name an authorized approver | One named person submits the final selection to create a traceable, timestamped record. |
| Edit only confirmed selections | Targeted editing on approved images only prevents wasted post-production hours. |
| Require version-locked approval | Clients approve a named version (v1, v2) before the job closes to protect scope. |
| Larsonprophotography | Provides a full proofing and delivery workflow for San Antonio weddings and engagements. |
Table of Contents
- Why client proofing matters for photographers and clients
- What does a standard six-phase proofing workflow look like?
- How do you set up online proofing for your photography business?
- How do you choose the right proofing tool for your studio?
- What should you say when you send proofs to a client?
- What happens after the client makes their selection?
- A Larsonprophotography studio workflow you can copy
- Why proofing is non-negotiable on every job
- Larsonprophotography handles proofing and delivery for you
- Sources
Why client proofing matters for photographers and clients
Proofing saves photographer time in the most direct way possible: you edit only the images the client actually wants. Without a proofing step, photographers routinely finish 50 or 60 images the client never requested, then face revision requests after delivery. That is wasted post-production time on both sides.
For clients, proofing hands them real creative input. They see the raw story of their day before any stylistic choices are locked in, and they can flag a missed moment or redirect the editing tone before it is too late to change. That sense of control reduces anxiety and almost always eliminates the "I wish you had included more of the ceremony" conversation after the fact.
The business case is just as clear. A documented selection, tied to a named approver and a date, defines scope. If a client later asks for 20 additional images, the proof record shows exactly what was agreed. That makes invoicing cleaner and revision disputes far less common.
Proofing is collaborative: sharing photographer recommendations alongside proofs helps steer artistic outcomes and reduces later rework. When clients see a curated starting point, they make faster, more confident decisions — and the final gallery reflects both their preferences and the photographer's vision.
According to Cullengo's online photo proofing guide, keeping proofs and delivery as distinct stages is the structural move that makes the whole workflow function. Proofs are for selection and direction; delivery is the final handoff of edited files. Mixing the two roles creates the confusion that leads to endless back-and-forth.
What does a standard six-phase proofing workflow look like?
A reproducible proofing workflow has six phases. The timeline estimates below assume a typical wedding or engagement session.
| Phase | Typical Duration | Who Acts |
|---|---|---|
| 1. Cull and export proofs | 2–4 hours | Photographer |
| 2. Share controlled gallery | 30 minutes | Photographer |
| 3. Client selects and comments | 3–5 days | Client |
| 4. Finalize selection | 1–2 hours | Both parties |
| 5. Targeted editing | 3–7 days | Photographer |
| 6. Final delivery and approval | 1–2 hours | Photographer |
Here is how each phase works in practice:
- Cull and export proofs. Review every frame and remove technical failures. Export medium-resolution JPEGs (long edge around 1,500 pixels) with a consistent, light treatment. These are working files, not finished images.
- Share a controlled gallery. Upload to a password-protected, branded gallery. Include image identifiers, the review version number, selection limits, a deadline, and the name of the person authorized to approve.
- Client selects and comments. The client marks favorites, flags rejects, and leaves image-specific notes. A well-structured client brief prepared before the session makes this step faster because the client already knows what they are looking for.
- Finalize selection. Photographer and client confirm the final list. Any ambiguous picks get resolved here, not after editing starts.
- Targeted editing. Edit only the confirmed selections. This is where post-production work actually begins: color grading, retouching, and stylistic finishing.
- Final delivery and approval. Deliver the finished files and require explicit approval on a named version before closing the job.
This six-phase structure comes directly from the Photography Client Approval Workflow guide at The Studio Hero, which also recommends naming versions and a named approver to keep every decision traceable.
Pro Tip: Add a hidden "photographer favorites" layer alongside the full proof set. Clients see your curated starting point, which reduces selection overwhelm and steers the gallery toward your artistic vision without restricting their choice.
How do you set up online proofing for your photography business?
The first distinction to get right: a delivery gallery and a proofing gallery are not the same thing. A delivery gallery hands files to the client. A true proofing gallery must support image-specific comments, a "favorite" or "final selects" mechanism, and side-by-side comparison. Without those features, you are back to email chains.

Dedicated proofing platforms centralize feedback, track revisions, and integrate with creative tools so all review activity stays in one system. Here are the main options available to U.S.-based photographers:
Hosted proofing platforms are the most turnkey option. Pixieset is popular with wedding photographers for its clean client interface, favorites collection, and optional print store. ShootProof adds lab fulfillment integrations and strong gallery branding controls. Picu focuses specifically on the proofing workflow with a lightweight interface that clients find easy to navigate. Pixpa suits photographers who want proofing and portfolio hosting in one subscription.
WordPress plugins work well for photographers who already run their own site and want proofing to happen there. Envira Gallery's Proofing Addon lets clients favorite images, leave comments, and submit selections without leaving the photographer's domain. Password protection and branded galleries are built in.
Adobe Lightroom / Adobe cloud sharing offers a lighter proofing option through Lightroom Classic's client sharing feature. Clients can flag favorites and leave comments directly on shared albums. It lacks some of the dedicated selection-management features of hosted platforms, but it integrates tightly with a Lightroom-based editing workflow.
Security basics apply across all methods. Every proof gallery should have password protection, expiry links that deactivate after the review window closes, watermarks on proof images, and download controls that prevent clients from saving unedited files as finals. Client proofing software that centralizes review and tracks approvals also eliminates the scattered feedback problem that email-based reviews create.
How do you choose the right proofing tool for your studio?
The right tool depends on your workflow shape, not the feature list. Run through this checklist before committing to a platform:
Best-for categories
- Wedding photographers with high volume: look for bulk-favorite collection, lab fulfillment, and Lightroom integration (Pixieset, ShootProof).
- Portfolio delivery and smaller session counts: a clean hosted gallery with password protection and a simple favorites button covers most needs (Picu, Pixpa).
- Photographers on WordPress who want proofing on their own domain: Envira Gallery's Proofing Addon.
- Lightroom-centric studios that want minimal extra subscriptions: Adobe cloud sharing with Lightroom Classic.
Questions to ask or test in a trial account
- Does it integrate directly with Lightroom for export and sync?
- Can clients mark "favorites" separately from "final selects," or does the platform collapse those into one action?
- Does it support version control, so you can present v1 and v2 without confusion?
- Can you brand the gallery with your studio name and remove the platform's own branding?
- Does it connect to a print lab for direct order fulfillment?
- How clearly does it communicate download permissions to the client?
Red flags to avoid
- No versioning support: if you cannot label and lock a version, scope disputes become hard to resolve.
- Weak or absent comment tools: favorites alone are not enough; clients need to leave image-specific notes.
- Unclear download controls: a client who downloads unedited proofs and shares them publicly is a real problem.
- Vendor lock-in with no export path: check that you can move your galleries and client data if you switch platforms.
What should you say when you send proofs to a client?
Clear language in the proof email does more work than any platform feature. The goal is a specific ask that leaves no room for "I wasn't sure what you wanted me to do."
Sample subject line: Your wedding proofs are ready — please select your favorites by [date]
Sample email body:
Hi [Name], your proofs from [event/date] are ready for review. Please open the gallery at the link below and mark your top 30 favorites using the heart icon. Add any image-specific notes in the comment field. [Name of approver] should submit the final selection by [deadline date]. Once I receive your selections, I will begin editing and deliver your finished gallery within [turnaround time]. Gallery link: [URL] Password: [password]
Inside the gallery itself, label your selection categories clearly. Use "Favorite" for initial picks, "Shortlist" for the narrowed-down set, and "Final Selects" for the confirmed list you will edit. Clients who see three distinct labels understand the process is sequential, not a free-for-all.
Naming the authorized approver in writing matters more than most photographers realize. When two people in a couple disagree about a selection after the fact, the named approver's timestamped decision is the record that closes the conversation. Replacing vague prompts with explicit asks, selection counts, deadlines, and a named approver forces a committed, timestamped decision and protects scope.
Pro Tip: Pair your selection request with a visible deadline and an explicit "Submit My Selections" button inside the gallery. The button creates a timestamped record of approval that you can reference if scope questions come up later.
For more on communicating creative direction during this stage, the client-photographer collaboration guide covers how to align on editing style before the proofing window closes.
What happens after the client makes their selection?
Once the client submits final selects, the editing phase begins on those images only. Do not touch the rest of the proof set. This is the targeted-editing principle: every editing hour goes toward files the client confirmed they want.

Label your edited versions clearly. A naming convention like SMITH_WEDDING_v1_0042.jpg ties the file to the client, the version, and the original frame number. When you deliver a revised version, increment to v2 and archive v1 rather than overwriting it.
Version control is the step most studios skip, and it is the one that causes the most confusion. Requiring an explicit approval action tied to a named version creates an audit trail and protects scope. Before you close a job, the client should have approved a specific version in writing, not just said "looks good" in a text message.
Here is a short versioning checklist to run through before delivering finals:
- Confirm the client approved a named version (v1, v2) in the proofing platform or by email.
- Archive all superseded versions in a clearly labeled folder, not in the delivery set.
- Export final files in the agreed formats: print-ready TIFFs or high-resolution JPEGs for print, web-sized JPEGs for digital use.
- Deliver through the same platform used for proofing, or a dedicated delivery gallery, with download controls set to allow full-resolution access.
- Send a delivery confirmation email that names the version, lists the file count, and states the download expiry date.
For a deeper look at what goes into the editing stage, the professional retouching guide explains when targeted retouching is appropriate and what clients should expect from that work.
A Larsonprophotography studio workflow you can copy
The table below shows the proofing timeline Larsonprophotography uses for wedding and engagement sessions in San Antonio.
| Step | Duration | Responsible |
|---|---|---|
| Upload proofs to password-protected gallery | Within 5 business days of session | Photographer |
| Client review window | 5 calendar days | Client (named approver) |
| Selection confirmation and any clarifications | 1 business day | Both parties |
| Targeted editing of selected images | 7 business days | Photographer |
| Final delivery and version approval | 1 business day | Photographer + client |
Sample client instructions sent with the proofing link:
"Your proofs are ready. Please log in using the password below and mark your top [X] favorites using the heart icon. [Approver name] should submit the final selection by [date]. If you have notes on a specific image, use the comment field on that image. Once we receive your confirmed selections, editing begins and your finished gallery will be delivered within [turnaround]."
Studio admin checklist for every proofing job:
- Naming convention applied:
[CLIENT]_[EVENT]_[DATE]_PROOF_v[N] - Gallery password set and recorded in the job file
- Expiry link configured to deactivate 48 hours after the review deadline
- Watermarks enabled on all proof images
- Download controls set to prevent full-resolution access until final delivery
- Named approver confirmed in the intake form and noted in the gallery instructions
- Timestamped approval record saved to the job folder before editing begins
A well-run photo session coordination process upstream of proofing makes this checklist faster to execute because roles and timelines are already agreed before the camera comes out.
Why proofing is non-negotiable on every job
Every wedding and engagement job at Larsonprophotography goes through a formal proofing step, without exception. The reason is straightforward: editing without a confirmed selection is a guess, and guesses cost time on both sides.
The proofing step also protects the client relationship. When couples in San Antonio book Larsonprophotography, they are trusting us with images they cannot recreate. A structured review window gives them genuine input into the final gallery, which means the delivered work reflects what they actually wanted, not what we assumed they wanted. That alignment is what turns a satisfied client into one who refers their friends.
Scope disputes are rare when proofing is done correctly. The named approver, the timestamped selection, and the version record create a paper trail that makes "I never approved that" conversations almost impossible. For a studio that handles multiple weddings a month, that clarity is worth more than any individual time saving.
Larsonprophotography handles proofing and delivery for you
Couples who book Larsonprophotography for their San Antonio wedding or engagement session get a complete proofing and delivery workflow built into every package. You receive a password-protected proof gallery, clear selection instructions, and a named turnaround timeline, so there is no guesswork about what happens next or when your finished images arrive.
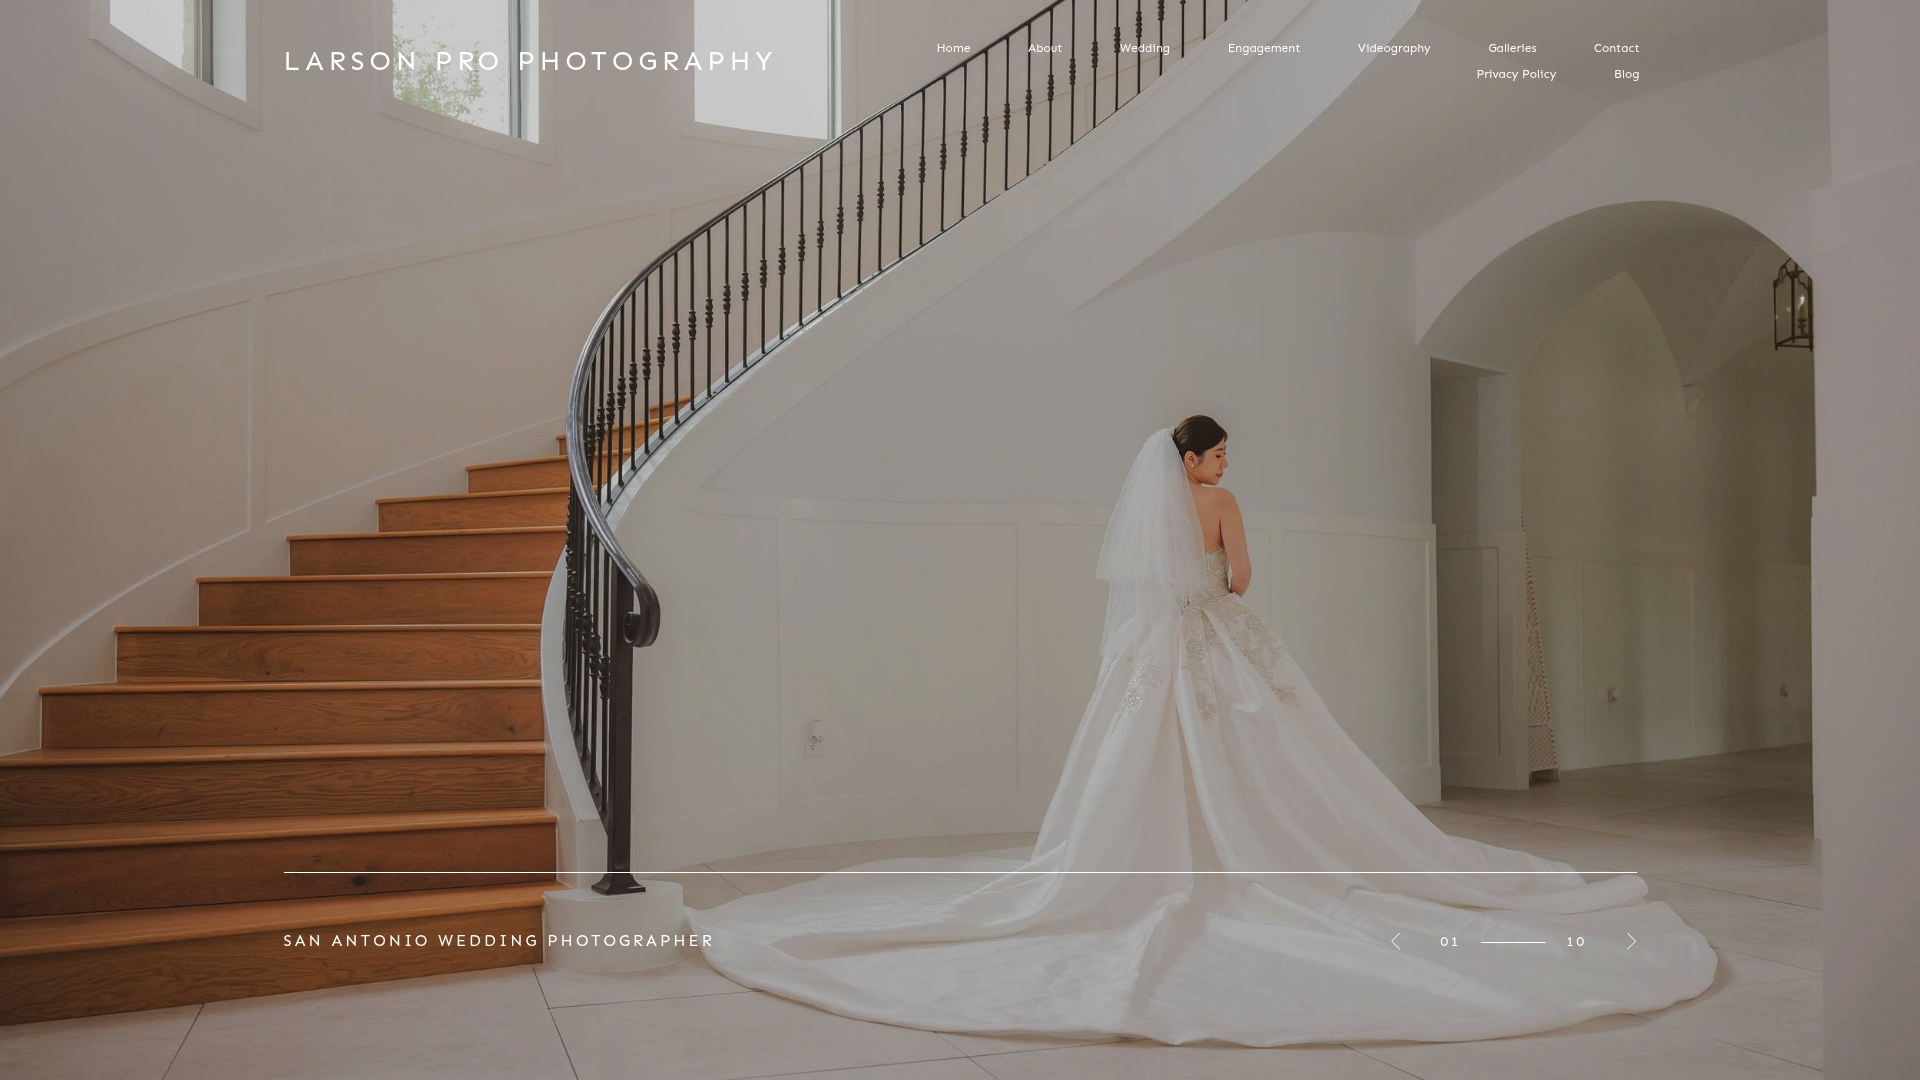
The studio handles gallery setup, watermarking, version tracking, and final delivery in high-resolution and web-ready formats. You focus on choosing the images that matter most; Larsonprophotography handles everything else. Ready to see how it works? Visit the Larsonprophotography clients page to review packages and check availability for your date.
Sources
- Photography Client Approval Workflow: Proofs to Finals
- Online Photo Proofing: What It Is and How to Set Up a Review Process That Works — Cullengo
- 7 steps to successful online proofing — GoProof
- Proofing for WordPress — Envira Gallery