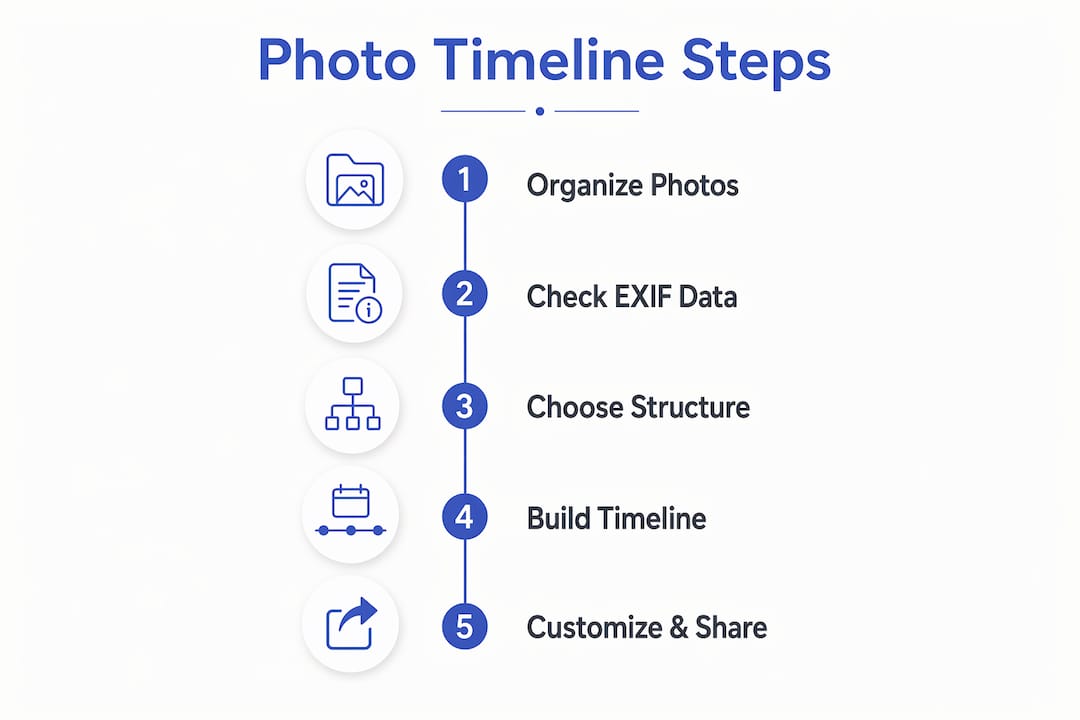
The fastest way to build a photo timeline is to upload your images to an online tool like Canva, Visme, or Microsoft SmartArt, let the platform sort them by date, then customize the layout and export. No design experience required. Here is what the process looks like at a glance:
- Gather photos from phones, cameras, or scanned prints
- Sort and verify timestamps, correcting any missing or wrong dates
- Choose an online timeline maker that fits your purpose
- Upload and arrange photos chronologically or by theme
- Add captions, colors, and design elements to tell your story
- Export as a PDF, PNG, or shareable link
The key shortcut most people miss: tools that read EXIF metadata from your photos auto-sort everything by the actual capture date, saving hours of manual work.
How to create a photo timeline step by step
Building a photo timeline is straightforward when you follow a clear sequence. Skipping steps, especially the sorting phase, is where most people run into trouble.
- Gather your photos. Pull images from your phone camera roll, DSLR memory cards, cloud storage, or scanned prints. Collect everything in one folder before you start.
- Sort and verify timestamps. Check that each photo has an accurate date. EXIF metadata, the hidden data your camera writes into every file, usually handles this automatically. When timestamps are missing or wrong, correct them manually before uploading.
- Choose your tool. Pick a platform based on your goal: Canva for quick visual polish, Microsoft SmartArt for a fast Office-integrated layout, or Visme for interactive, professional-grade results.
- Upload and arrange. Import your photos into the tool. Most platforms let you drag and drop images onto a timeline spine. If the tool reads EXIF data, it will place photos in order automatically.
- Customize captions and design. Add dates, short captions, and any supporting text. Adjust colors, fonts, and layout to match the tone of your story.
- Review for gaps and errors. Scan the full timeline for missing events, duplicate images, or awkward jumps in time. Fix them before exporting.
- Export and share. Download as a PNG, PDF, or interactive link depending on where you plan to use it.
Common pitfalls to avoid:
- Uploading photos before sorting them, which forces you to rearrange everything inside the tool
- Ignoring image quality, since low-resolution photos look blurry when stretched across a timeline layout
- Overcrowding the timeline with too many images, which buries the story under visual noise
- Forgetting to back up the original files before editing metadata
Which online tools make photo timeline creation easiest?
Three platforms cover most use cases, from quick personal projects to polished professional presentations.
Canva is the most accessible starting point. Its drag-and-drop editor and library of free timeline templates let you build a good-looking layout in under an hour. You can upload photos directly, reposition them on the timeline, and adjust colors or fonts without any design background. Canva's free tier handles most personal projects; the Pro plan unlocks additional templates and brand controls.

Microsoft SmartArt works best when you are already inside Microsoft 365. You can insert a timeline graphic directly into Word or PowerPoint, add photos to each node, and export the finished slide. It is not as visually flexible as Canva, but it requires no new account and fits naturally into a workflow built around Office documents.
Visme sits at the professional end of the spectrum. It supports interactive timelines where viewers can click through images, embedded video, and animated transitions. The platform is well-suited for educators, marketers, and event professionals who need a timeline that does more than display photos.
For teams or events where multiple people are contributing photos, collaborative platforms like Picweave let everyone upload from their own devices. Photos auto-sort by EXIF timestamp, so the timeline builds itself as contributors add images. Picweave offers a free tier and charges about $5 per additional timeline after two. Batch processing tools within these platforms let you apply metadata corrections or filters across all photos at once, which cuts editing time considerably.
Pro Tip: Before uploading to any tool, run your photos through a file manager that displays EXIF data, such as Windows File Explorer's detail view or macOS Finder's Get Info panel. Fix any wrong capture dates at the source so the timeline tool sorts correctly on the first pass.
How to customize and share your photo timeline effectively
A well-designed timeline does more than list photos in order. It guides the viewer through a story.
- Keep the layout clean. One or two photos per time marker is usually enough; more than that and the viewer stops reading.
- Write short, specific captions. "June 14, 2022 — First day of construction" tells more than "Summer 2022."
- Group thematically when pure chronology feels flat. A wedding timeline, for example, reads better when divided into "Getting Ready," "Ceremony," and "Reception" rather than a single unbroken date sequence.
- Optimize image sizes before uploading. Aim for 1920px on the long edge for web display; larger files slow load times without improving visible quality.
- Use interactive features when the platform supports them. Clickable images, embedded video clips, and hover captions keep viewers engaged longer than a static layout.
- Share via a direct link for digital audiences, or export as a high-resolution PDF for print.
Pro Tip: Review your timeline's privacy settings before sharing publicly. EXIF metadata can contain GPS coordinates from the original photo. Most platforms strip this data on export, but confirm it in the tool's settings if location privacy matters.
Embedding a timeline on a blog or website boosts visitor engagement by turning a static gallery into an interactive story that holds attention. If you manage a photography blog or client portal, embedding beats linking every time.
Expert advice on organizing photo timelines for storytelling
The photographers at Larsonprophotography approach timeline organization the same way they approach editing a wedding gallery: chronological order is the foundation, but emotional arc is the goal.
EXIF metadata provides the most reliable chronological backbone. Sorting manually without it is slow and error-prone, so building your workflow around metadata-aware tools pays off immediately. For events with multiple photographers or contributors, collaborative platforms that auto-sort by EXIF timestamp remove the single biggest source of sequencing errors.
Beyond chronology, the strongest timelines use thematic grouping to shape the narrative. A family history timeline might move through "Childhood," "School Years," and "Milestones" rather than a raw year-by-year list. A project documentation timeline might separate "Planning," "Build," and "Launch." These groupings give viewers a mental map before they start scrolling.
Visual consistency matters as much as sequence. Applying a consistent filter or color grade across all photos, even a subtle one, makes a timeline feel intentional rather than assembled. Mixing warm-toned and cool-toned images without reason creates visual noise that pulls attention away from the story.
- Anchor each section with a strong lead photo, the single image that best represents that period or theme
- Keep captions under 20 words; longer text competes with the images
- Include memorabilia scans, ticket stubs, handwritten notes, or event programs when they add context the photos alone cannot provide
- Use location or event tags where the platform supports them, but review privacy implications before publishing
For professional event photographers, the role of a well-organized portfolio mirrors exactly what a good timeline does: it sequences work to show growth, range, and story rather than just volume.
How to download and share your finished timeline
Most online timeline tools offer three export paths: image files (PNG or JPEG), document formats (PDF), and shareable links or embed codes.
PNG and JPEG exports work best for social media posts or email attachments. PDF is the right choice for printing or sending a file that needs to look identical on every device. Shareable links let you send a live, interactive version that viewers can explore in a browser without downloading anything.
If you built your timeline in Canva, the download button in the top-right corner gives you format options including PDF Print for high-quality output. Visme's export menu includes an HTML embed code you can paste directly into a website or blog. Microsoft SmartArt timelines export as part of a PowerPoint or Word file, which you can then save as a PDF.
For photographers managing wedding photo delivery, a shareable timeline link is often more practical than a ZIP file of images. Clients can view the full sequence in context before downloading individual photos.
Which type of photo timeline fits your purpose?
The three most common structures are chronological, thematic, and project-based, and each serves a different goal.
A chronological timeline follows calendar order from start to finish. It works well for personal histories, family albums, and event documentation where the sequence of events carries meaning. The viewer understands time passing, which gives the story momentum.
A thematic timeline groups photos by subject, mood, or category rather than strict date order. This approach suits creative portfolios, travel collections, and brand storytelling where the emotional thread matters more than the calendar. A photographer's portfolio organized by "Portraits," "Landscapes," and "Events" is a thematic timeline, even if the dates overlap.
A project-based timeline tracks progress through defined phases. Construction projects, product launches, and educational programs all benefit from this structure because it shows cause and effect: planning leads to execution, execution leads to outcome. Each phase gets its own visual block, and photos document the transition between stages.
Choosing the wrong structure creates confusion. A chronological layout for a creative portfolio buries the best work under early, weaker images. A thematic layout for an event documentary loses the sense of how the day unfolded. Match the structure to what the viewer needs to understand.
How to organize and select photos before you start building
Photo selection is where most timelines succeed or fail, and it happens before you open any tool.
Start by pulling every candidate image into a single folder. Then do a first pass to remove duplicates, blurry shots, and photos with no clear connection to the timeline's subject. Aim to keep the strongest 20–30% of what you started with. A tighter selection produces a cleaner, more readable timeline.
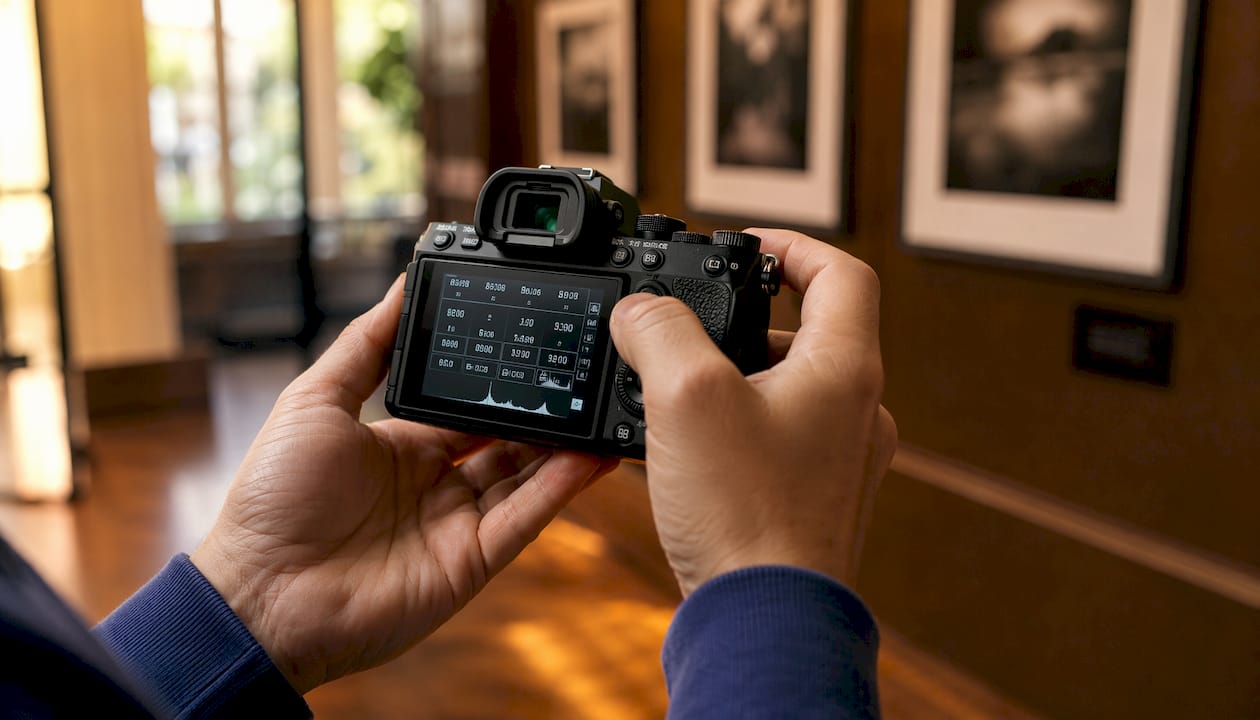
Next, check timestamps. Open each photo's properties or EXIF data and confirm the capture date is correct. Cameras set to the wrong time zone, phones that synced incorrectly, or scanned prints with no metadata at all will throw off the sequence. Correct these before uploading.
Finally, group the selected photos into rough sections that match your chosen structure. Chronological timelines need photos sorted by date; thematic timelines need photos sorted by category. Doing this in your file manager first makes the arrangement step inside the tool much faster. For event photographers, the same discipline that goes into coordinating photo sessions applies directly here: preparation before the build saves time during it.
Tips for keeping your timeline layout clear and readable
Clarity in a timeline layout comes down to restraint. Every element you add competes for the viewer's attention.
Limit the number of photos per time marker to one or two. When every marker has five images, the viewer stops reading and starts skimming. White space is not wasted space; it gives each photo room to register before the viewer moves on.
Use a consistent font for all captions and dates. Mixing three typefaces in one timeline reads as unfinished. One font for dates, one for captions, and nothing else. Keep font sizes large enough to read on a phone screen, since most viewers will see your timeline on a mobile device.
Color should reinforce the story, not decorate it. A neutral background keeps the photos as the focal point. If you use color blocks to separate sections, keep them muted and consistent across the whole layout. For photographers who want to explore how visual details shape the overall impression, the principles behind detail photography in weddings translate directly to timeline design.
Common use cases and best practices for photo timelines
Photo timelines show up in more contexts than most people expect, and the best practices shift slightly depending on the use case.
Wedding and event documentation is the most common personal use. The timeline captures the day's sequence from getting ready through the reception, giving couples and families a narrative they can revisit. Best practice: include at least one wide establishing shot per phase to orient the viewer before the close-up details.
Family history projects benefit from mixing photos with scanned documents, letters, and memorabilia. The goal is not just to show faces across decades but to place those faces in context. A photo of a grandparent means more when it sits next to a scanned letter from the same year.
Educational and classroom timelines work best when kept simple. Students and teachers using tools like Canva or Microsoft SmartArt can build timelines that illustrate historical events, scientific processes, or project milestones. The key is limiting each marker to one image and one sentence.
Project and business documentation timelines track progress for clients or stakeholders. These benefit from a project-based structure with clear phase labels and before-and-after photo pairs that show measurable change. Photographers who want to explore the broader context of professional visual storytelling can find additional resources at ForPhotographersOnly.
Key Takeaways
The most effective photo timeline combines EXIF-based sorting, a structure matched to your purpose, and a clean layout that keeps the story visible.
| Point | Details |
|---|---|
| Start with EXIF metadata | Tools that read capture timestamps auto-sort photos and eliminate manual sequencing errors. |
| Match structure to purpose | Use chronological for events, thematic for portfolios, and project-based for progress documentation. |
| Select before you build | Trim to the strongest 20–30% of photos and verify timestamps before opening any tool. |
| Keep layouts restrained | One or two photos per marker, consistent fonts, and neutral backgrounds preserve readability. |
| Export format matters | Use PNG or JPEG for social, PDF for print, and embed codes or shareable links for web display. |
Ready to turn your photos into a story worth sharing? Larsonprophotography brings the same editorial eye to every wedding and engagement session, building visual narratives that hold up long after the day is over. See what that looks like for your own event at Larsonprophotography engagement sessions or explore the full range of client services.