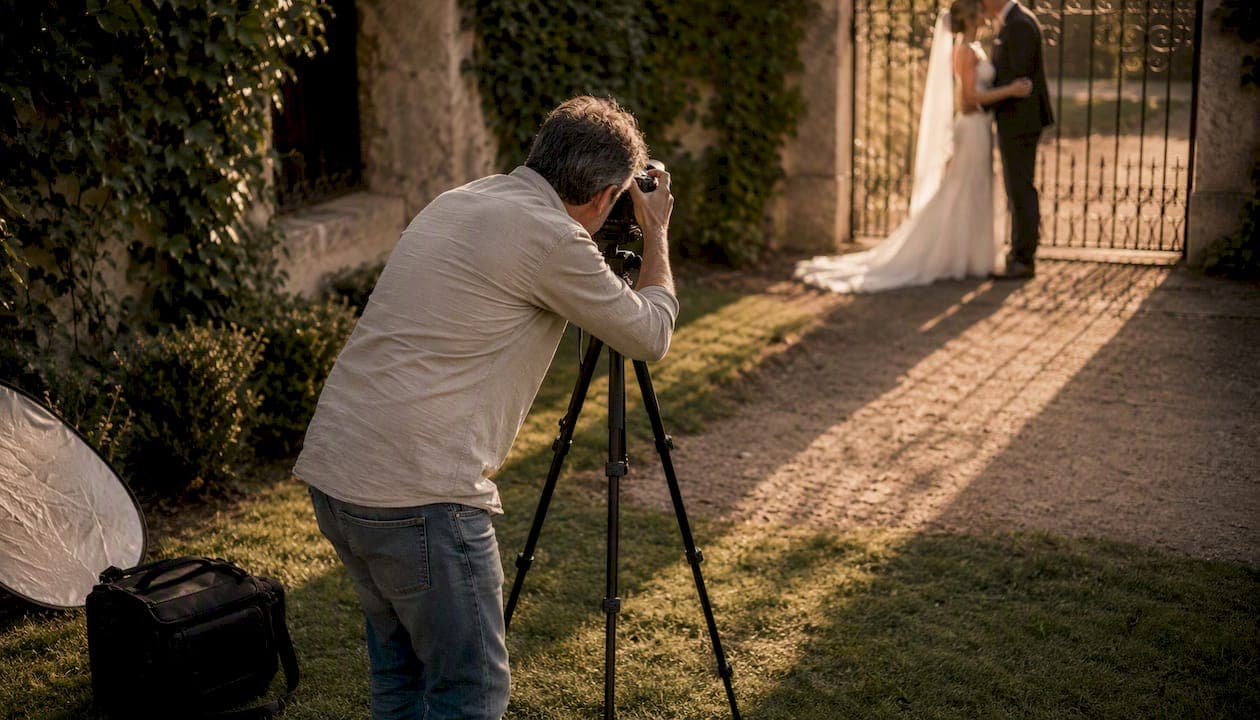
Photo composition is the deliberate arrangement of visual elements inside the frame to guide the viewer and express an idea or emotion. Get that arrangement right, and a technically average shot becomes something people stop to look at. Get it wrong, and even a perfectly exposed image feels flat.
This guide covers the core photo composition techniques, how to train your eye to see them, a field checklist, and the most common mistakes beginners make. By the end, you'll know how to shoot with intention rather than hope.
What you'll take away:
- How the rule of thirds, leading lines, framing, and negative space actually work
- A weekly practice routine with three progressive field exercises
- A printable checklist to run through before every shot
- How to recognize when breaking a rule makes the image stronger
Table of Contents
- Why composition matters more than any single camera setting
- Core photo composition techniques you need to know
- How to practice seeing composition before you pick up a camera
- When breaking composition rules actually makes a stronger image
- Field composition checklist you can print and use on any shoot
- Key Takeaways
- Why composition at weddings is a different skill entirely
- When hiring a professional photographer is the smarter move
- Useful sources for going deeper
Why composition matters more than any single camera setting
A sharp, well-exposed photo can still feel boring. Composition is what separates a record shot from a story. As Fstoppers puts it, composition acts as a roadmap for the viewer's eye, controlling where attention lands and what emotion follows.
Think about how you scan a photo. Your eye enters somewhere, moves through the frame, and either finds a satisfying destination or wanders off the edge. Composition controls that path. A strong diagonal line pulls you in. An isolated subject surrounded by open space creates loneliness or calm. Two figures framed by a doorway feel intimate and contained.
"Composition is the structure of a photograph and a mechanism for conveying a message — intent is more important than rote rules." — PhotographyLife
That framing matters for beginners especially. Composition isn't a checklist of rules to obey. It's a set of tools for storytelling in photography that you learn, internalize, and eventually bend to your purpose.
Core photo composition techniques you need to know
Each technique below solves a specific visual problem. Learn what it does, then practice it deliberately.
Rule of thirds
Divide your frame into a 3x3 grid. Place your subject on one of the four intersection points rather than dead center. Adobe's composition guide explains that subjects placed on these intersections tend to feel more dynamic and natural to the eye than centered subjects. Most cameras and phones let you overlay this grid in the viewfinder.

Leading lines
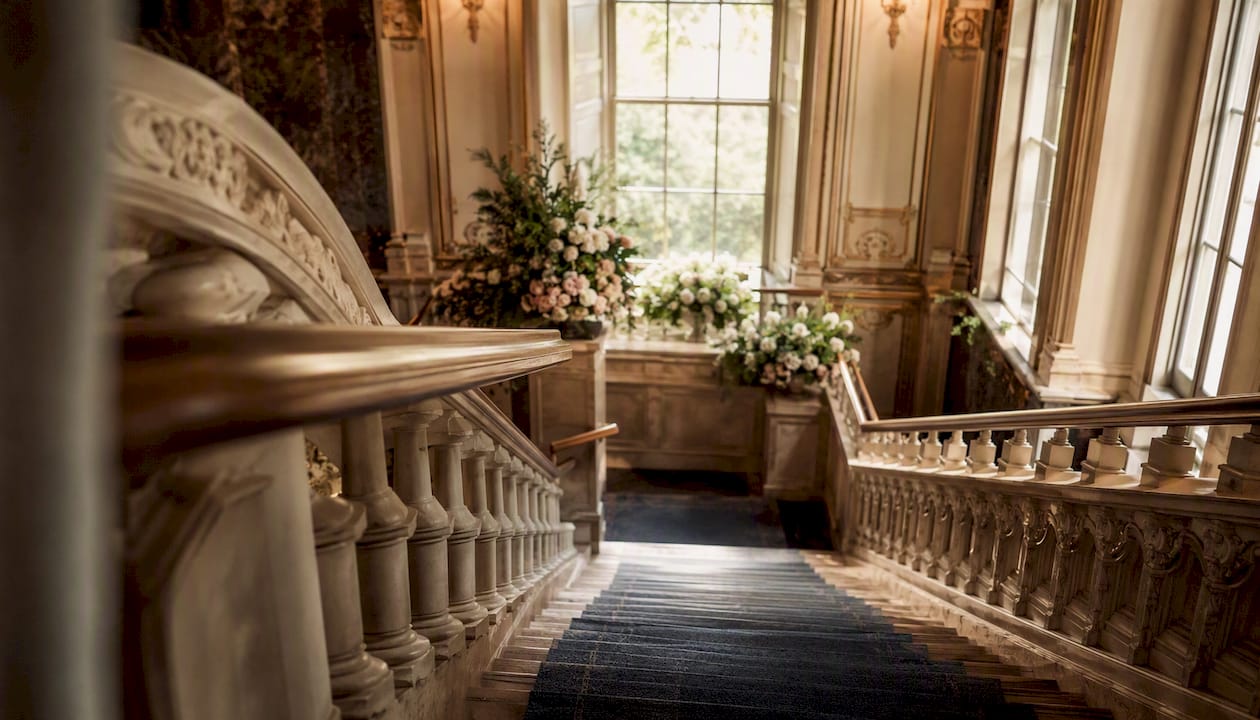
Roads, fences, rivers, staircases — any line that draws the eye toward your subject. The stronger the line, the more forcefully it directs attention. Use converging lines (two lines meeting at a point) for depth and drama.
Framing
Use elements within the scene to create a frame around your subject: a doorway, tree branches, a window, an archway. Framing adds depth, focuses attention, and gives context. It's one of the most natural techniques in wedding composition because venues are full of architectural frames.
Negative space
The empty area around your subject. More negative space creates calm, isolation, or scale. Less creates tension and intimacy. Portraits with a clean sky behind them feel open; portraits shot tight against a textured wall feel grounded.
Balance and symmetry
Visual weight needs to feel intentional. A large subject on one side can be balanced by a smaller element on the other. Symmetry works powerfully for architecture and formal portraits, but precision matters: pros shift their position by inches to achieve exact alignment rather than fixing it in crop later.
Golden ratio and triangles
Both come from classical art. The golden ratio (roughly 1:1.618) creates a spiral path through the frame. Triangles, formed by three subjects or three tonal areas, create stability or dynamic tension depending on orientation. These are advanced tools, but PetaPixel's list of techniques traces their roots to centuries of painting practice.
Foreground, midground, background
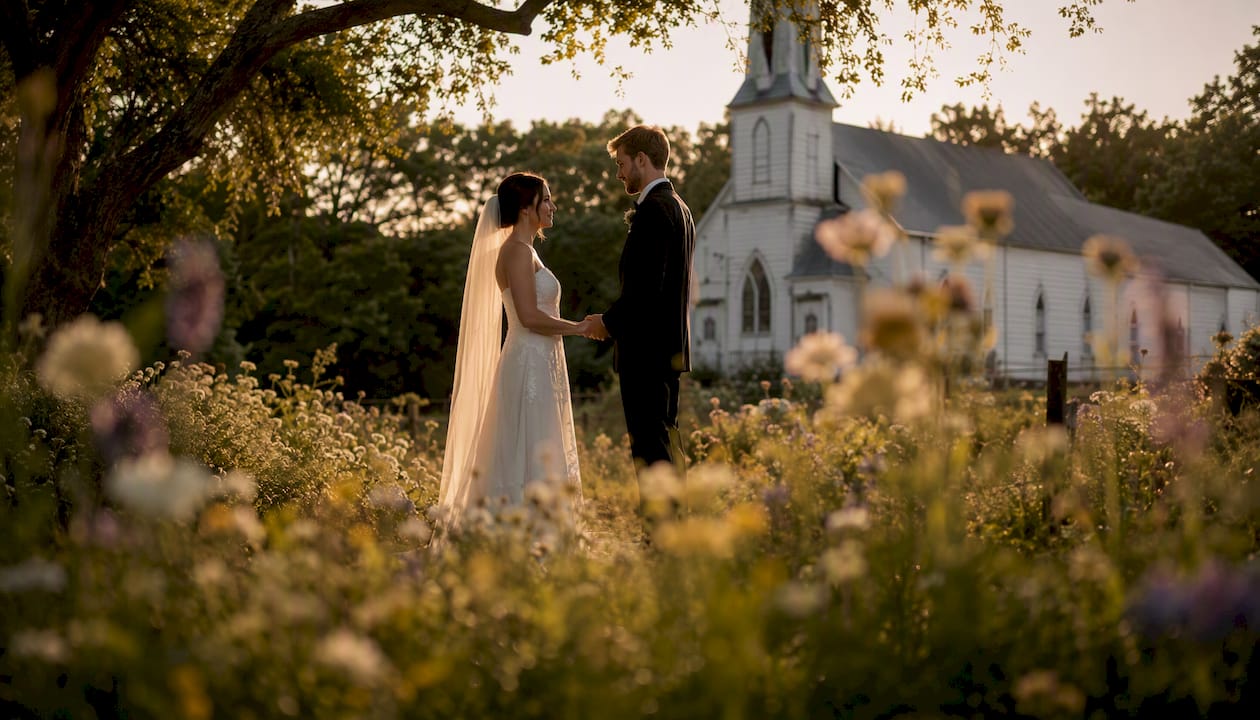
Layering your scene across three depth planes creates a sense of three-dimensional space in a flat image. A flower in the foreground, a couple in the midground, and mountains behind them tells a richer story than any single-plane shot.
Depth of field
Aperture controls how much of the scene is sharp. A wide aperture (f/1.8) isolates your subject from a blurred background. A narrow aperture (f/11) keeps everything in focus, emphasizing layers and spatial relationships. Both are compositional choices, not just technical ones. Adobe's guide frames depth of field as a tool for directing attention, not just managing sharpness.
Fill the frame, rule of odds, color and contrast
Fill the frame when texture or expression is the story. The rule of odds (grouping subjects in threes or fives) feels more natural than even numbers. Color contrast draws the eye to your subject; tonal contrast separates subject from background when colors are similar. Light direction shapes both.
Technique quick-reference by shooting goal:
| Goal | Strong techniques to try |
|---|---|
| Portraits | Rule of thirds, framing, shallow depth of field, fill the frame |
| Landscapes | Leading lines, foreground interest, rule of thirds, deep depth of field |
| Events and weddings | Framing, layering, rule of odds, light and shadow |
| Calm or minimalist mood | Negative space, symmetry, color simplicity |
| High energy or tension | Diagonal lines, tight crop, off-balance composition |
Three photos to analyze or shoot:
- A street portrait with the subject placed on a rule-of-thirds intersection, background blurred
- A sunset landscape with a strong foreground element and converging lines leading to the horizon
- A close-up detail (hands, texture, a single flower) using fill-the-frame and tonal contrast
How to practice seeing composition before you pick up a camera
The fastest way to internalize composition is deliberate, structured practice. DIYPhotography recommends short focused drills over long unfocused shooting sessions.
Start every session with one question: What do I want the viewer to feel? Decide that before you raise the camera. It sounds simple, but most beginners skip it and compose reactively.
Three progressive field exercises:
- 2-hour storytelling sequence. Shoot a single scene or event as a three-image sequence: an establishing wide shot, a midground interaction, and a tight detail. This mirrors how capturing emotions in photography works on a wedding day and trains you to think in narrative arcs.
For a weekly routine: spend 10–15 minutes daily reviewing three photos you admire and identifying the techniques at work. On weekends, run one of the field exercises above. After four weeks, the patterns start appearing automatically in the viewfinder.
Pro Tip: Before a shoot, walk the location and identify three compositional anchors: one strong leading line, one natural frame, and one foreground element. Pre-visualizing these means you spend less time hunting during the shoot and more time reacting to moments.
When breaking composition rules actually makes a stronger image
Canon's guidance is clear: learn the rules well enough to break them on purpose. Breaking a rule by accident is a mistake. Breaking it to increase emotional effect is craft.
A centered portrait can feel confrontational and powerful in a way that an off-center placement never would. Extreme negative space, with a tiny subject in one corner, communicates isolation or vulnerability more honestly than any balanced composition. A tilted horizon in a chaotic street scene can mirror the energy of the moment.
The test is always intent. Ask yourself: does breaking this rule make the image feel more like what I want the viewer to feel? If yes, break it. If you're not sure, shoot both versions.
Creative prompt: On your next shoot, pick one rule and deliberately violate it for five frames. Center every portrait. Remove all leading lines. Fill the frame with background and push the subject to the extreme edge. Review the results and decide which version tells the story better.
Field composition checklist you can print and use on any shoot
Run through this before pressing the shutter. During fast-paced shoots like weddings, you won't check every row every time, but scanning it before you enter a new location takes thirty seconds and prevents most common errors.
| Checkpoint | What to ask yourself |
|---|---|
| Intent | What emotion or story am I trying to communicate? |
| Subject placement | Is the subject on a strong point, or am I centering by default? |
| Background | Is there anything distracting behind the subject? |
| Leading lines | Is there a line I can use to pull the eye toward the subject? |
| Foreground interest | Can I add a foreground element to create depth? |
| Balance and visual weight | Does the frame feel intentionally balanced or accidentally lopsided? |
| Light direction | Where is the light coming from, and does it serve the subject? |
| Depth cues | Are there at least two depth planes visible? |
| Color and contrast | Does the subject stand out from the background tonally or by color? |
| Crop and frame edges | Are any limbs cut awkwardly? Is anything merging at the edges? |
Key Takeaways
Photo composition is the single most transferable skill in photography: master it once and it improves every genre you shoot.
| Point | Details |
|---|---|
| Composition is intentional | Arrange elements to guide the viewer and express an emotion, not just to fill the frame. |
| Techniques serve emotion | Choose rule of thirds, leading lines, or negative space based on the feeling you want to create. |
| Practice with short drills | A 30-minute focused exercise builds compositional instinct faster than hours of casual shooting. |
| Fix mistakes before the shutter | Check background, light direction, and subject placement in-camera; cropping is a last resort. |
| Larsonprophotography applies these principles | For weddings and engagements in San Antonio, every frame is composed for storytelling and emotional clarity. |
Why composition at weddings is a different skill entirely
Most composition guides treat every genre the same. They're not. A landscape gives you unlimited time to reframe. A wedding gives you one second, often less.
The techniques in this guide are the foundation, but applying them under real event pressure requires a different kind of preparation. Pre-visualizing locations during a venue scout, identifying the three or four compositional anchors you'll return to throughout the day, and training your eye to read light and framing simultaneously — that's what separates a working wedding photographer from someone who knows the rules.
Composition at a wedding is also about visual narrative: the sequence of images needs to tell the story of the day, not just document it. That means making compositional choices that connect frames across a gallery, not just within a single shot. The foreground-midground-background layering that works in a landscape works just as well in a ceremony shot, but you have to see it in real time.
The checklist above is something I run through mentally before entering each new location on a shoot. Not every row every time, but the habit of asking "what's the intent here?" before raising the camera changes the quality of every frame.
When hiring a professional photographer is the smarter move
Learning composition takes time, and for the moments that matter most, that time isn't always available. A professional photographer brings years of trained compositional instinct to your wedding or engagement session, making real-time decisions about framing, light, and storytelling that produce images you'll keep for decades.
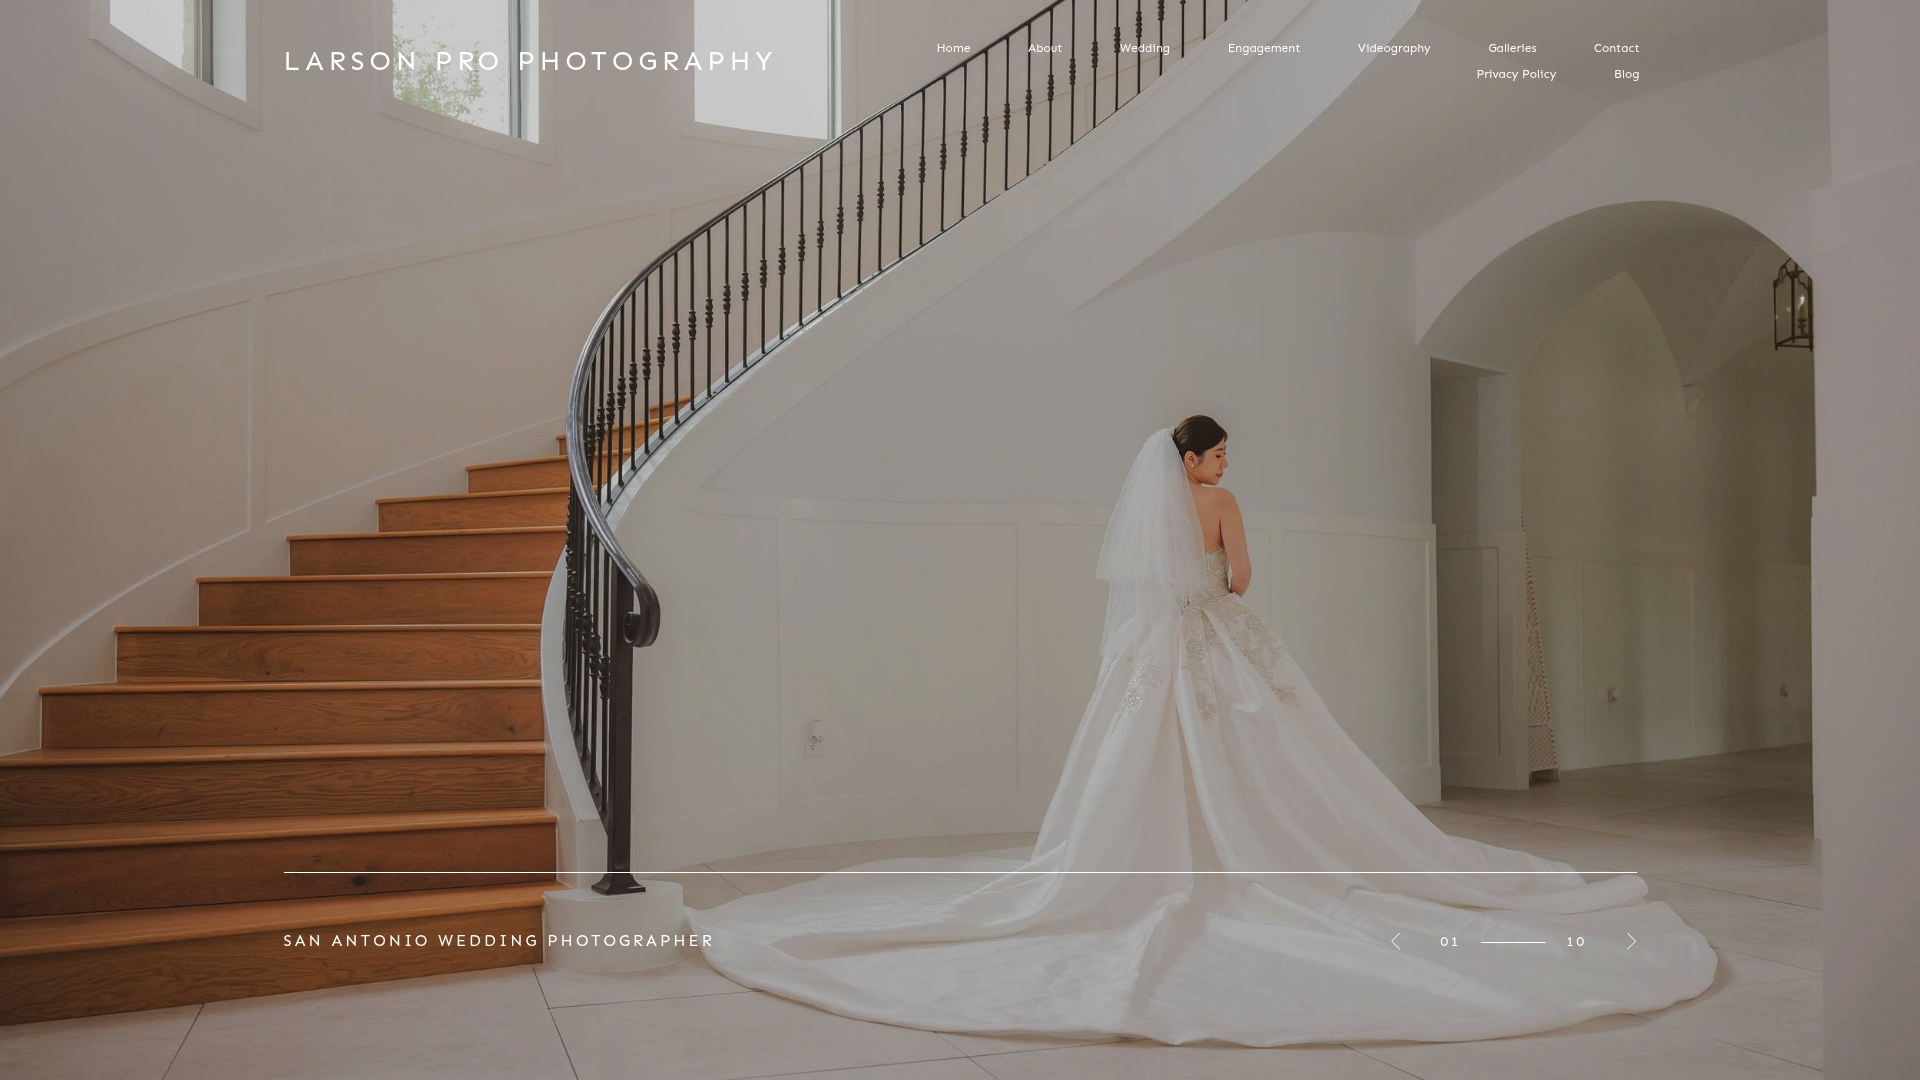
Larsonprophotography serves couples in San Antonio and nearby cities with wedding and engagement photography built around intentional composition and emotional storytelling. Every session is approached with the same field discipline described in this guide, applied to your specific locations and moments. Browse the client portfolio to see composition in action across real weddings, or explore engagement session options and reach out to check availability for your date.
Useful sources for going deeper
These are the sources worth bookmarking when you want more visual examples or technical depth on any technique covered above.
- Photographic composition - Wikipedia
- The crucial role of composition in photography — Fstoppers
- The basics of photography composition | Adobe
- Composition in Photography: A Beginner's Guide — PhotographyLife
- 28 Composition Techniques That Will Improve Your Photos — PetaPixel
- Canon: Better composition tips
- What is composition in photography? — DIYPhotography
- Photography composition techniques — PhotographyIcon