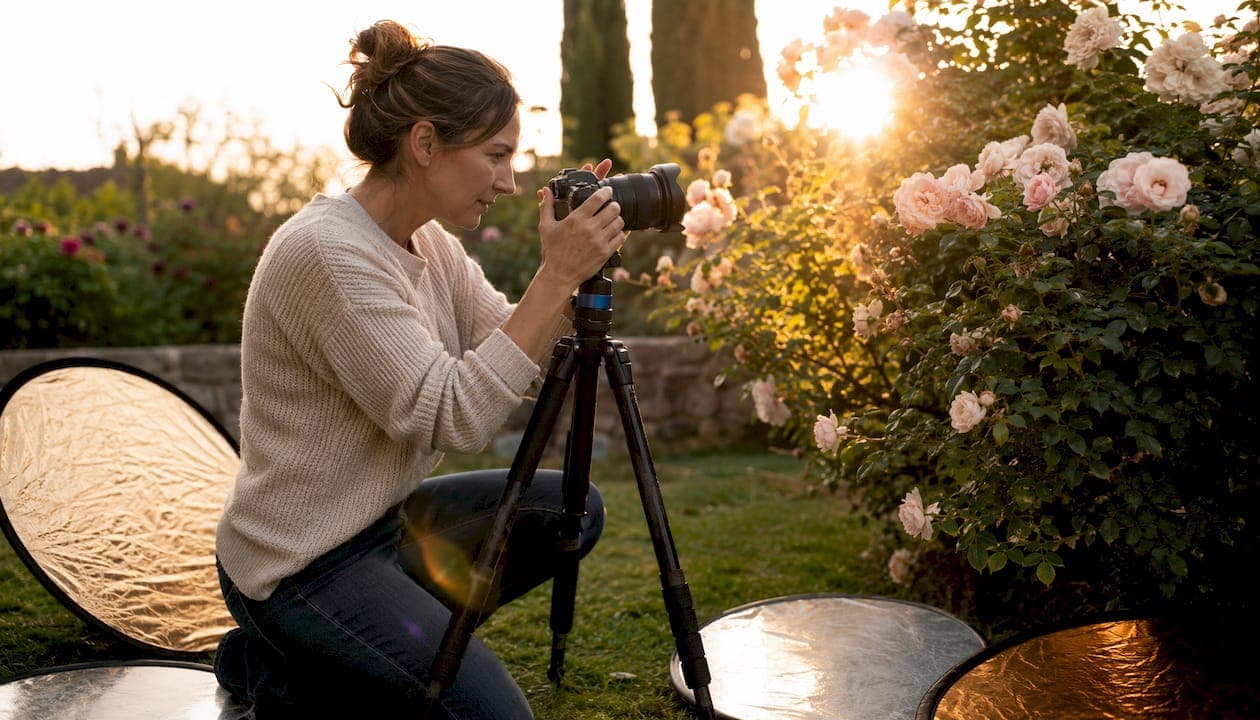
Light is not just a technical requirement in photography. It is the entire medium. Every decision you make with a camera, from aperture to composition to timing, is ultimately a decision about light. The role of lighting in photography covers everything: it controls exposure, defines texture, sets emotional tone, and determines whether an image feels alive or flat. Get the light right, and even a simple subject becomes compelling. Get it wrong, and no amount of editing saves you.
Here is what lighting actually does to your images:
- Exposure: Light volume determines whether your sensor captures detail or clips to pure black and white.
- Color accuracy: The color temperature of your light source shifts every hue in the frame, from skin tones to backgrounds.
- Texture and depth: Directional light reveals surface detail; flat light erases it.
- Mood and emotion: Soft, warm light reads as intimate. Hard, cool light reads as stark or dramatic.
- Shadow definition: Shadows are not the absence of light. They are light's way of describing shape and dimension.
How natural and artificial light differ in practice
Natural light comes from the sun and sky, and it changes constantly. The quality shifts from the soft, diffused glow of an overcast sky to the hard, directional punch of midday sun. Color temperature moves from the cool blues of early morning through the warm golds of golden hour. You cannot control it, but you can read it and position yourself accordingly.
Artificial light covers a wide range: speedlights, studio strobes, continuous LED panels, and ambient sources like chandeliers or candles. The key difference from natural light is control. You choose the intensity, direction, and color temperature. The tradeoff is that artificial sources rarely wrap around a subject the way open skylight does, so they can look flat or harsh if placed carelessly.
- Natural light advantages: Free, flattering in the right conditions, and produces a timeless quality that is hard to replicate artificially.
- Artificial light advantages: Consistent, controllable, and available regardless of time or weather.
- Combining both: Many photographers use a reflector or a low-power fill flash to complement natural light rather than replace it. Mastering off-camera flash with diffusion gives you consistent soft results indoors without losing the feel of the ambient environment.
The most versatile photographers treat natural and artificial light as tools in the same kit, not opposing philosophies.
The three properties of light you need to control
Light's fundamental properties that every photographer must understand are quality, direction, and color temperature. These three variables govern every lighting decision you make, whether you are shooting a portrait in a studio or a ceremony in a candlelit chapel.
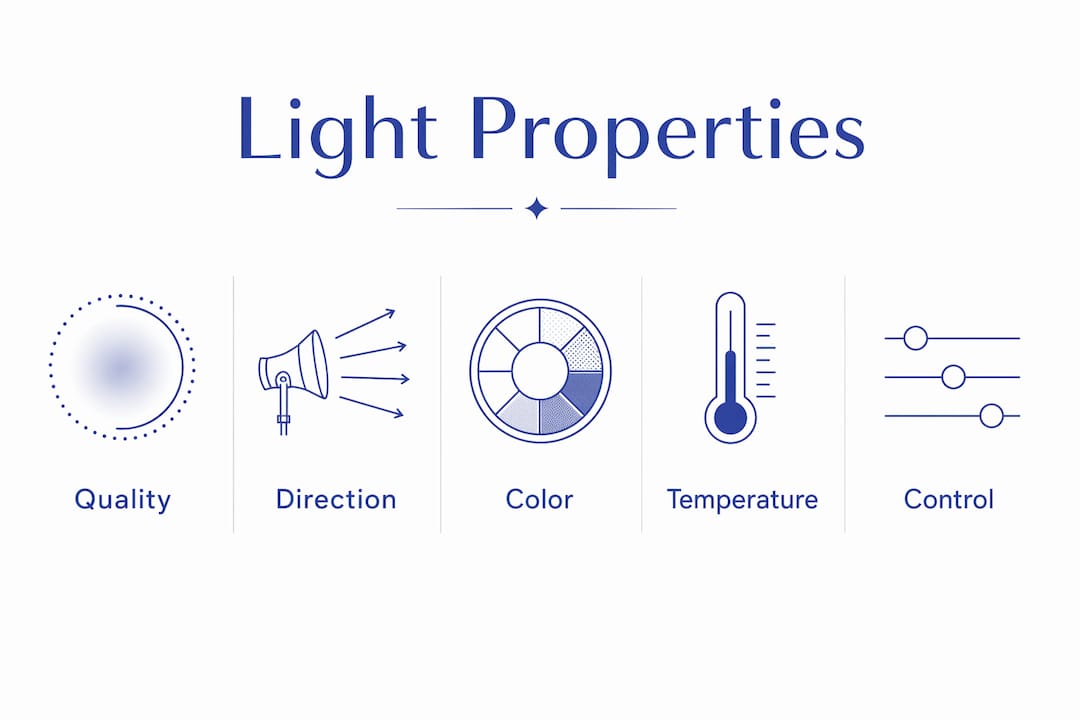
Quality: hard versus soft
Hard light comes from a small or distant source relative to the subject. The midday sun is the classic example. It creates sharp-edged shadows, high contrast, and strong texture. Soft light comes from a large source close to the subject, like an overcast sky or a large softbox. It produces gradual shadow transitions and even, flattering illumination. The key insight: size is relative. A softbox that is soft at two feet becomes effectively hard at twenty feet.
Direction: where the light comes from
- Front light minimizes shadows and flattens the subject. Passport photos are the textbook example.
- Side light sculpts shape and reveals texture. It is the foundation of most portrait lighting patterns, including Rembrandt and loop lighting.
- Backlight creates silhouettes, rim light, and a sense of atmospheric depth. It is the most dramatic direction and the most misunderstood.
- Top light (overhead) casts unflattering shadows under eyes and noses. Bottom light is rare in nature and reads as eerie.
Color temperature
Light has color, measured in Kelvin (K). Candlelight sits around 1,800K, warm and orange. Midday sun is roughly 5,500K, neutral white. Open shade and overcast skies push toward 7,000K and above, giving a cool blue cast. Your camera's white balance setting either corrects for these shifts or preserves them. Shooting in RAW and setting white balance to "daylight" lets you keep the warm gold of sunset or the blue of twilight as creative features rather than errors to fix.
Pro Tip: Before every shoot, spend 30 seconds assessing the light: where is it coming from, is it hard or soft, and what color is it? Look at shadow edges to determine hardness, and compare a white surface in the scene to your mental reference of neutral white. That quick read changes every decision you make after it.
How lighting shapes mood, emotion, and storytelling
Lighting does not just illuminate a scene. It tells the viewer how to feel about it. This is the part of photography that separates documentation from storytelling, and it is where the role of lighting in photography becomes genuinely powerful.
Soft, warm light reads as intimate and romantic. Hard, directional light with deep shadows reads as dramatic or tense. Cool, flat light can feel clinical or melancholy. These are not arbitrary associations. They mirror the lighting conditions humans experience in real life: candlelit dinners, harsh interrogation rooms, gray overcast mornings. Your brain already knows what each type of light means emotionally before the image even registers consciously.
- Dramatic lighting: High contrast between highlights and shadows creates tension and visual weight. Chiaroscuro technique, used by Caravaggio and Rembrandt in painting, applies directly to portrait photography.
- Intimate lighting: Low-key setups with a single warm source and dark backgrounds create closeness and vulnerability.
- Cinematic lighting: Directional backlight with a warm color cast and visible atmospheric haze produces the "golden hour film" look that wedding photographers prize.
- Flat, even lighting: Overcast or studio high-key setups minimize drama and emphasize color and expression over shadow play.
Lighting shapes emotions and narrative. Protecting the feeling of light is what differentiates cinematic images from flat documentation. The goal is not just to expose the scene correctly but to preserve the emotional atmosphere that made the moment worth photographing in the first place.
Shadows carry as much narrative weight as highlights. A shadow falling across half a face implies mystery. A shadow stretching long across a floor implies late afternoon and the passage of time. Learning to read and place shadows deliberately is one of the fastest ways to add storytelling depth to your images. For more on how light and narrative work together, see Larsonprophotography's guide on storytelling through photography.
Practical tips for choosing and manipulating light
The most common mistake photographers make is reacting to light rather than reading it. Before you raise the camera, observe what the light is actually doing. Where are the shadows falling? Is the light changing? What is the contrast ratio between the brightest and darkest areas of the scene?
Modifying light with simple tools
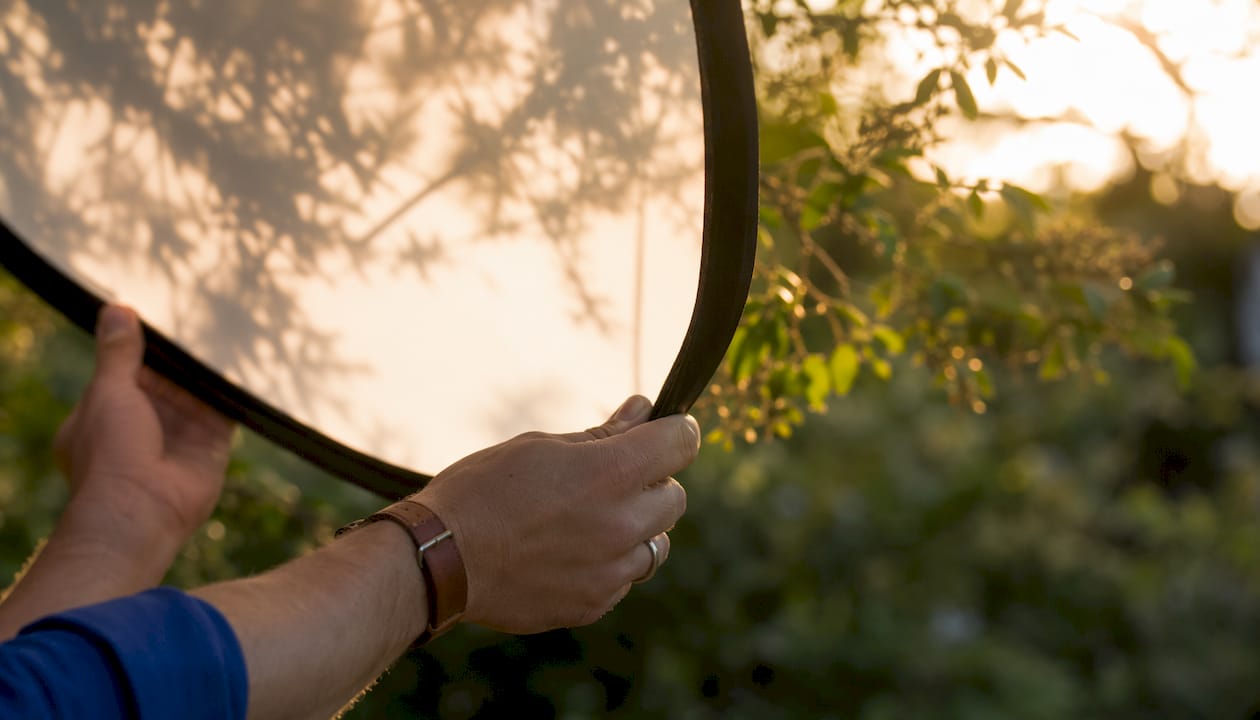
- Reflectors: A white reflector adds soft fill; silver adds intensity; gold adds warmth. Positioning one opposite your key light fills shadows without adding another powered source.
- Diffusers: A translucent panel held between the sun and your subject turns harsh direct light into a large, soft source. Essentially a portable overcast sky.
- Open shade: Moving your subject into the shadow of a building gives you soft, even light without the dappled mess of shooting under trees.
Three-point lighting for depth
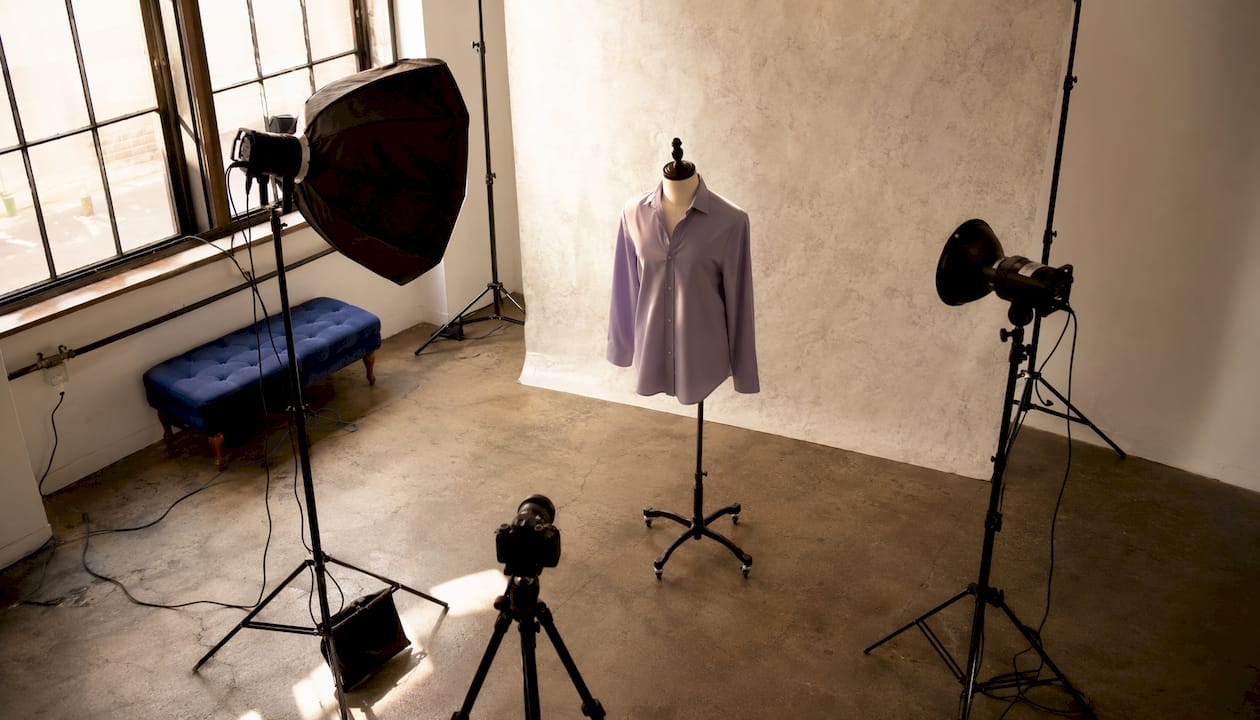
Three-point lighting positions the key light at 45 degrees to the subject for balanced illumination without distracting shadows. The fill light reduces shadow density on the opposite side, and the backlight separates the subject from the background. This setup works in studios, at receptions, and anywhere you have control over your light sources. For a deeper look at how this plays out in real wedding environments, studio lighting configurations offer practical arrangement examples worth studying.
Avoiding common pitfalls
Harsh midday sun creates shadows under eyes and noses that are genuinely unflattering. The fix is not always to find shade. Positioning your subject so the sun is behind them eliminates squinting and harsh facial shadows while creating a rim of light that separates them from the background. Alternatively, a fill flash at low power restores detail in the shadows without overpowering the ambient light.
Pro Tip: When balancing natural and artificial light, set your exposure for the ambient light first, then dial your flash power to fill shadows rather than dominate the scene. This keeps the image feeling natural while giving you technical control over the darker areas.
How lighting affects composition and camera settings
Lighting and composition are inseparable. The way light falls on a scene determines where the viewer's eye goes, which elements read as foreground versus background, and whether the image has a sense of three-dimensional space or looks flat.
Light determines exposure controlled by aperture, shutter speed, and ISO. Each lighting scenario demands different settings. Bright conditions call for faster shutter speeds, smaller apertures, and lower ISO. Low-light situations require the opposite: slower speeds, wider apertures, and higher ISO, with the tradeoff of increased noise.
Lighting-driven compositional techniques
- Silhouettes: Placing the subject between the camera and a bright background, then exposing for the background, strips the subject to a pure shape. The outline carries all the meaning.
- Rim lighting: A backlight source placed behind and to the side of the subject creates a bright outline that visually separates them from the background, adding a sense of physical depth.
- Shadow patterns: Hard directional light through a window or between buildings creates graphic shadow lines that become compositional elements in their own right.
| Lighting scenario | Aperture | Shutter speed | ISO |
|---|---|---|---|
| Bright outdoor sun | — | — | — |
| Overcast / open shade | — | — | — |
| Indoor ambient (dim) | — | — | — |
| Candlelit reception | — | — | — |
Common lighting mistakes include improper backlighting that silhouettes the subject unintentionally, incorrect white balance that destroys the scene's color mood, and uncontrolled shadows that flatten the image. White balance errors are particularly damaging because they shift every color in the frame simultaneously. Shooting in RAW gives you the ability to correct white balance in post without quality loss, but getting it close in camera saves time and preserves your creative intent.
Expert insights on lighting for wedding photography
Wedding photography is one of the most demanding lighting environments that exists. A single day can move from soft morning window light to harsh midday sun to a candlelit reception with 20-foot ceilings. There are no retakes, and the light is almost never what you planned for.
The photographers who consistently produce strong wedding work share one habit: they adapt to whatever the light is doing rather than fighting it. Using ambient light instead of flash during intimate moments like first dances and speeches preserves the authentic emotion of the scene. Flash interrupts. It makes people aware they are being photographed, and the moment shifts from genuine to performed.
Backlight for bridal portraits
Strong directional backlight is the defining technique for luminous bridal veil photography. The light needs to pass through the fabric to create that characteristic glow. Without a strong directional source behind the veil, it reads as flat fabric. This is why golden hour, with its low-angle sun, is so consistently productive for bridal portraits: the geometry of the light naturally places the sun behind the subject when you face them toward the camera.
Direct sun as a creative tool
Most photographers treat midday sun as a problem. Precise positioning relative to direct light can transform harsh midday sun into a creative editorial advantage. When the subject's face is angled correctly relative to the sun, the harsh shadows disappear and the image gains contrast, shape, and a boldness that open shade never delivers. The best light for wedding portraits is often the light that is already there, used intentionally.
- Overcast days: Soft, even light that flatters skin tones and eliminates squinting. The tradeoff is flatness; composition, timing, and emotion carry the image when the light does not.
- Golden hour: Warm, directional light that adds depth and romance. It rewards photographers who know when to backlight, when to turn the subject into the sun, and when to let it skim across the scene.
- Candlelight: Photographs beautifully at high ISO. It keeps the room intimate and lets moments stay moments rather than becoming flash-lit performances.
| Scenario | Technique | Key challenge |
|---|---|---|
| Midday direct sun | Backlight or precise face angle | Eliminating harsh eye/nose shadows |
| Golden hour | Backlight, rim light | Managing flare and exposure balance |
| Overcast | Composition-led, ambient | Preventing flat, dimensionless images |
| Indoor reception | Ambient or low-power fill flash | Color cast from mixed light sources |
| Candlelit venue | High ISO, wide aperture | Noise and motion blur at slow speeds |
Pro Tip: At receptions, find your ambient exposure first with no flash. Then decide whether the scene needs any fill at all. Often it does not, and the images you get by trusting the room's light will feel more honest and more emotional than anything a flash produces.
Larsonprophotography's wedding lighting workflow covers how these principles translate into a real shooting day, from getting-ready rooms to the reception floor.
Key Takeaways
Lighting is the single variable that controls exposure, color, mood, and depth in every photograph, and mastering it requires reading quality, direction, and color temperature before raising the camera.
| Point | Details |
|---|---|
| Light controls everything | Exposure, color, texture, and emotional tone all follow from the quality and direction of light. |
| Hard vs. soft light | Hard light sculpts and dramatizes; soft light flatters and evens. Source size and distance determine which you get. |
| Direction shapes dimension | Side and backlight add depth; front light flattens. Backlight is the go-to for bridal and rim-lit portraits. |
| Camera settings follow the light | Aperture, shutter speed, and ISO must be adjusted for each lighting scenario to achieve correct exposure. |
| Ambient light preserves emotion | In wedding photography, working with existing room light during intimate moments produces more honest, emotional images than flash. |
Larsonprophotography: lighting that tells your story
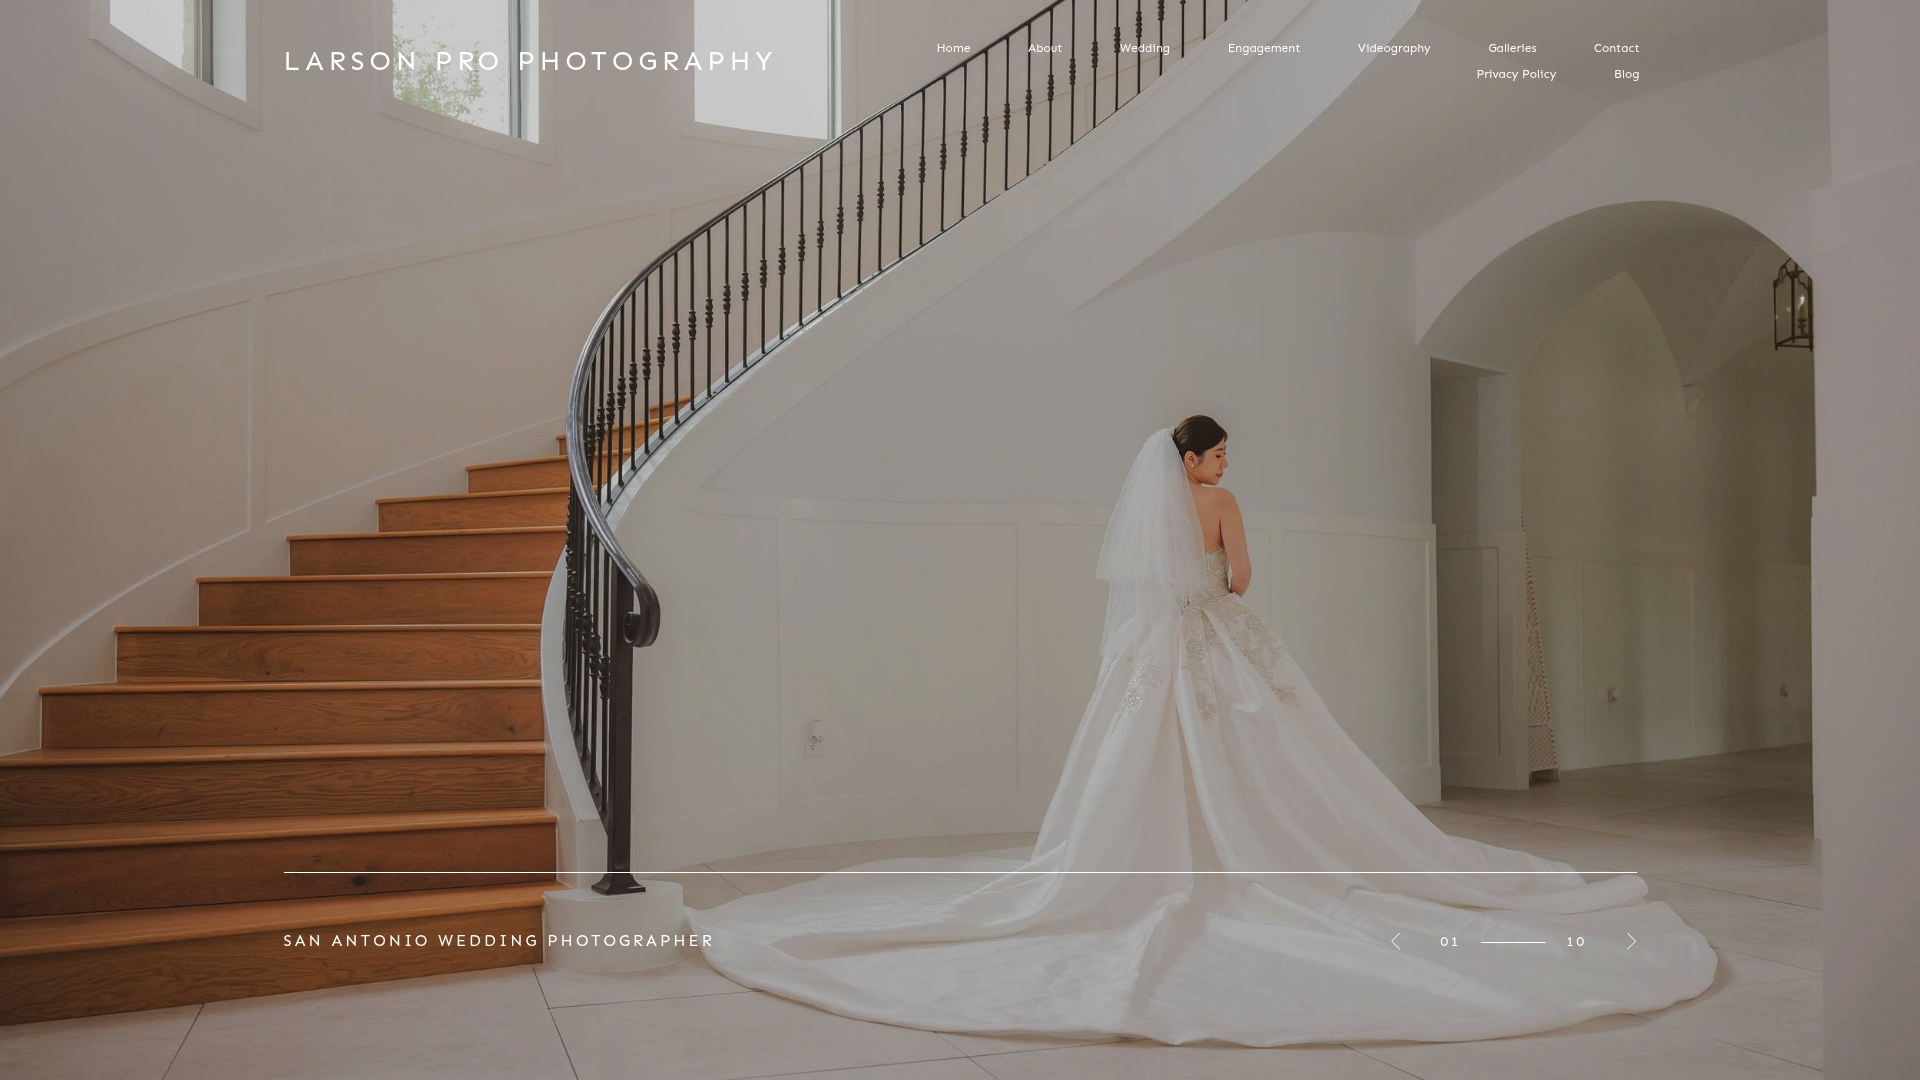
At Larsonprophotography, every image starts with a deliberate read of the light. Whether it is the warm backlight of a San Antonio golden hour, the soft glow of a candlelit reception, or the bold contrast of midday sun used intentionally, the goal is always the same: to protect the feeling of the moment and translate it into an image that brings you back to exactly how it felt.
If you are planning a wedding in the San Antonio area and want photography that treats light as a storytelling tool rather than a technical checkbox, explore the client work and services at Larsonprophotography, or take a look at the engagement photography portfolio to see how these lighting principles translate into real sessions.