Photography lighting is defined as the deliberate control of light intensity, quality, and direction to shape mood, depth, and dimension in an image. The best examples of photography lighting span natural sources like Golden Hour sunlight and open shade, artificial tools like softboxes and LED panels, and classic portrait patterns like Butterfly, Loop, and Rembrandt. Each technique produces a distinct visual result. Understanding these examples is the fastest way to move from snapping pictures to crafting images with intention.
1. Examples of photography lighting: classic portrait patterns
Portrait lighting patterns are defined by the horizontal angle of the key light relative to the subject's face. The angle determines where shadows fall, which controls how dramatic or soft the final image looks.
-
Butterfly lighting places the light directly in front of the subject at 0°, slightly above eye level. The result is a symmetrical shadow under the nose that resembles a butterfly's wings. This pattern is associated with glamorous, high-fashion portraits and works best on subjects with strong cheekbones.
-
Loop lighting shifts the key light slightly off-center, creating a small shadow that loops down from the nose toward the corner of the mouth. It is the most versatile portrait pattern and works on nearly every face shape. Most editorial and commercial portrait work defaults to Loop.
-
Rembrandt lighting positions the key light at roughly 45° to the side and above the subject. The signature result is a small triangle of light on the shadowed cheek. This pattern adds drama and depth, making it a strong choice for moody or character-driven portraits.
-
Split lighting moves the key light to a full 90° angle, illuminating exactly half the face while leaving the other half in shadow. The contrast is high and the mood is intense. It suits creative and artistic portraits more than commercial work.
-
Clamshell lighting uses two light sources: one above and one below the subject, or a reflector below to bounce light upward. The setup wraps light around the face and eliminates most shadows. Beauty and cosmetics photographers rely on it heavily.
Pro Tip: Start with Loop lighting for your first portrait sessions. It flatters the widest range of subjects and gives you a reliable baseline before you experiment with more dramatic patterns.
2. Natural light techniques and optimal shooting conditions
Golden Hour occurs within roughly two hours after sunrise and two hours before sunset. The light during this window is warm, low-angle, and soft, which flatters skin tones and adds a natural glow to portraits. Scheduling outdoor sessions during these windows produces results that are difficult to replicate with artificial gear.
Open shade is the most underused natural lighting technique for beginners. Placing your subject under a tree, an overhang, or the shadow of a building blocks harsh overhead sun while still using the sky as a large, diffused light source. The result is even, flattering light with no squinting and no blown-out highlights.
Natural light varies significantly with weather conditions. Overcast skies act like a giant softbox, producing diffused, low-contrast light that is ideal for portraits and detail shots. Direct sunlight on a clear day creates hard, directional light that sculpts texture but can be unflattering if not managed carefully.
Reflected natural light adds fill without any equipment. A white wall, a light-colored sidewalk, or a purpose-built reflector can bounce sunlight back onto a subject's face to reduce shadow depth. Reflectors placed above eye level mimic the natural top-down direction of sunlight. Placing a reflector below the chin creates an unnatural, unflattering effect that professionals actively avoid.
Pro Tip: Shoot with your subject's back to the sun during Golden Hour. The sun acts as a rim light, and you fill the face with a reflector or a shaded wall. The result looks cinematic with zero artificial gear.
For outdoor portrait sessions, timing and location work together. Guides on outdoor portrait timing show how combining the right hour with the right environment compounds the quality of natural light.
3. Artificial lighting: types and modifiers
Photography lighting is categorized into multiple types, including natural, artificial, and modifier-based sources. Artificial lighting gives photographers full control over intensity, color temperature, and direction regardless of time of day or weather.
| Light Source | Type | Best Use |
|---|---|---|
| Strobe / Flash | Pulsed | Freezing motion, studio portraits |
| LED Panel | Continuous | Video, product, and low-motion portraits |
| Softbox | Modifier | Soft, wrapping light for flattering portraits |
| Umbrella | Modifier | Broad, diffused light for group shots |
| Reflector | Modifier | Fill light, bouncing existing light sources |
Continuous lighting, such as LED panels, lets you see exactly how light falls on a subject before you shoot. Strobe lighting is more powerful and freezes motion, but you rely on modeling lights or experience to predict the result. Beginners often find continuous lighting easier to learn on.
Light quality depends on source size relative to the subject. A large softbox close to a subject produces soft, wrapping light with gradual shadow transitions. A bare strobe or a small LED far from the subject produces hard light with sharp shadow edges. Moving a light source closer increases its effective size and softens the output.
Bounce lighting is one of the most budget-friendly techniques available. Pointing a flash at a white ceiling or wall scatters light across a wide area, eliminating harsh shadows. A $20 reflector card can replicate what a $300 softbox does in many indoor situations.
4. Photography lighting patterns compared: when to use each
Lighting direction relative to the lens determines whether an image looks flat or three-dimensional. A light placed at 180° directly behind the camera produces flat, even illumination with no shadows. A light at 45° adds depth and dimension by creating shadows that define facial structure.
| Pattern | Key Light Angle | Best For | Mood |
|---|---|---|---|
| Butterfly | 0° (front, above) | Glamour, fashion portraits | Polished, elegant |
| Loop | Slightly off-center | General portraits, editorial | Versatile, flattering |
| Rembrandt | 45° side, above | Character, dramatic portraits | Moody, artistic |
| Split | 90° side | Creative, artistic portraits | High contrast, intense |
| Broad lighting | Angled toward camera side | Wider face appearance | Open, bright |
| Short lighting | Angled away from camera | Narrowing face appearance | Slimming, dimensional |
Lighting patterns like Butterfly, Loop, Rembrandt, and Split each have specific best-use cases. Butterfly suits glamorous portraits. Loop handles general commercial work. Rembrandt adds drama. Split creates the highest contrast of the group.
Broad and short lighting are less discussed but equally useful. Broad lighting illuminates the side of the face closest to the camera, making a face appear wider and more open. Short lighting illuminates the far side, which slims the face and adds depth. Choosing between them based on the subject's face shape is a professional-level decision that beginners rarely consider.
Modifiers alter any pattern's quality without changing its angle. Adding a softbox to a Rembrandt setup softens the triangle shadow. Adding a grid to a Butterfly setup tightens the light spread and increases contrast. The pattern sets the structure; the modifier sets the feel.
5. Creative lighting setups and overlooked techniques
Rim lighting and backlighting are two of the most visually striking techniques in portrait photography. Rim lighting places a light source behind and to the side of the subject, creating a bright outline along the hair and shoulders. This separates the subject from the background and adds a three-dimensional quality that flat front lighting cannot produce.
-
Backlight positions the main light source directly behind the subject. Used during Golden Hour, it creates a glowing halo effect. In a studio, it produces silhouettes or ethereal, high-key images depending on how much fill light you add from the front.
-
Mixed lighting combines natural and artificial sources in a single frame. A common example is using a window as the key light and a small LED panel as fill on the shadow side. The result looks natural but is fully controlled.
-
Color gels attach to strobes or LED panels and shift the color of the light. A blue gel on a background light creates a cool, cinematic mood. An orange gel mimics warm sunset light indoors. Gels cost very little and produce dramatic results.
-
Light placement experimentation is the fastest way to develop an eye for lighting. Moving a single light source from front to side to back on the same subject teaches you more in one session than reading about it for a week.
Pro Tip: For a quick rim light setup, place a strobe or LED behind your subject at 45° and point it toward the camera. Add a reflector in front to fill the face. Two light sources, one dramatic result.
For capturing authentic emotion under real lighting conditions, candid portrait techniques show how light placement affects natural expressions and face reads in unposed moments.
Key takeaways
Mastering photography lighting requires understanding three pillars: intensity, quality, and direction, because these three variables control every visual outcome in a photograph.
| Point | Details |
|---|---|
| Portrait patterns follow angles | Butterfly, Loop, Rembrandt, and Split are defined by the key light's horizontal position relative to the face. |
| Golden Hour is the best free tool | Shooting within two hours of sunrise or sunset produces warm, flattering natural light with no equipment needed. |
| Light size determines softness | Larger light sources placed closer to the subject produce softer shadows and more flattering portraits. |
| Open shade beats midday sun | Placing subjects in shade uses the sky as a diffused source and avoids harsh, unflattering shadows. |
| Creative techniques require minimal gear | Rim light, bounce flash, and color gels each produce dramatic results with low equipment investment. |
What I've learned about lighting that most tutorials skip
Most lighting tutorials teach you the names of patterns before they teach you to see light. That is the wrong order. The first skill worth building is simply noticing where light comes from before you pick up a camera. Walk into any room and ask: where is the brightest source, what direction is it coming from, and how hard or soft are the shadows it creates? That single habit changes how you shoot faster than any gear purchase.
The second thing most guides miss is that light quality is more important than light quantity. A single large softbox close to a subject will outperform three small bare strobes in almost every portrait situation. Beginners tend to add more lights when the real fix is moving one light closer or adding a diffusion panel.
Natural light and studio light are not opposites. The best photographers I know treat them as the same tool with different controls. A window is just a softbox you cannot move. A strobe is just a sun you can position anywhere. Once you see them that way, mixing the two becomes intuitive rather than complicated.
My honest recommendation: spend your first 30 sessions shooting only with natural light in open shade and during Golden Hour. You will learn more about light direction, quality, and intensity from those sessions than from any studio course. Then, when you add artificial lights, you already understand what you are trying to replicate.
— Todd
Professional lighting expertise, applied to your photos
Larsonprophotography works with couples and photographers across San Antonio who want images that go beyond snapshots. Every session applies the lighting principles covered here, from Golden Hour timing to portrait pattern selection, to produce images with real depth and emotion.
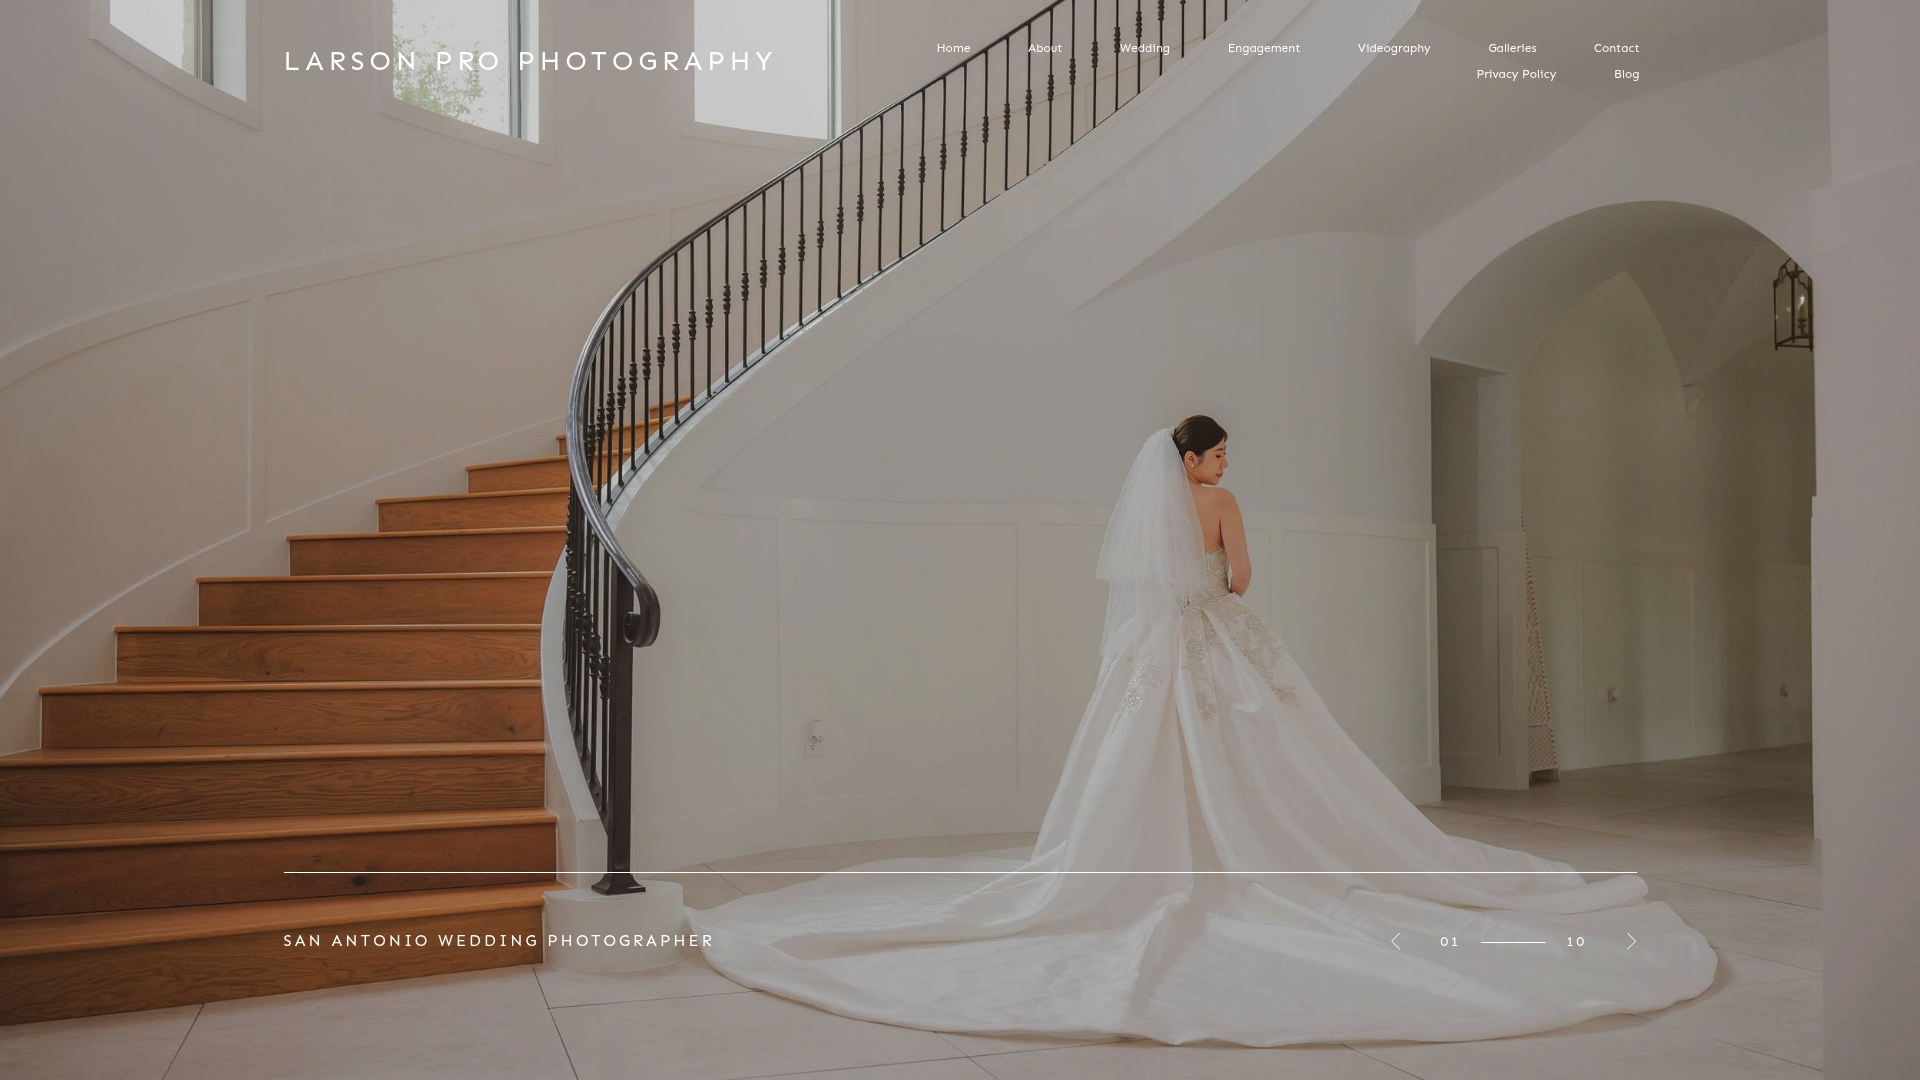
Whether you are looking for inspiration or ready to book, the client portfolio shows exactly how these lighting techniques translate into finished wedding and engagement images. For couples planning an engagement session, the engagement session page outlines what to expect and how Larsonprophotography uses location and light to make every session look its best.
FAQ
What are the main types of lighting in photography?
Photography lighting is categorized into natural, artificial, and modifier-based types, including front, side, back, top, and ambient light. Each type defines texture, depth, and mood differently.
What is the best lighting setup for portrait photography?
Loop lighting is the most versatile portrait setup for most subjects. It uses a key light slightly off-center and above the subject, creating a small nose shadow that flatters nearly every face shape.
How do I use natural light in photography effectively?
Shoot during Golden Hour and place subjects in open shade during midday. Scheduling around these conditions produces soft, flattering light without any artificial equipment.
What is Rembrandt lighting and when should I use it?
Rembrandt lighting positions the key light at 45° to the side and above the subject, producing a small triangle of light on the shadowed cheek. Use it for dramatic, character-driven portraits where mood matters more than flattery.
Does weather affect photography lighting?
Yes. Overcast skies diffuse sunlight into soft, even light ideal for portraits, while clear skies produce hard, directional light that sculpts texture but requires careful management.