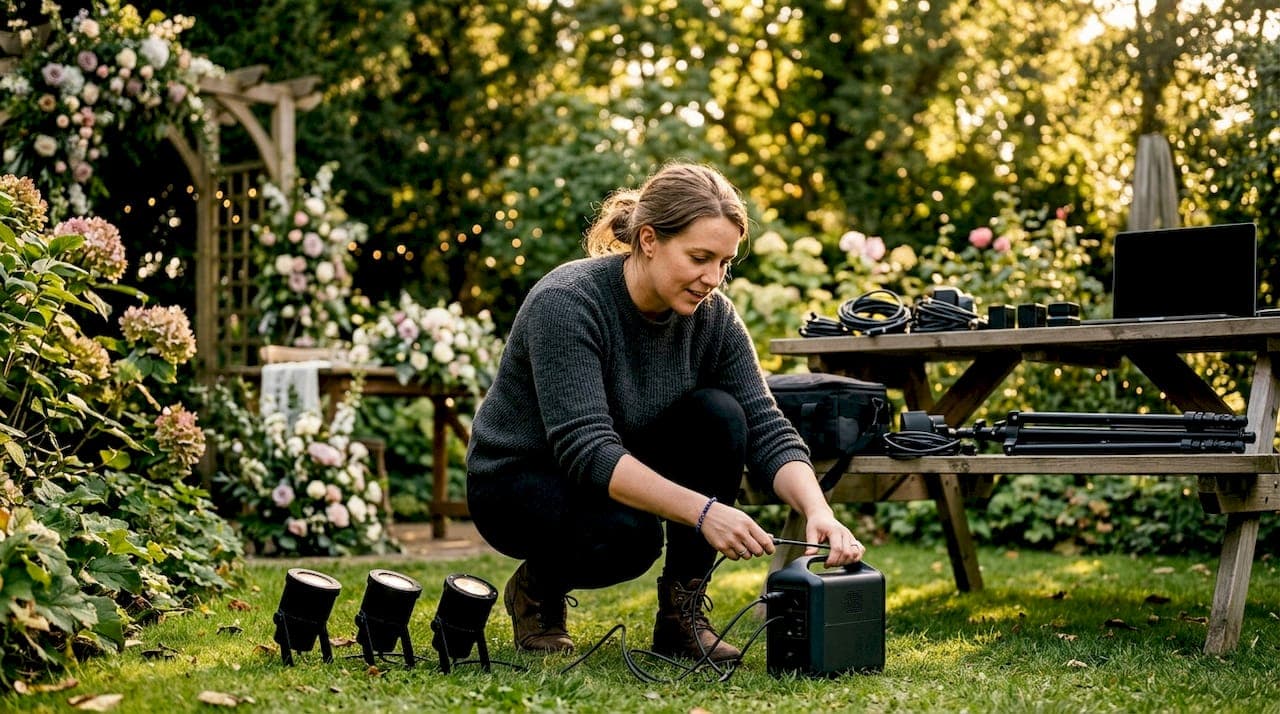
A lighting setup workflow for weddings is the structured process of selecting, placing, and controlling light sources to produce professional, consistent images and video throughout a wedding event. Without a defined workflow, photographers and videographers waste time on day-of troubleshooting and risk flat, unflattering results. The most effective approach combines pre-event planning, zoned lighting design, and layered techniques drawn from both photography and videography standards. Larsonprophotography builds every shoot around this framework, treating light as the primary storytelling tool rather than an afterthought.
What essential lighting equipment is needed for weddings?
The right gear makes or breaks your event lighting workflow before a single photo is taken. Battery-powered wireless LED fixtures are the foundation of a modern wedding lighting kit. They reduce setup time, eliminate trip hazards from power cables, and give you placement flexibility that wired fixtures cannot match.
A professional kit typically includes the following categories:
- Wireless LED uplights: Place 15–20 units spaced 8–12 feet apart for even wall wash coverage. Odd numbers (3, 5, 7) work better for decorative groupings.
- String lights: Warm-white Edison or fairy string lights add ambient depth to outdoor wedding lighting ideas and indoor reception ceilings.
- Light modifiers: Softboxes, diffusion panels, and bounce cards shape and soften direct flash for portraits.
- Portable LED panels: Compact, dimmable panels serve as key lights for video and fill lights for photography.
- Dimmers and wireless controllers: Pre-programmed scenes let you shift from ceremony to reception lighting without manual adjustments at each fixture.
Budget planning follows a clear tier structure. Basic setups run $150–$500, standard professional packages fall in the $500–$1,500 range, and premium multi-zone designs with more fixture variety start above $1,200. Those numbers cover rental or purchase of gear, not labor.
Pro Tip: Before confirming your gear list, contact the venue coordinator to verify power outlet locations, circuit capacity, and any restrictions on open-flame candles or haze machines. A venue that bans haze eliminates certain dramatic lighting effects entirely.
How do you plan lighting zones and timing for a wedding day?
Zoning is the practice of dividing a venue into distinct lighting areas, each with its own purpose and mood. A well-zoned venue prevents the flat, uniform look that results from relying on a single overhead source.
The four core zones for most weddings are:
- Ceremony space: Soft, warm directional light focused on the altar or arch. Avoid harsh shadows on the couple's faces by positioning uplights at 45-degree angles from the sides.
- Cocktail hour area: Moderate ambient light with accent uplights. This zone needs enough brightness for candid photography without feeling clinical.
- Dinner reception: Warm-white LED uplights create a flattering, intimate atmosphere. Saturated RGB colors during dinner ruin food appearance and shift the mood away from elegance.
- Dance floor: Reserve moving head lights and intense saturated colors for open dancing only. This is where dramatic lighting pays off without disrupting earlier moments.
Timing your transitions is as important as the zones themselves. Professional setups require 3–6 hours for load-in and configuration, plus a 1–2 hour test run the night before if the venue allows access.
| Event phase | Lighting action | Timing |
|---|---|---|
| Load-in | Place and cable all fixtures | 3–6 hours before event |
| Pre-ceremony test | Confirm color temp, angles, dimmer scenes | 1 hour before guests arrive |
| Ceremony | Warm, directional, static scene | Duration of ceremony |
| Cocktail hour | Transition to ambient uplights | Immediately after ceremony |
| Dinner | Warm white, low saturation | Full dinner service |
| First dance | Spotlight scene, soft follow | Announced by DJ or MC |
| Open dancing | Full color, moving heads active | Until end of reception |
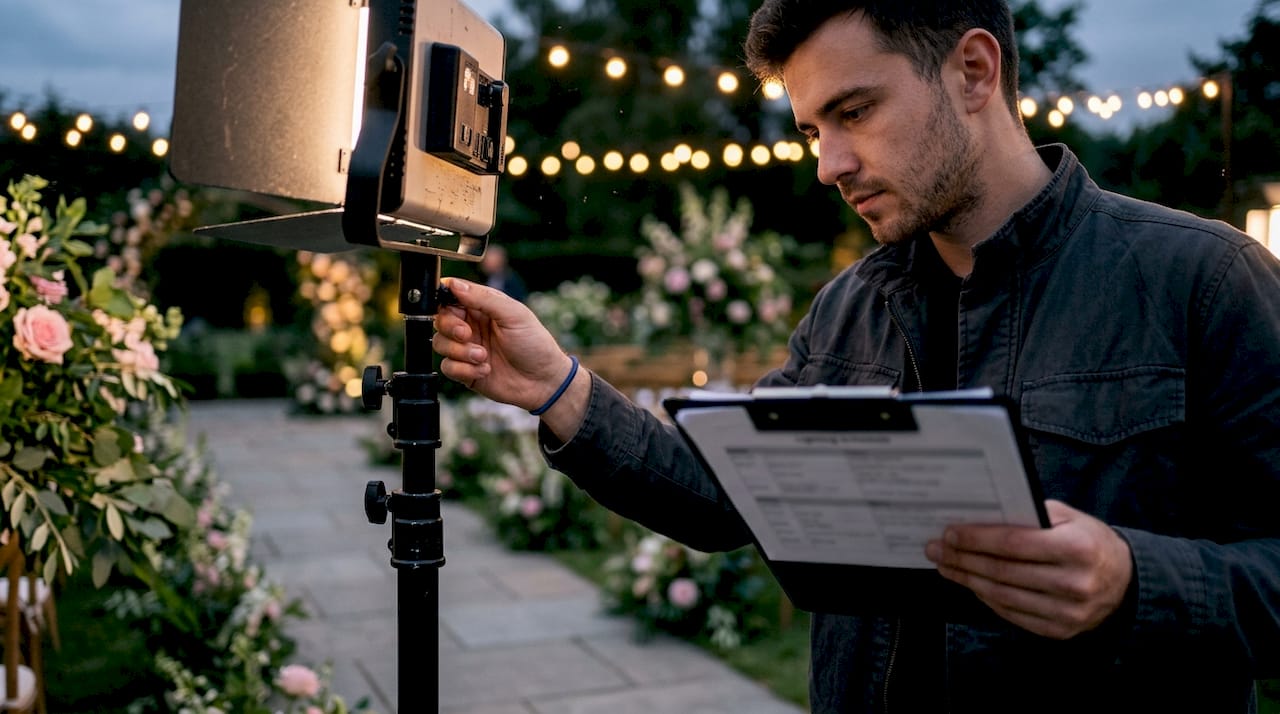
Pro Tip: Share your lighting scene schedule with the DJ or event coordinator in advance. A coordinated cue sheet prevents the DJ from triggering a color wash during the first dance when you need a clean, white spotlight for your shots.
What are the key lighting techniques for wedding photography and videography?
Effective photography lighting depends on three qualities: shape, separation, and direction. Shape refers to how light defines facial contours. Separation distinguishes the subject from the background. Direction determines where shadows fall and how dimensional the image looks.
The most widely used professional configurations are:
- Rembrandt lighting: A 2-point setup with key and fill lights at 45-degree angles produces flattering illumination with natural shadow depth. The fill light runs at 1/4 to 1/3 the power of the key light.
- 3-point lighting: Adds a backlight behind the subject to create separation from the background. This is the standard for cinematic wedding video and formal portrait sessions.
- Backlight technique: Positioning a light source behind the subject creates glowing edges around hair and veils. Backlight at 45 degrees enhances facial dimension while minimizing unflattering shadows, making it ideal for veil shots and first-look moments.
Natural light also demands intentional reading. Distinguishing open shade from deep shade changes your results dramatically. Open shade, found under a tree canopy or building overhang facing an open sky, produces soft, directional light. Deep shade, found inside a dark corridor or under a dense canopy, produces flat, directionless light that kills dimension in portraits. For a deeper look at how to use natural light for portraits, the best light for wedding portraits guide from Larsonprophotography covers this in detail.
"The difference between a good wedding photo and a great one is almost always the quality of light, not the quantity. One well-placed key light beats five poorly aimed fixtures every time."
For videographers, the same principles apply but with added attention to color temperature consistency. Mixing warm tungsten sources with cool daylight sources in the same frame creates color casts that are difficult to correct in post-production. Set all fixtures to a single color temperature before the event starts.
How to execute the lighting setup workflow step by step
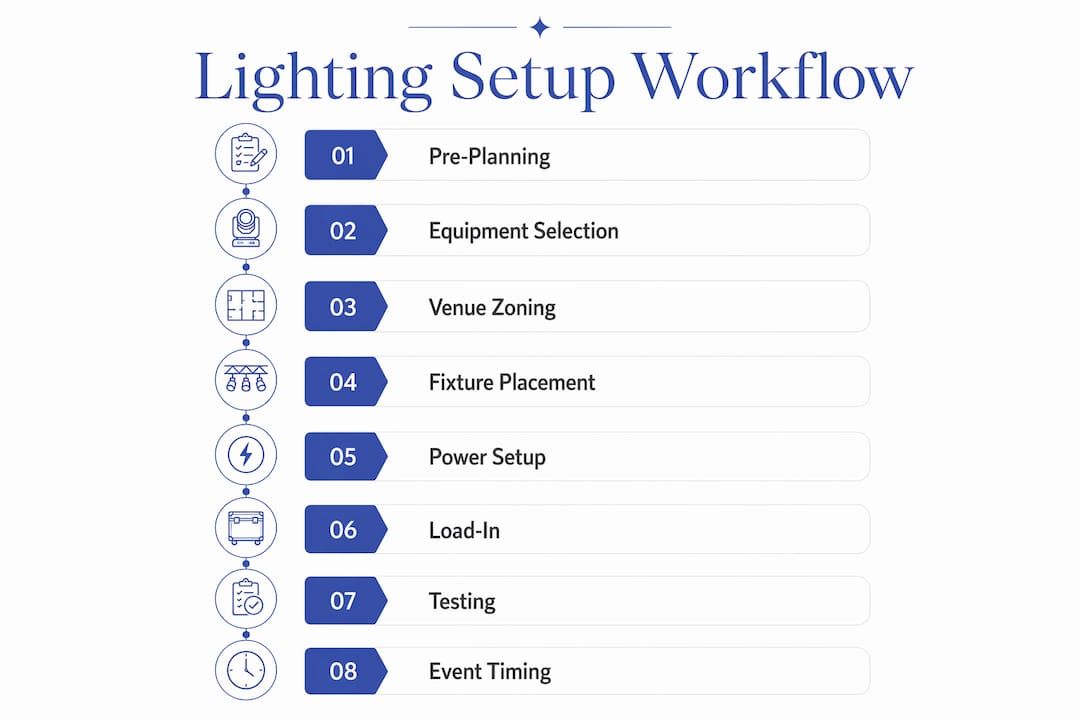
A repeatable execution sequence removes guesswork on the wedding day. Follow these steps in order:
- Load-in and placement: Carry all gear to the venue and place fixtures in their planned positions before connecting power. Work from the perimeter inward to avoid tripping over cables mid-setup.
- Cable management: Tape all floor cables with gaffer tape, not duct tape. Gaffer tape releases cleanly without damaging venue floors. Route cables along walls and under table skirting wherever possible.
- Power check: Confirm each circuit's load before plugging in multiple fixtures. Overloading a circuit mid-reception kills your lighting mid-event.
- Scene programming: Input all dimmer scenes and color presets into your wireless controller. Label each scene clearly (Ceremony Warm, Dinner Ambient, Dance Floor Full).
- Test run: Fire every scene in sequence and photograph the results. Check for hot spots, color inconsistency, and shadows falling on the wrong areas.
- Natural light adjustment: Note the direction and intensity of ambient light at the time of the event. Adjust key light power to stay 1–2 stops brighter than ambient for clean subject separation.
- Event execution: Follow your cue sheet. Transition scenes on schedule and monitor for any fixture that shifts color or dims unexpectedly.
Pro Tip: Bring a backup wireless LED panel and a spare set of batteries for every critical fixture. A single dead uplight in the ceremony space is visible in every wide shot.
Layering lighting across zones with dimmers and pre-programmed scenes prevents flat lighting and keeps the visual mood consistent throughout the event. This is the single most effective practice separating professional results from amateur setups.
What are common lighting mistakes and how to avoid them?
Most lighting failures at weddings trace back to a short list of repeatable errors. Knowing them in advance is the fastest way to avoid them.
Common mistakes:
- Hanging string lights in straight, parallel lines instead of draping them in curves or canopy patterns. Straight lines look like a parking lot, not a reception.
- Relying only on overhead lighting without floor-level or mid-height sources. Overhead-only light creates harsh downward shadows on faces.
- Ignoring venue restrictions on power draw, open flame, or haze machines until the day of the event. These restrictions cause costly, last-minute changes.
- Mixing too many fixture types and colors. Two or three high-quality lighting elements layered thoughtfully produce a better result than many varied fixtures creating a chaotic appearance.
- Using saturated RGB colors during dinner service. This shifts skin tones and makes food look unappetizing in both photos and video.
"Restraint is a lighting skill. The photographers who use fewer, better-placed lights consistently outperform those who bring every fixture they own."
Do's and don'ts at a glance:
- Do confirm color temperature across all fixtures before the event.
- Do test every scene at the actual event time to account for ambient light changes.
- Don't skip the pre-event test run to save time. Problems found during testing take minutes to fix. Problems found during the ceremony take much longer.
- Don't use moving head lights or intense color washes during dinner or the ceremony. Save them for the dance floor.
Key Takeaways
A professional lighting setup workflow for weddings requires zoned planning, layered fixture types, and a tested cue schedule executed before guests arrive.
| Point | Details |
|---|---|
| Zone your venue | Divide the space into ceremony, cocktail, dinner, and dance floor zones with distinct lighting scenes for each. |
| Use wireless LED fixtures | Battery-powered units reduce setup time, eliminate cable hazards, and give you flexible placement options. |
| Follow the 3-point standard | Key, fill, and backlight configurations produce the subject separation and dimension that define professional wedding images. |
| Test before guests arrive | Run every scene in sequence at least one hour before the event to catch color, angle, and power issues. |
| Restrain fixture variety | Two or three well-chosen lighting elements layered intentionally outperform a large, mixed collection of fixtures. |
What I've learned about lighting that most guides won't tell you
The hardest lesson I've had to accept is that preparation time is not optional. Every photographer I know who has struggled with lighting at a wedding skipped the pre-event test run. They assumed the setup would work because it worked at the last venue. Venues are not interchangeable. Ceiling height, wall color, ambient light sources, and power availability all change the behavior of the same fixtures dramatically.
The second thing most guides skip is the relationship between photography and videography lighting needs. Video requires more consistent, continuous light. Photography can work with a single well-timed flash. When you are covering both, you need to build a lighting plan that serves both disciplines simultaneously. That means continuous LED panels as your primary sources, with flash as a supplement for stills, not the other way around.
I also think the industry underestimates how much color temperature consistency matters. A single warm-toned uplight in a room full of cool-white LEDs will show up in every wide shot as an orange blob. Matching color temperature across all fixtures before the event starts is a 10-minute task that saves hours of color correction in post.
Finally, the step-by-step wedding portrait workflow matters as much as the gear. A great lighting plan executed without a clear sequence falls apart under the time pressure of a live event. Build your cue sheet, share it with the coordinator, and follow it.
— Todd
Larsonprophotography's approach to wedding lighting
Couples planning a wedding in San Antonio deserve photography and video that holds up decades from now. Larsonprophotography brings a fully planned lighting workflow to every wedding, from the ceremony through the last dance.
Every booking includes a pre-event venue walkthrough to map lighting zones, confirm power access, and set fixture positions before the wedding day. The result is consistent, flattering light in every phase of your event, captured by a team that treats lighting as craft, not guesswork. See the work and book your wedding date to start planning your coverage with a team that gets the details right.
FAQ
What is a lighting setup workflow for weddings?
A lighting setup workflow for weddings is a structured sequence covering equipment selection, venue zoning, fixture placement, scene programming, and event execution. It ensures consistent, professional light quality from ceremony through reception.
How long does professional wedding lighting setup take?
Professional wedding lighting setups require 3–6 hours for load-in and configuration, plus a 1–2 hour test run before guests arrive. Skipping the test run is the most common cause of day-of lighting failures.
What lighting techniques work best for wedding portraits?
The Rembrandt setup (key and fill at 45-degree angles) and 3-point lighting (adding a backlight for separation) are the standard configurations for flattering wedding portrait lighting. Backlight behind the subject works especially well for veil shots.
How many uplights do I need for a wedding reception?
Place 15–20 wireless LED uplights spaced 8–12 feet apart for even coverage in a standard reception space. Larger venues require more units; always test spacing during the pre-event setup.
What is the biggest lighting mistake at weddings?
Relying on overhead lighting alone is the most damaging error. It creates harsh downward shadows on faces and produces flat, unflattering images. Layering floor-level and mid-height sources with overhead fixtures solves this problem entirely.