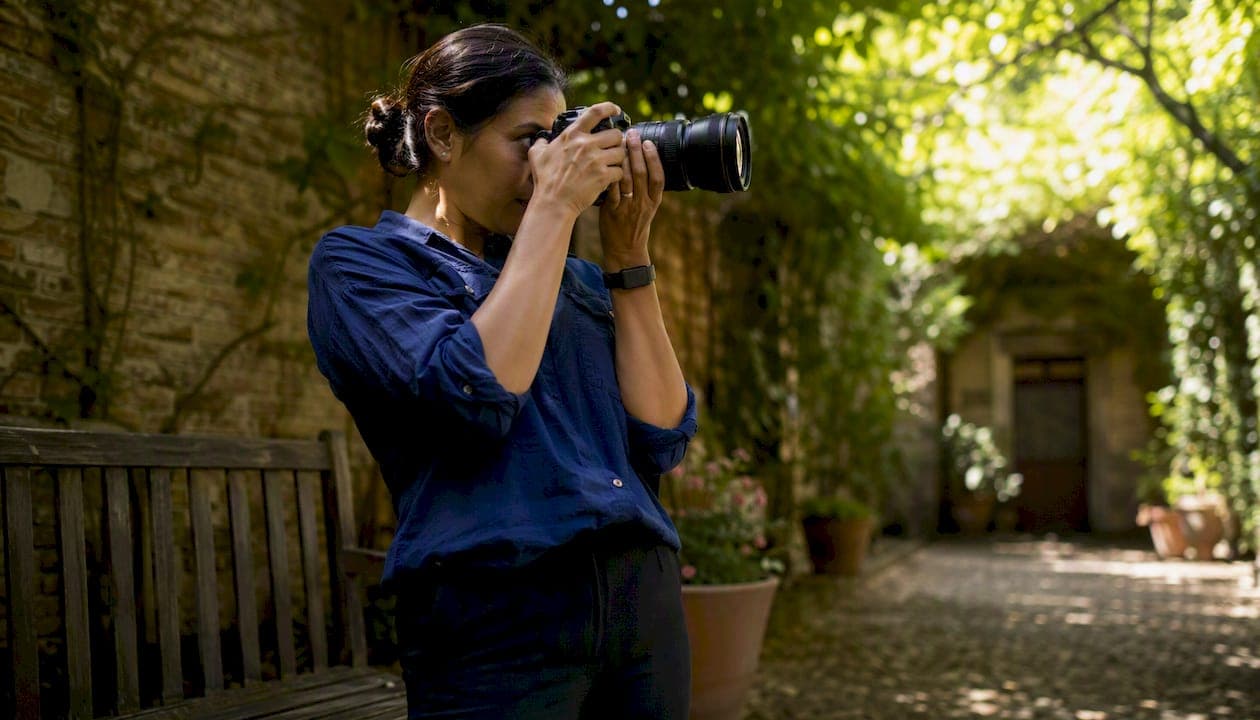
Focal length controls two things in portrait photography: how wide or narrow your frame is, and how far you must stand from your subject to fill that frame. That distance is what actually shapes how a face looks in the final image. For most beginners, the fastest improvement comes from three simple defaults: use 85–135mm for classic headshots, 50mm for half-body and lifestyle shots, and 35mm when you want the environment in the frame. Aperture, sensor size, and how far your subject stands from the background all affect blur, so focal length never works alone.
- Headshots: 85–135mm (full-frame equivalent), at a comfortable working distance from subject
- Half-body / lifestyle: 50mm, at a moderate working distance
- Environmental / full-length: 35mm, at a distance that includes the environment
- Couples / editorial: 70–135mm for compression and background separation
| Portrait Type | Focal Length (FF equiv.) | Approx. Working Distance | Primary Benefit |
|---|---|---|---|
| Tight headshot | 85–135mm | Comfortable working distance | Flattering compression, smooth bokeh |
| Half-body | 50mm | Moderate working distance | Natural perspective, versatile |
| Full-length | 35mm | Sufficient distance for environment | Context, environmental storytelling |
| Couples / editorial | 70–135mm | Extended working distance | Background isolation, compressed look |
Table of Contents
- What does focal length actually mean in portrait photography?
- How does sensor size change which focal length you should use?
- What are the main focal-length groups for portraits?
- How does focal length affect how a face looks in portraits?
- What focal length and settings should you use for each portrait type?
- How do focal length, aperture, and subject distance work together for background blur?
- Should you use prime or zoom lenses for portrait work?
- A quick checklist before you shoot each portrait
- What working portrait photographers know about focal length
- Key Takeaways
- The lens choice nobody talks about enough
- Professional portraits with focal length built into the workflow
- Useful sources for further reading
What does focal length actually mean in portrait photography?
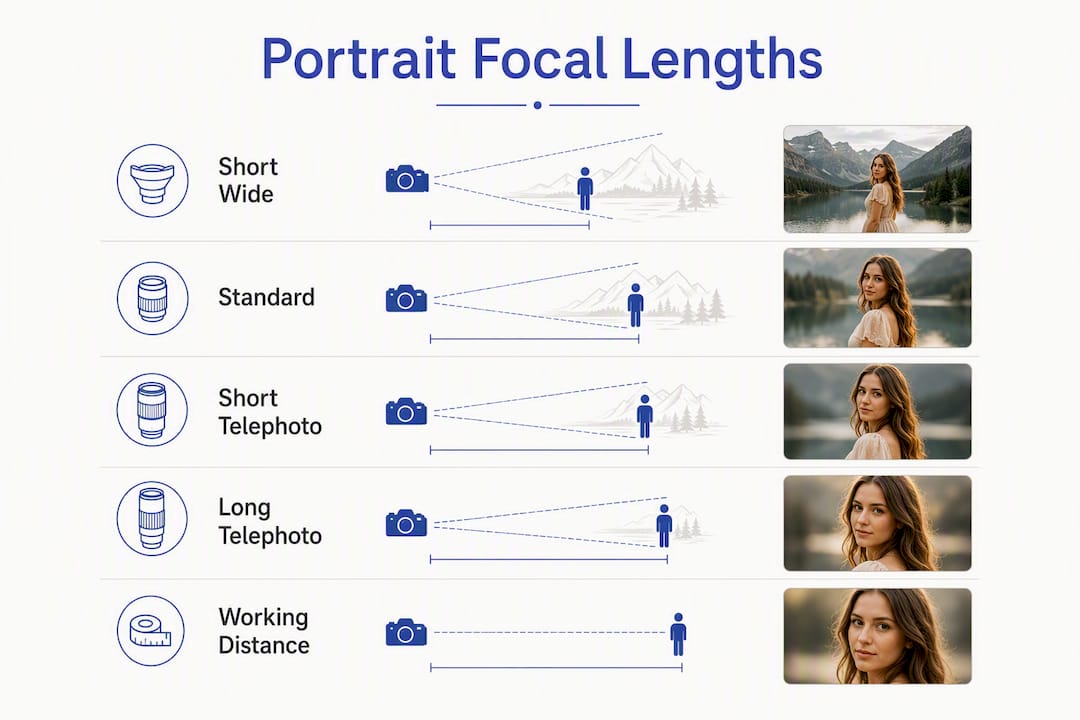
Focal length is the distance, measured in millimeters, between a lens's optical center and the camera sensor when focused at infinity. That number predicts one thing photographers care about most: the angle of view, which determines how much of the scene fits in the frame and how far you must stand to get a given framing.
A 24mm lens has a wide angle of view, so you can stand close and still capture a lot of the scene. An 85mm lens has a narrower angle of view, so you must back up to frame the same shot. That required distance is what changes how a face looks, not some mysterious property of the glass itself.
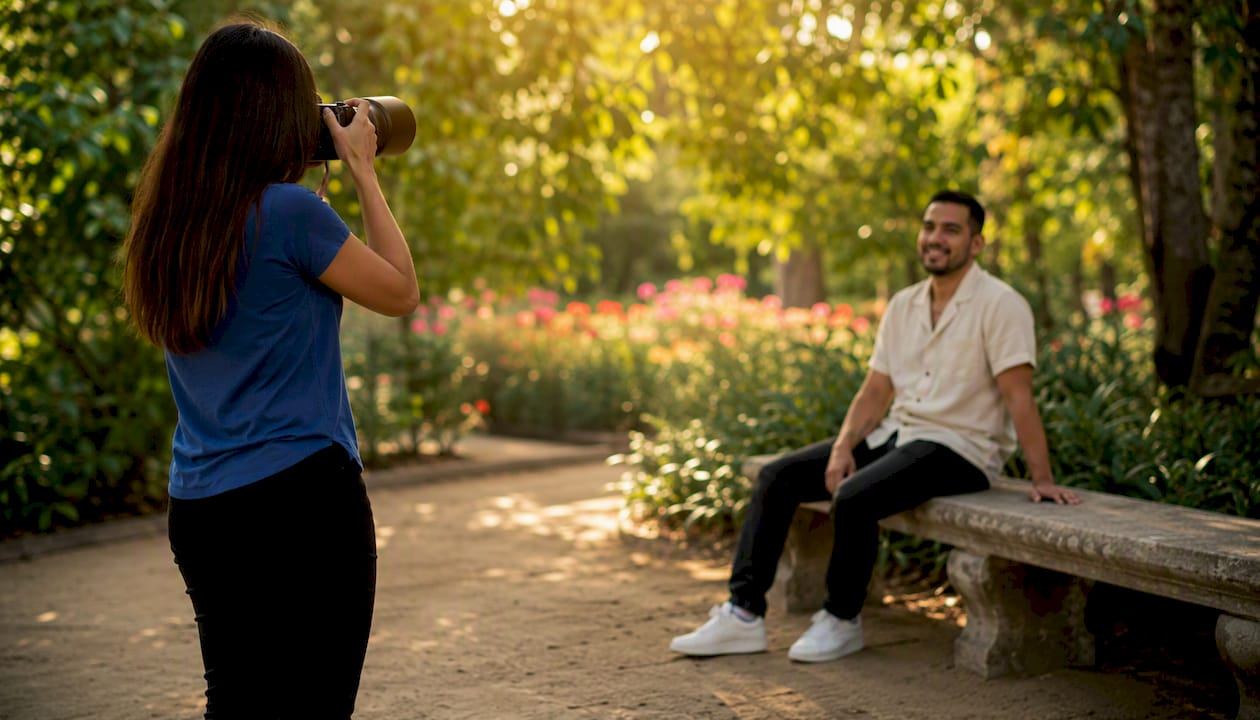
Think of it as a positioning tool. Pick a longer focal length and you are pushed farther back. Pick a shorter one and you move in close. Every visual consequence in portrait photography flows from that simple relationship.
How does sensor size change which focal length you should use?
Sensor size changes the effective angle of view you get from any given lens. A full-frame sensor uses the entire image circle a lens projects. A smaller sensor, like the APS-C sensors in many entry-level DSLRs and mirrorless cameras, crops into that circle, making the angle of view narrower. The result looks like a longer focal length.
The conversion is straightforward: multiply the lens's focal length by the crop factor of your sensor. Most APS-C cameras have a crop factor of approximately 1.5x (Nikon, Sony, Fujifilm) or 1.6x (Canon). Micro Four Thirds cameras use a 2x crop factor.
Quick examples:
- 50mm on APS-C (1.5x) ≈ 75mm full-frame equivalent
- 50mm on Canon APS-C (1.6x) ≈ 80mm full-frame equivalent
- 50mm on Micro Four Thirds (2x) ≈ 100mm full-frame equivalent
Crop factor formula: Full-frame equivalent = physical focal length × crop factor
One thing crop factor does NOT change: your actual working distance and depth of field behavior. Those are tied to the physical focal length and how far you stand from the subject. If you shoot a headshot at 50mm on APS-C from 5 feet away, the perspective and depth of field match what you would get at 50mm on full-frame from 5 feet away. The frame is tighter, but the face shape and background blur are the same. Only the angle of view shifts.
This matters for beginners because the portrait focal-length recommendations throughout this guide are given as full-frame equivalents. If you shoot APS-C, divide the recommended number by your crop factor to find the physical focal length to put on your camera.
What are the main focal-length groups for portraits?
Portrait focal lengths fall into four practical groups. Each one suits different portrait types and comes with tradeoffs in working distance and perspective.
- 24–35mm (wide-angle): Best for environmental portraits where the location is part of the story. You must stand close to fill the frame with a person, which risks exaggerating facial features on tight crops. Wide-angle lenses in this range work well for full-length shots and group photos but should be avoided for tight headshots unless distortion is intentional.
- 50mm (normal): Closest to the human eye's angle of view. Comfortable for half-body and lifestyle portraits, allows natural interaction with the subject, and produces minimal distortion at typical working distances. A strong first lens for beginners.
- 70–105mm / 85mm (short telephoto): The classic portrait range. Most professional portraits are shot between 85mm and 135mm because this range flatters facial proportions and creates comfortable working distances for head-and-shoulders framing. Background compression is noticeable but not extreme.
- 135–200mm (telephoto): Produces strong background compression and dramatic subject isolation. Popular in editorial and fashion work. Working distances stretch to 10–15 feet or more, which can feel impersonal and makes verbal direction harder.
Use-case quick map:
| Portrait Type | Best Range | Avoid |
|---|---|---|
| Tight headshot | 85–135mm | Below 50mm |
| Half-body | 50–85mm | Above 135mm in small spaces |
| Full-length | 35–50mm | Very wide (below 24mm) |
| Couples / environmental | 35–85mm | 200mm+ in tight locations |
| Editorial / fashion | 85–200mm | Wide-angle for close crops |
How does focal length affect how a face looks in portraits?
The core rule: perspective changes come from camera-to-subject distance. Focal length determines that distance for a given framing. Change the focal length and you change where you stand, which changes the face.
Why wide lenses distort and telephotos compress
When you use a 24mm or 35mm lens for a tight headshot, you must stand very close to fill the frame with a face. At that distance, the nose is significantly closer to the camera than the ears. The camera records that difference in relative distances as a size difference, making the nose look larger and the face wider. This is perspective distortion, and it comes from the shooting distance, not the lens itself.
A 135mm lens forces you to stand much farther back. At that distance, the difference in depth between the nose and ears is small relative to the total camera-to-subject distance. The face looks flatter and more proportional. That is background compression working on the face itself.
Background compression is the same principle applied to the scene behind the subject. At 135mm or 200mm, background elements appear larger and closer to the subject than they do at 35mm from the same framing. Portrait photographers use 85–200mm specifically to compress backgrounds dramatically, which isolates the subject and simplifies busy locations.
Side-by-side: 35mm vs. 85mm, same framing
Imagine photographing a person with the same head-and-shoulders crop at both focal lengths:
- 35mm: You stand roughly 3 feet away. The nose appears slightly enlarged, the ears look smaller, the face reads as wider. The background is visible and relatively small in the frame.
- 85mm: You stand roughly 7–8 feet away. Facial proportions look natural. The background appears closer to the subject and more out of focus, even at the same aperture.
Pro Tip: If you only have a wide-angle lens and need a flattering headshot, back up and leave more space around the face in the frame. Crop the image in post-processing. The extra distance reduces distortion even if the final crop looks tight.
What focal length and settings should you use for each portrait type?
For beginners, the safest starting kit is a 50mm prime and an 85mm prime, or a 24–70mm zoom paired with a 70–200mm zoom if you prefer flexibility. Those two ranges cover nearly every portrait situation.
| Portrait Type | Focal Length (FF equiv.) | Working Distance | Aperture Range | Expected Look |
|---|---|---|---|---|
| Studio headshot | 85–105mm | 5–8 ft | f/2–f/2.8 | Flattering compression, smooth bokeh |
| Outdoor three-quarter | 50mm | 6–8 ft | f/2.8–f/4 | Natural perspective, some background blur |
| Full-length / fashion | 85–135mm | 10–15 ft | f/4–f/5.6 | Compressed, clean background |
| Environmental portrait | 35mm | 8–12 ft | f/4–f/5.6 | Wide context, subject in scene |
| Couples / engagement | 85–135mm | 8–12 ft | f/2.8–f/4 | Romantic compression, isolated subjects |
Example starter settings:
- Studio headshot at 85mm: f/2.8, 1/200s, ISO 100–400. Stand 6–7 feet from the subject. Focus on the near eye.
- Outdoor three-quarter at 50mm: f/4, 1/500s, ISO 200–400. Stand 6–8 feet back. Let the background stay slightly recognizable for context.
- Environmental portrait at 35mm: f/5.6, 1/500s, ISO 200–400. Stand 10–12 feet back. Keep the subject smaller in the frame to avoid facial distortion.
Short telephoto lenses in the 85–135mm range provide flattering facial proportions, comfortable working distance, and smooth background blur, which is why headshot and beauty photographers return to them consistently.
How do focal length, aperture, and subject distance work together for background blur?
At a fixed aperture, longer focal lengths combined with greater subject-to-background distance produce shallower apparent depth of field and creamier background blur. Aperture alone does not tell the whole story.
Three variables control background blur in portraits:
- Focal length: Longer focal lengths compress the scene and magnify background blur at the same aperture.
- Aperture: Wider apertures (lower f-numbers) reduce depth of field. But at very wide apertures on long lenses, the depth of field can be so shallow that one eye is sharp and the other is soft.
- Subject-to-background distance: The farther your subject stands from the background, the more out of focus that background becomes, regardless of focal length or aperture.
Focal length, aperture, and subject-to-background distance are equally important for background blur. Changing any one of them shifts the result.
A simple exercise to see this yourself:
- Set your camera to f/2.8 and shoot a headshot at 50mm from 5 feet away. Note the background blur.
- Without changing aperture, switch to 85mm and back up to maintain the same framing. The background blur increases noticeably.
- Now move your subject 10 feet farther from the background. Shoot again at 85mm, f/2.8. The blur increases again.
Many beginners over-rely on wide-open apertures. At f/1.4 on an 85mm lens, the depth of field can be less than an inch at close range, making it easy to nail the nose while the eyes go soft. Stopping down to f/2–f/2.8 on longer portrait lenses usually yields sharper eyes without sacrificing meaningful background blur.
Should you use prime or zoom lenses for portrait work?
Primes and zooms both work well for portraits. The right choice depends on how you shoot and what you value.
Primes typically offer wider maximum apertures at lower prices. A 50mm f/1.8 or 85mm f/1.8 costs a fraction of a comparable zoom and delivers excellent sharpness. The fixed focal length forces you to move your feet, which many photographers find sharpens their compositional instincts. The tradeoff is that you commit to one angle of view per lens.
Zooms give you framing flexibility without changing lenses. A 24–70mm f/2.8 covers environmental through half-body portraits in one barrel. A 70–200mm f/2.8 handles headshots through editorial compression. The cost and weight are higher, and the maximum aperture is usually narrower than a fast prime.
Pro Tip: Start with a 50mm f/1.8 if you shoot in varied spaces, or an 85mm f/1.8 if you primarily shoot headshots or engagement sessions with room to back up. Either lens costs under $500 and outperforms kit zooms at portrait distances.
The 50mm lens behaves similarly to the human field of view and allows closer interaction than longer portrait lenses, which makes it particularly good for lifestyle and candid portrait work where connection matters as much as compression.
For portrait and wedding photography style guidance that goes beyond lens choice, the 2026 portrait and wedding photography styles guide covers genre-specific approaches worth reading alongside this technical foundation.
A quick checklist before you shoot each portrait
Run through this before raising the camera:
- Choose your focal-length range — Headshot: 85–135mm. Half-body: 50–85mm. Environmental: 35–50mm. Couples with compression: 85–135mm.
For outdoor sessions, location selection affects which focal lengths are practical. A tight alley forces shorter focal lengths; an open park gives you room to use 135mm or longer.
One more thing: favor focal lengths that let you stay close enough to talk naturally with your subject. Lenses in the 50–85mm range are valuable for capturing authentic expressions because you can direct, joke, and connect without shouting across a room. Rapport shows up in the eyes.
What working portrait photographers know about focal length
Lens choice is a working-distance decision first. Experienced photographers pick their focal length before they raise the camera, because the lens determines where they must stand, and position determines everything else: the face shape, the background, the lighting angle, and how easily they can direct the subject.
In wedding and engagement sessions, the 85mm tends to be the workhorse. It puts you roughly 6–8 feet from the couple, close enough to give direction without raising your voice, far enough to produce flattering facial compression. That distance also gives the couple a sense of privacy, which helps them relax and produce genuine expressions rather than posed ones.
Pro Tip: On a busy wedding day with cluttered backgrounds, reach for the 135mm or 70–200mm zoom. The compression pushes distracting elements out of focus and simplifies the background without needing a perfect location. It also reduces the post-processing time significantly.
Longer focal lengths interact with lighting differently too. At 135mm from 10 feet away, a single off-camera flash or reflector creates softer, more directional light on the face because the light-to-subject ratio stays consistent across a narrower angle. At 35mm from 3 feet, the same light source can create harsher shadows because the geometry changes. For practical lighting setups that pair with these focal-length choices, the photography lighting examples guide covers the most common portrait scenarios.
When shooting bridal portraits or engagement sessions in San Antonio, the combination of 85mm at f/2.8 during golden hour produces the warm, compressed look that photographs well against the city's mix of historic architecture and open green spaces.
Key Takeaways
Focal length in portraits is fundamentally a working-distance tool: the number on your lens determines where you stand, and where you stand shapes the face, the background, and the entire mood of the image.
| Point | Details |
|---|---|
| Focal length = working distance | Longer focal lengths push you farther back, which flattens facial features and compresses backgrounds. |
| 85–135mm is the safest headshot range | This range flatters facial proportions and creates comfortable distances for head-and-shoulders framing. |
| Distortion comes from distance, not the lens | Back up with a wide lens and crop in post to reduce facial distortion without changing lenses. |
| Three variables control background blur | Focal length, aperture, and subject-to-background distance all affect blur equally. |
| Larsonprophotography applies these choices | Every portrait and engagement session uses deliberate focal-length selection for flattering, client-ready results. |
The lens choice nobody talks about enough
Most focal-length guides spend their energy on optics and miss the human side of the decision. The lens you pick changes not just how the face looks but how the session feels.
At 200mm, you are a distant observer. The subject cannot read your face, you cannot easily hear each other, and the session can feel clinical. At 50mm, you are in the room with them. That proximity creates a different energy, and that energy shows up in the expressions.
The conventional advice is to always reach for the 85mm or 135mm for flattering results, and that advice is correct on the technical side. But there are sessions where a 50mm at f/4 from 7 feet produces a more honest, connected portrait than a perfectly compressed 135mm shot from 12 feet, because the subject felt comfortable enough to stop performing.
The best focal length is the one that lets you get the technical result AND maintain the connection. For most portrait work, 85mm threads that needle well. For lifestyle and candid work, 50mm often wins. For weddings in tight venues, a 35mm at f/5.6 beats standing in a hallway with a 135mm and no room to breathe.
Learn the rules. Then use them to serve the person in front of the camera, not the other way around.
Professional portraits with focal length built into the workflow
Knowing the theory is one thing. Seeing it applied to real sessions is another. At Larsonprophotography, every portrait session, whether a headshot, engagement shoot, or full wedding day, is planned around deliberate focal-length choices that flatter the subject and suit the location.
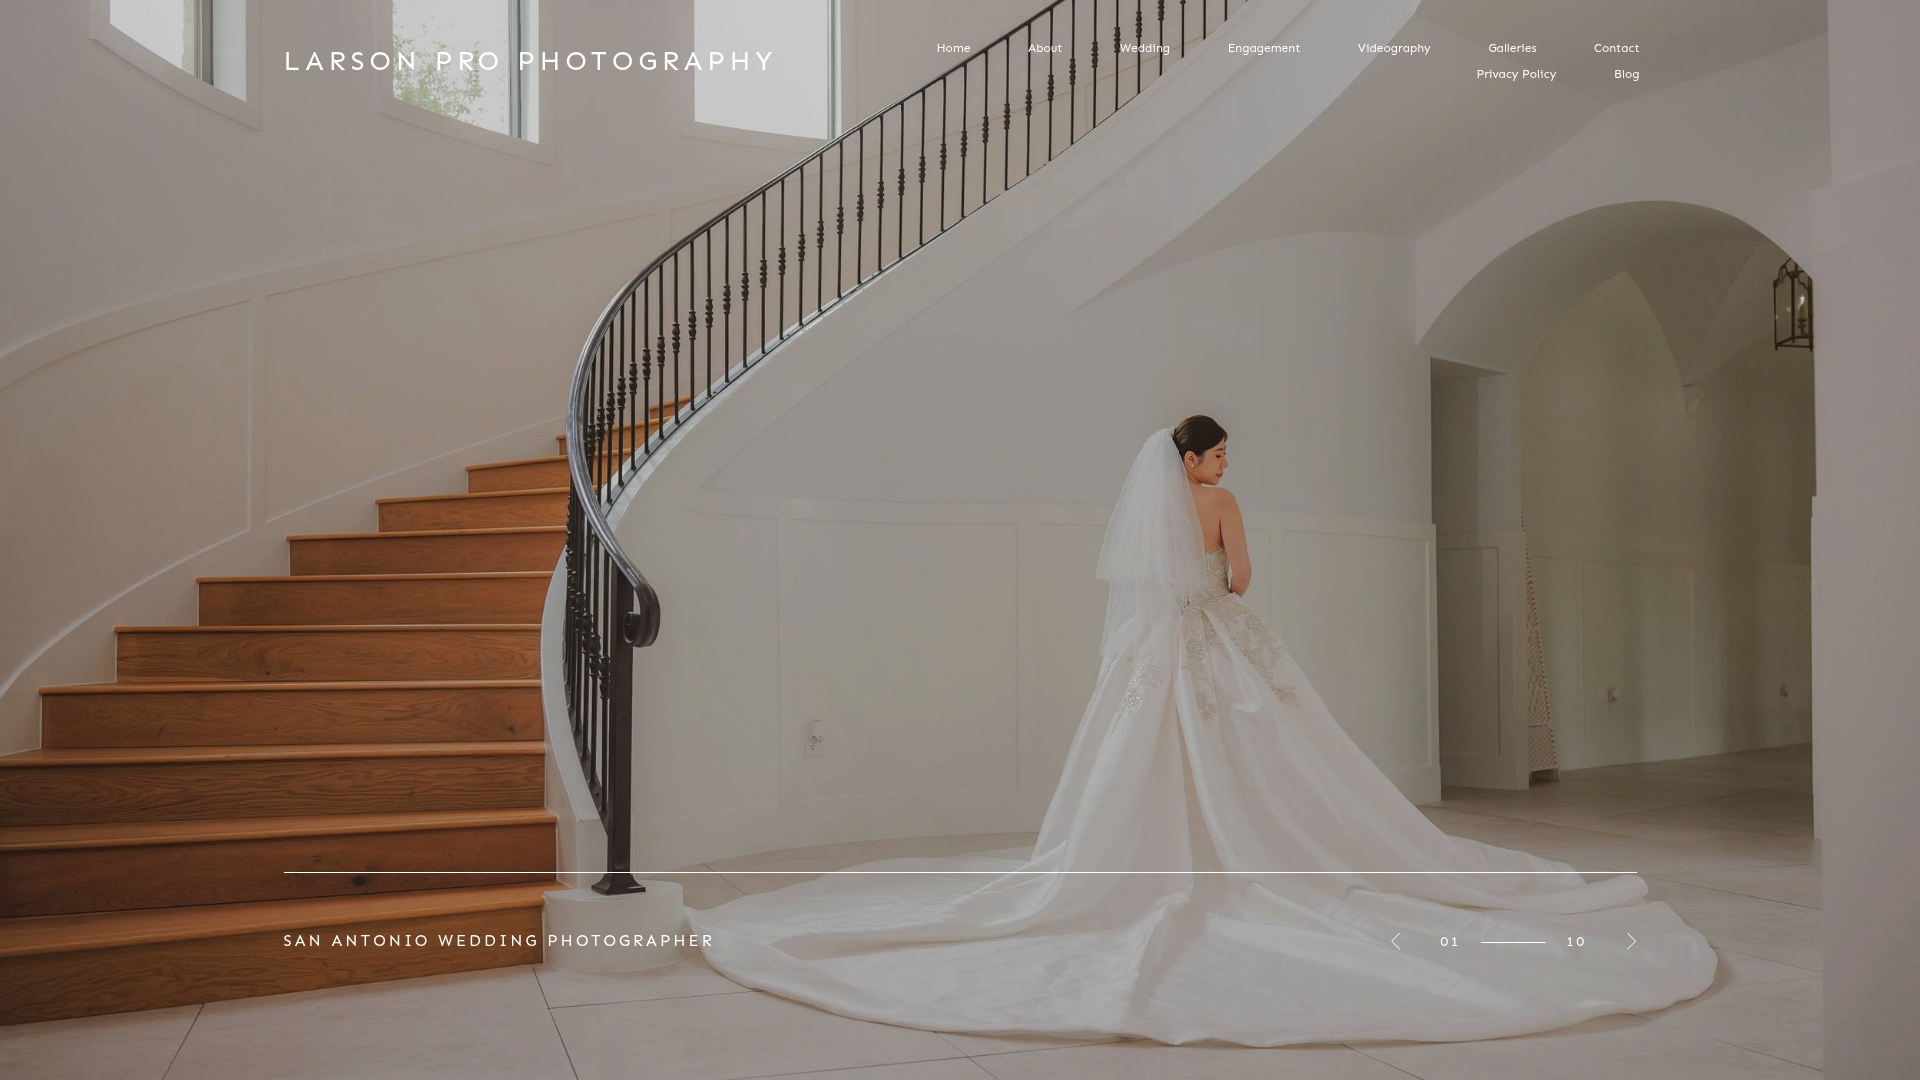
The team works primarily in San Antonio and surrounding areas, using 85mm and 135mm glass for headshots and couples portraits, and shifting to 50mm or 35mm when the environment deserves to be part of the story. The result is a consistent, editorial look that holds up across print, social, and album formats.
If you want portraits where the technical decisions are already made for you, view the client portfolio to see the range of work, or explore engagement session options and reach out to check availability for your date.
Useful sources for further reading
These are the primary references used throughout this guide, plus a few additional resources worth bookmarking:
- Focal length and faces | Daily Photo Tips — The clearest explanation of why perspective distortion comes from shooting distance, not the lens, with practical examples.
- Best focal length for portraits | Skylum Blog — Covers working-distance tradeoffs across focal lengths, including the 85mm sweet spot and telephoto compression for editorial work.
- Portrait photography guide | Tamron Americas — Manufacturer-backed perspective on short telephoto lenses and why 85–135mm flatters facial proportions.
- Portrait photography for beginners: settings, lenses, posing | Fstoppers — Covers aperture pitfalls, focus technique, and starter settings for new portrait photographers.
- How to choose the best focal length for portraits | Amateur Photographer — Solid overview of focal-length groups with distortion warnings and environmental-portrait guidance.
- Complete guide to portrait photography | Amateur Photographer — Broader portrait technique guide covering framing, focus, light, and subject interaction.
- Portrait photography tips | MasterClass — Covers rapport and subject connection alongside technical settings.
- Focal length | Wikipedia) — The technical definition and optical principles behind focal length for readers who want the physics.
- Photography lighting examples | Larsonprophotography Blog — Practical lighting setups that pair with the focal-length choices covered in this guide.
- How to choose portrait locations in San Antonio | Larsonprophotography Blog — Location-specific guidance that connects directly to focal-length constraints in real shooting environments.