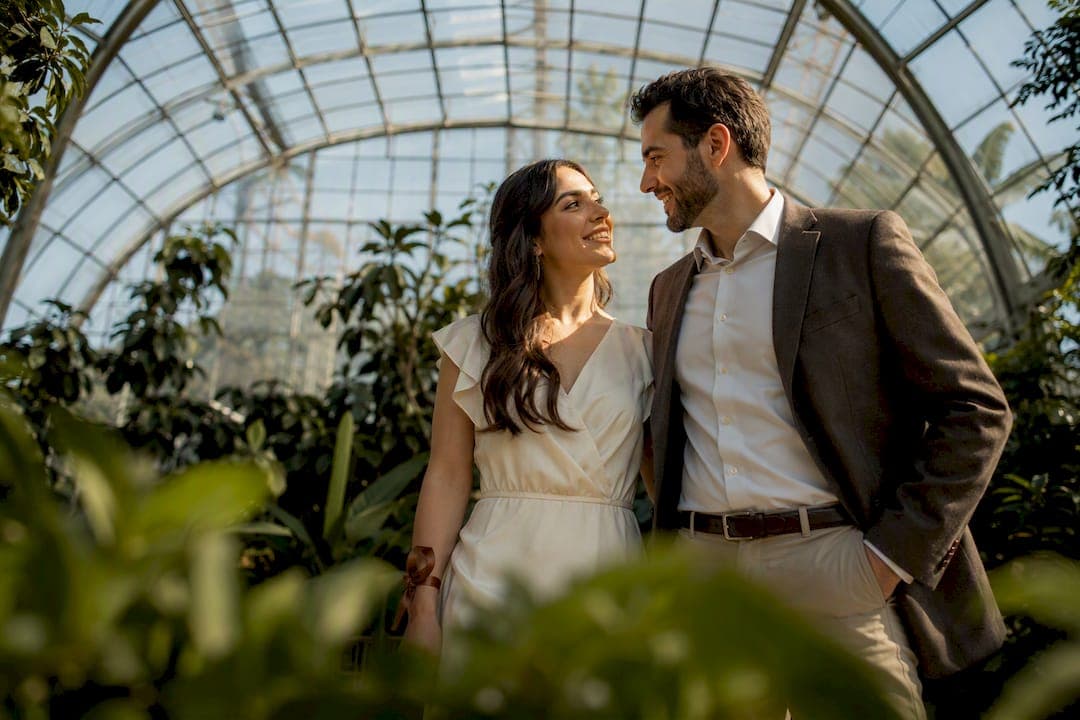
Photo-forward engagement images that show real faces and real personality make the strongest save-the-date photos, especially when the shot has clean composition and enough negative space for a card layout. If you plan to use engagement photos, book the shoot roughly 8 to 10 months before the wedding so editing and printing wrap before you order cards. Skip the shoot entirely, and a well-designed illustrated or typographic save-the-date works just as well.
TL;DR:
- Booking engagement photos 8 to 10 months before the wedding allows enough time for editing and printing, especially during peak fall seasons.
- Clear, genuine expressions and face clarity are more important than technical perfection, with orientation flexibility aiding design choices later.
- Favorite photo types include candid action shots and location-based images, but avoiding background clutter and checking image size at thumbnail scale is essential.
- Using a single meaningful prop and coordinating outfits with subtle accents improve the overall visual coherence of the shoot.
- Digital options, including e-cards and QR codes linking to wedding websites, offer faster and cheaper alternatives to custom printed save-the-date cards.
Table of Contents
- Top Save-the-Date Photo Ideas Worth Copying
- How Do You Choose the Right Photo for Your Save-the-Date?
- When Should You Take Photos and Send Save-the-Dates?
- Preparing for the Shoot: What to Bring and Plan
- Photo-Forward or Typography: Which Delivery Style Fits You?
- Common Mistakes That Ruin Otherwise Good Photos
- Budgeting for Professional Photography vs. DIY
- Who Owns the Rights to Your Save-the-Date Photos?
- What's Trending in Save-the-Date Photography Right Now
- A Photographer's Checklist for Save-the-Date-Ready Photos
- How Larson Pro Photography Supports Your Save-the-Date Timeline
- Where to Go Next for Inspiration and Printing
- Sources
Top Save-the-Date Photo Ideas Worth Copying
Every year, engagement photo trends shift a little, but the categories that actually work for save-the-dates stay remarkably stable. Inspiration galleries consistently point to the same handful of idea categories because they photograph well and translate cleanly into a printed card.
- Single portrait or editorial shot. A tight, full-bleed portrait or a framed editorial pose reads as elegant and intentional. Tip: leave headroom above your heads so the printer has room to crop without cutting off a chin.
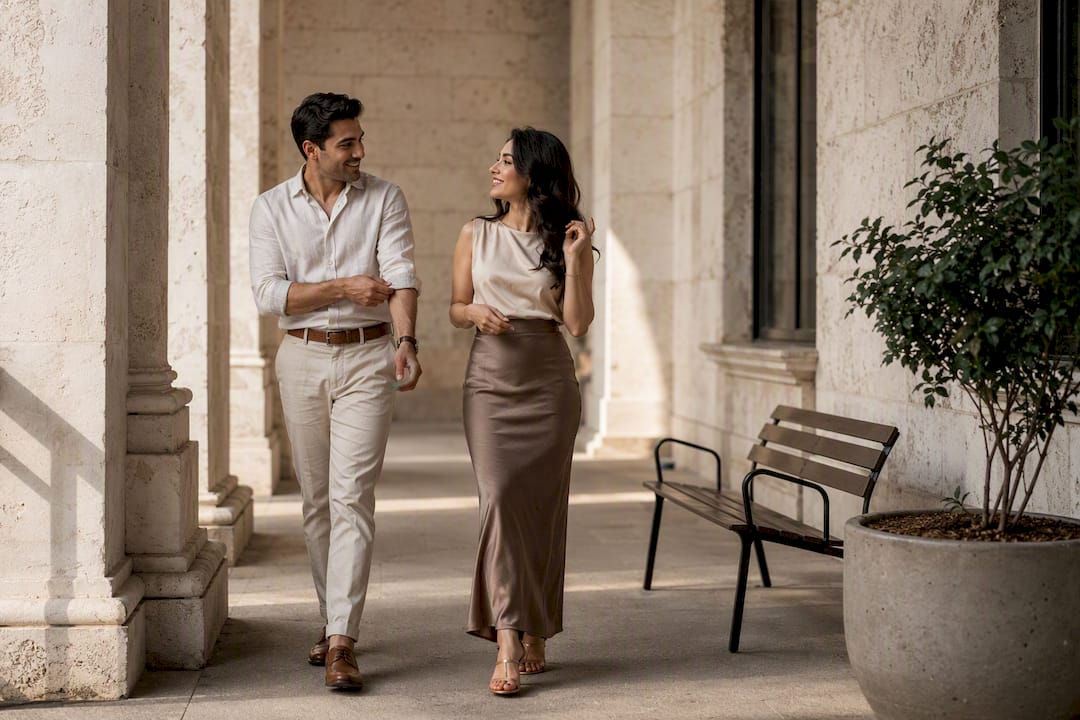
- Candid action. Walking toward the camera, laughing mid-conversation, or a spontaneous dance move captures more personality than a stiff pose ever will. Tip: shoot in continuous burst mode with a faster shutter speed to freeze motion cleanly.
- Location or travel shot. Where you met, got engaged, or plan to honeymoon all make meaningful backdrops. Tip: scout the location during off-peak hours to avoid crowds and harsh midday light.
- Seasonal landscape. Fall foliage, a snowy field, or spring blooms give the photo an automatic sense of time and place. Tip: coordinate outfits to complement the season's palette instead of fighting it.
- Pets included. A dog in a bandana or a cat perched on a shoulder adds warmth that people respond to instantly. Tip: budget extra time, bring a handler or a friend, and stock up on treats.
- Vintage or polaroid aesthetic. A retro color grade or an instant-film border gives the card a nostalgic, collectible feel. Tip: plan for higher contrast and warmer tones in editing to sell the film look.
- Multi-photo collage or filmstrip. Instead of one hero image, a strip of three or four frames tells a mini story. Tip: choose complementary shots, not near-duplicates, so each frame earns its spot.
Pro Tip: Pet-inclusive photos tend to generate the most engagement when couples share them on social media, so if your dog or cat is part of the family, build in the extra time to get the shot right.
How Do You Choose the Right Photo for Your Save-the-Date?
The best save-the-date photo is rarely the most technically perfect one. Face clarity and a genuine expression will beat elaborate staging almost every time, so when you're scrolling through proofs, prioritize the shot where you both actually look like yourselves.
A few practical filters help narrow down a big gallery fast:
- Check orientation flexibility. A shot that works both vertical and horizontal gives you more design options later.
- Scan for technical issues: blown-out exposure, soft focus, distracting background clutter, or flat contrast.
- Match the photo's mood to your wedding's tone. A barefoot beach photo doesn't pair well with a black-tie announcement.
- Shrink the image to thumbnail size on your phone. If it still reads clearly at that size, it will work on a printed card.
- Try converting your top picks to black and white. Composition problems that hide in color often show up immediately in grayscale.
Pro Tip: If you're stuck between two similar shots, ask a friend outside the wedding party to pick their favorite in five seconds. Gut reactions are a surprisingly reliable filter.
When Should You Take Photos and Send Save-the-Dates?
Timing is where most couples lose weeks they didn't budget for. If you want to use engagement photos, book the shoot about 8 to 10 months before the wedding, which leaves enough room for editing, proofing, and printing before save-the-dates need to go out.
- Send save-the-dates 6 to 9 months before the wedding, or 8 to 12 months out for a destination wedding.
- Build in photographer turnaround time, typically 2 to 3 weeks for proofs, plus printing and addressing time on top of that.
- If your schedule is already tight, ask your photographer about expedited proofs, switch to digital-only save-the-dates, or choose a minimal single-photo design that prints faster.
Fall books up especially fast for engagement sessions, since foliage season draws the biggest demand of the year. If you're aiming for that look, lock in your date early.
Preparing for the Shoot: What to Bring and Plan
A little logistics work before the shoot saves a lot of frustration during it. The couples who walk away with the most usable save-the-date photos are almost always the ones who planned the small details in advance, not just the big ones.
- Coordinate outfits without matching outfits. Stick to neutral bases with one shared accent color and mix in some texture so the photos don't look like a uniform.
- Choose one meaningful prop, not five. A single object like a shared umbrella or a vintage bike photographs better than a pile of competing accessories.
- Scout your location and confirm permissions. Some parks and private venues require permits; check ahead and have a backup spot in mind in case of weather.
- Plan extra time for pets or kids. Bring a helper, pack treats, and expect to reshoot a moment two or three times before it clicks.
- Pack a day-of kit. Water, a small touch-up kit, backup shoes, and your phone for quick test frames all make a real difference once you're on location.
Pro Tip: Take a phone photo in your outfits before the shoot day and check it against your intended card design. It's the fastest way to catch a color clash before it's permanent.
Photo-Forward or Typography: Which Delivery Style Fits You?
Photo-forward designs put your engagement image front and center, which maximizes the personal, "this is really us" feeling that makes save-the-dates memorable. Non-photo designs lean on typography and illustration instead, and they can look just as polished, especially for couples who'd rather skip the shoot altogether.
If you're printing, a few practical questions matter more than the design itself:
- Ask about bleed, paper stock, and edge treatments like foil or raw edges before you commit to a design.
- Request a color proof and order a single physical sample before running a full print batch.
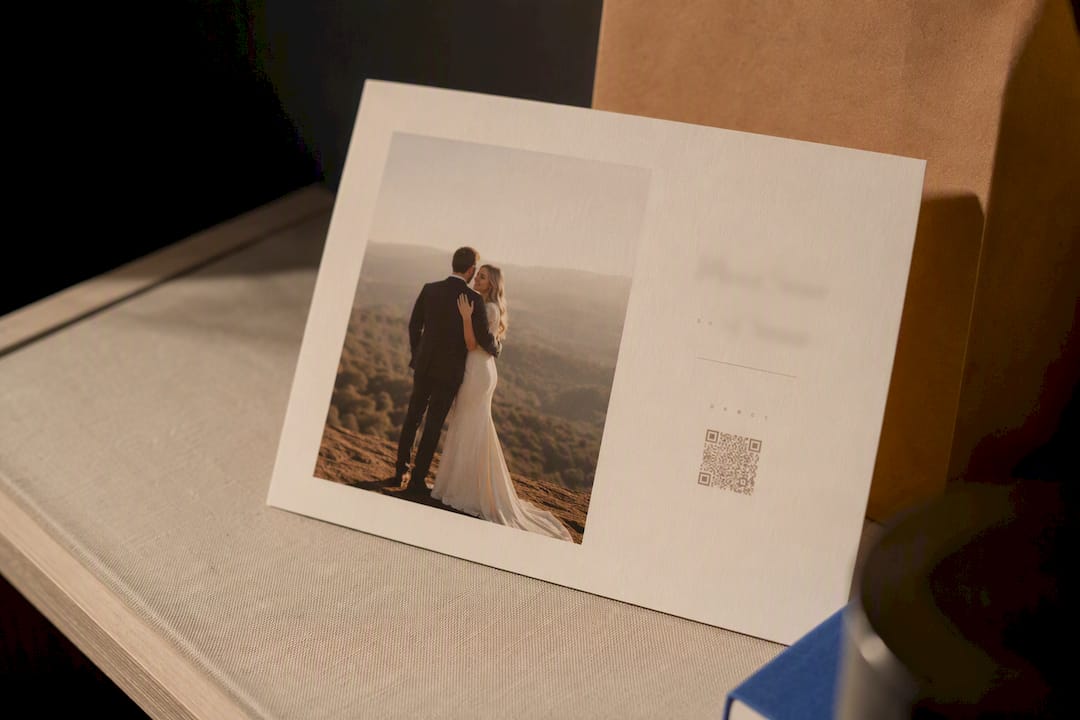
- Consider digital delivery: e-cards, an animated social post, or a printed card with a QR code linking to your wedding website.
Digital save-the-dates are almost always faster and cheaper to produce, while premium print options add both cost and lead time. Vendors like Minted let you customize fonts, paper, and finishing details, and most recommend confirming a proof policy and sample-ordering option before you place a bulk order.
Common Mistakes That Ruin Otherwise Good Photos
Most save-the-date disasters aren't about bad photography. They're about small decisions made too late in the process.
The most common mistake is picking a photo for its aesthetic and ignoring how it will crop. A gorgeous wide shot with your faces tucked in one corner can turn into an awkward, off-center card once a printer applies a standard crop template. Always preview your top choice inside the actual card layout before finalizing anything.
Another frequent misstep is over-matching outfits to the point where the couple looks like they're wearing a uniform instead of clothes they'd actually choose. Coordinated doesn't mean identical.
Skipping a proof is a costly shortcut. Screen colors and printed colors rarely match exactly, and a card that looked warm and rich on your laptop can print flat or oddly tinted. Ordering one physical sample before a full run catches this every time.
Couples also tend to wait too long to lock in a photographer, especially during busy fall booking season, then scramble when their preferred date is gone. And plenty of great photos get cut because nobody checked usage rights on a location or a third-party image before printing it on hundreds of cards.
Finally, don't ignore your pets or props during editing. A treat bag visible in frame or a leash cutting across a face is an easy fix in review that becomes permanent once it's printed.
Budgeting for Professional Photography vs. DIY
A professional engagement session typically includes trained lighting, posing guidance, and a curated set of edited images, which matters more than most couples expect once they're standing in an unfamiliar location trying to look natural on command. The tradeoff is cost and scheduling lead time, since popular photographers book out months in advance, especially in fall.
DIY photos, whether shot on a phone or by a friend with a decent camera, cost little to nothing upfront and offer total scheduling flexibility. The tradeoff shows up in consistency: lighting, focus, and expression are much harder to nail without experience, and a single unusable shot can mean starting over close to your send date.
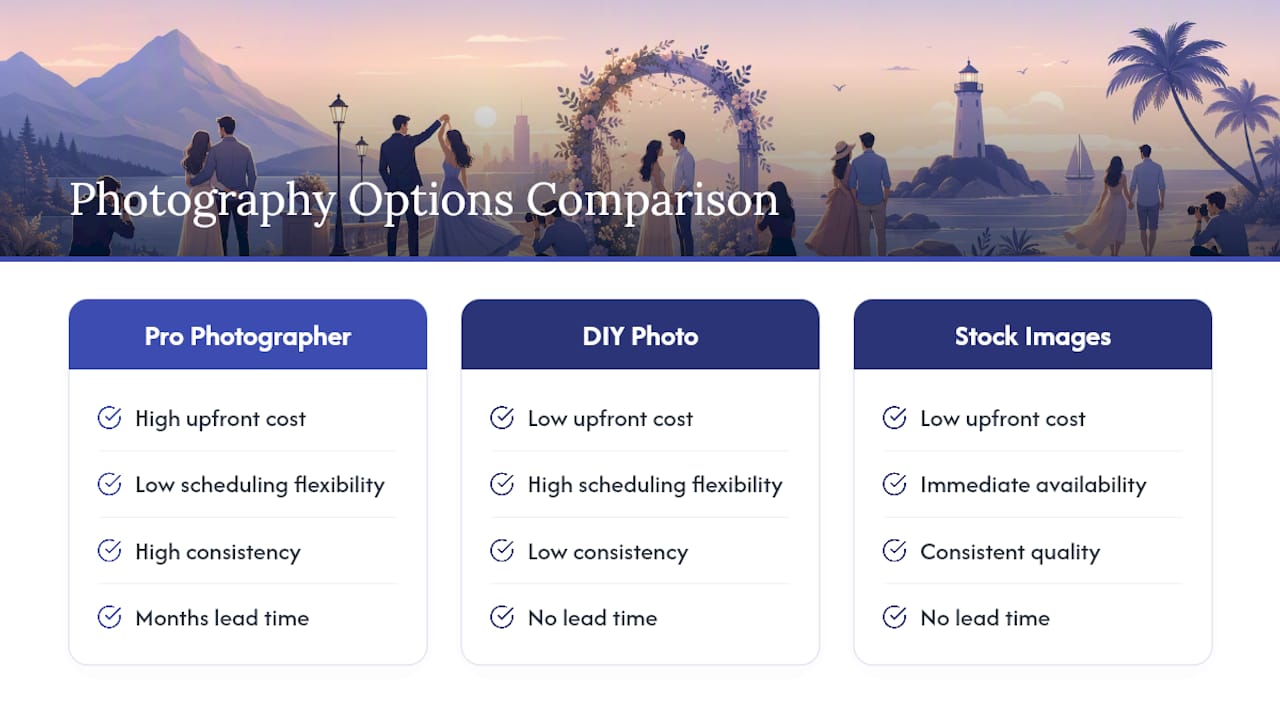
A middle path exists for couples on a tight budget or timeline. Stock and inspiration photo libraries offer ready-made imagery for couples who'd rather skip a shoot entirely, and a well-designed non-photo card removes the photography decision altogether. Neither substitutes for a genuine photo of the two of you, but both are legitimate options if a scheduled session doesn't fit your timeline or budget.
Weigh the decision against how the photo will actually be used. If it's going on a printed card mailed to a hundred people, the investment in a professional session tends to pay off in a way it might not for a casual social post.
Who Owns the Rights to Your Save-the-Date Photos?
Ownership of your engagement or save-the-date photos depends entirely on the agreement you sign, not on who's in the picture. Most professional photographers retain copyright to the images they shoot while granting you a personal usage license, meaning you can print, share, and post the photos, but you typically can't resell them or hand full rights to a third party without separate permission.
Before you send a single photo to a printer, confirm two things in writing: that you have a license broad enough to cover printing and mailing physical cards, and that any location you photographed at didn't require a commercial permit you skipped. Public parks are usually fine for personal use; some private venues, gardens, and historic sites require a permit even for a small engagement session.
If a friend or family member took the photos instead of a hired professional, get simple written confirmation that you have permission to use and print the images. It sounds like overkill for a save-the-date, but it prevents disputes later, especially if those same photos end up in wedding albums or announcements down the line.
What's Trending in Save-the-Date Photography Right Now
Candid, unposed moments continue to outperform stiff formal portraits in save-the-date photography, and that trend shows no sign of slowing. Couples increasingly want images that feel like a moment caught rather than staged, which is part of why action shots and genuine laughter dominate current inspiration lists.
Pet-inclusive photography remains one of the strongest trends going, and for good reason: these images consistently draw more engagement when shared online, and they tell recipients something real about the couple's life together. Location-driven shoots, particularly at the spot where a couple got engaged or plans to honeymoon, are also holding steady as a favorite because they add a story the photo alone can't tell.
Vintage and film-inspired editing continues to gain ground, especially warmer tones and polaroid-style borders that give a modern digital photo an heirloom feel. On the design side, minimalist typography paired with a single strong image is edging out busier, multi-element layouts. And QR codes linking straight to a wedding website have become a near-standard addition, letting couples keep the printed card simple while still delivering all the logistical details digitally.
A Photographer's Checklist for Save-the-Date-Ready Photos
Book early enough that editing and delivery finish well before you need to design anything. During the session, ask your photographer to capture both vertical and horizontal frames with generous negative space, since flexible orientation makes card design far easier later. Request print-ready, full-resolution files alongside web versions, and confirm you're getting at least one clean, full-bleed frame with no clutter near the edges.
— Todd
How Larson Pro Photography Supports Your Save-the-Date Timeline
A practical approach to engagement photos involves planning sessions around real save-the-date deadlines, rather than just a generic photo shoot. That means outfits, timing, and location get coordinated with your card design in mind from the start, so you're not stuck reworking crops after the fact.
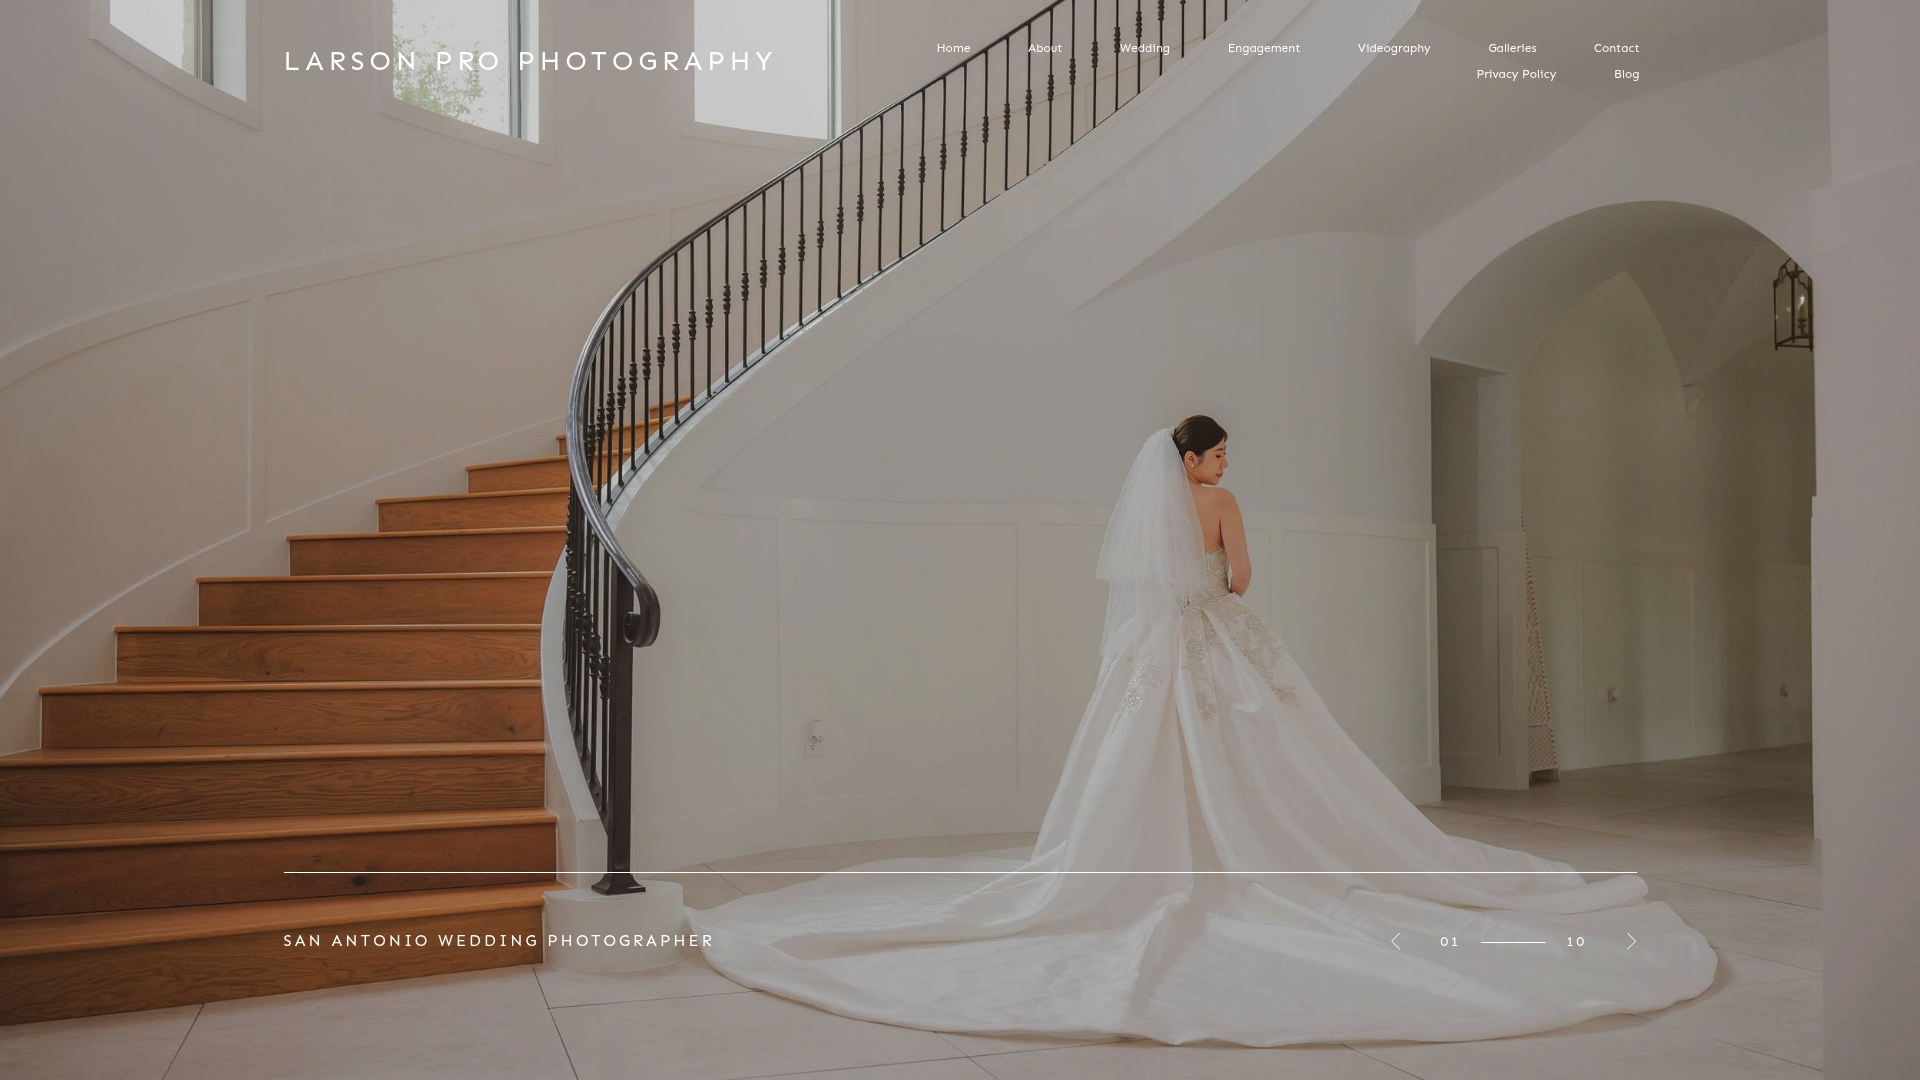
Sessions typically include a set number of edited images along with print-ready files, providing what is generally required for stationery vendors without back-and-forth conversions. It is possible to request sample crops or proofs before committing to a card layout, aligning with recommendations often given by stationery vendors before running a bulk print order. Browse recent engagement session examples to get a feel for style and pacing, then check current engagement session availability to lock in a date early, especially if you're aiming for a popular season like fall. Consider reaching out to schedule a shoot allowing enough time to meet your save-the-date send date comfortably.
Where to Go Next for Inspiration and Printing
For design inspiration and card ordering, Paperlust's idea roundup and Minted's save-the-date collection are solid starting points. Always order a physical sample before printing in bulk.
Sources
- Engagement Photos 101: Cost, Outfits, Ideas, & More — The Knot
- Save The Dates for 2026 Weddings — Minted
- 50 Save the Date Ideas for Every Wedding Style — Paperlust
- Engagement Photography Guide for Stress-Free Sessions — Kelly Tareski Photography